
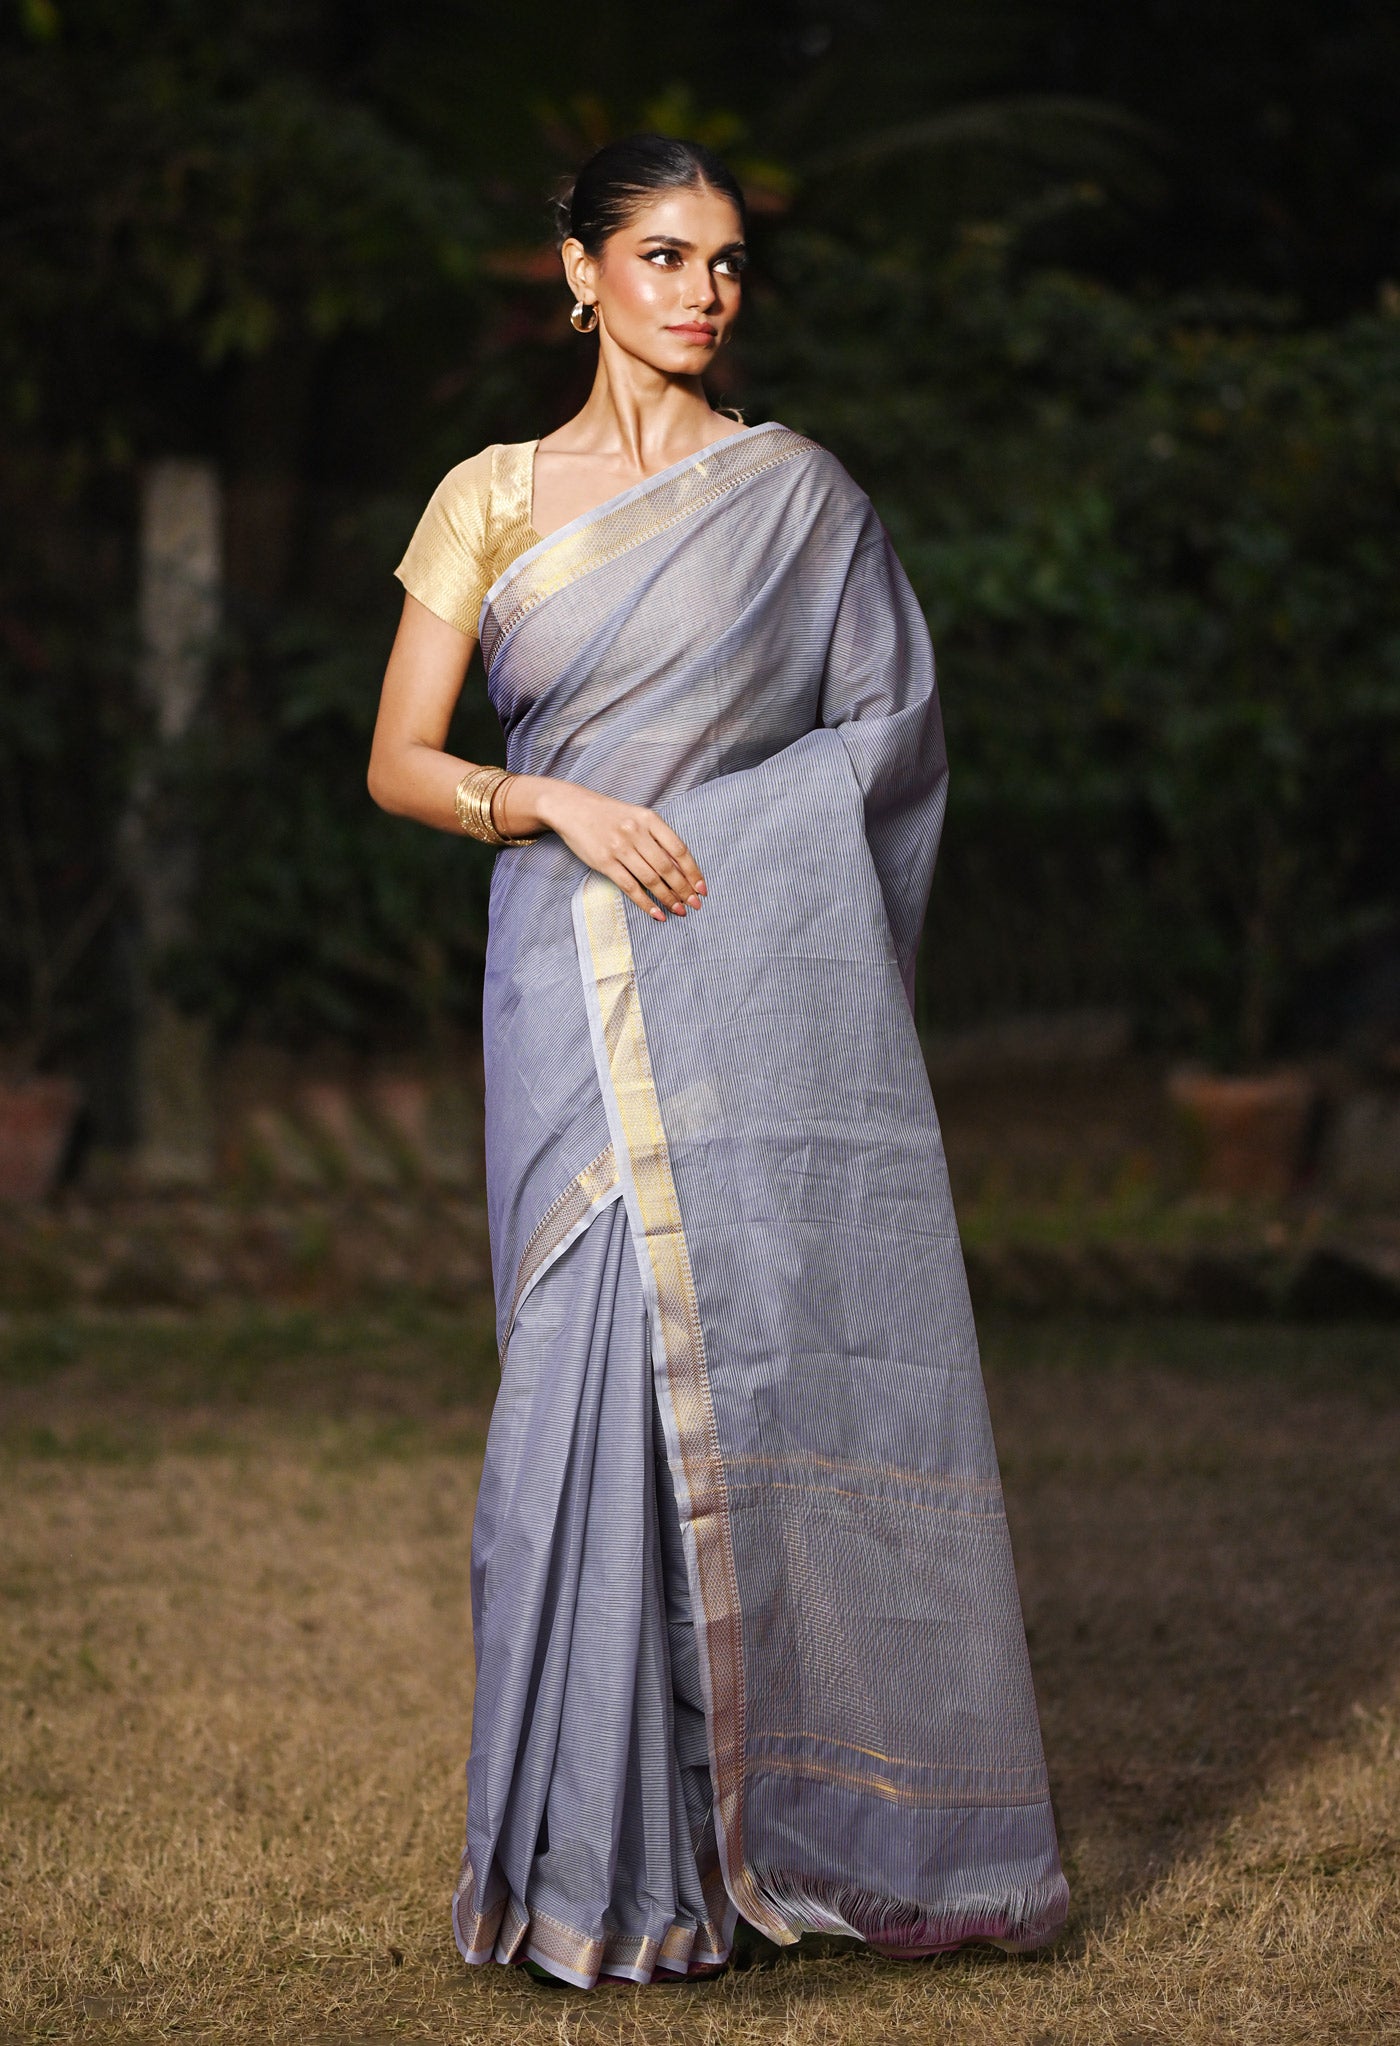
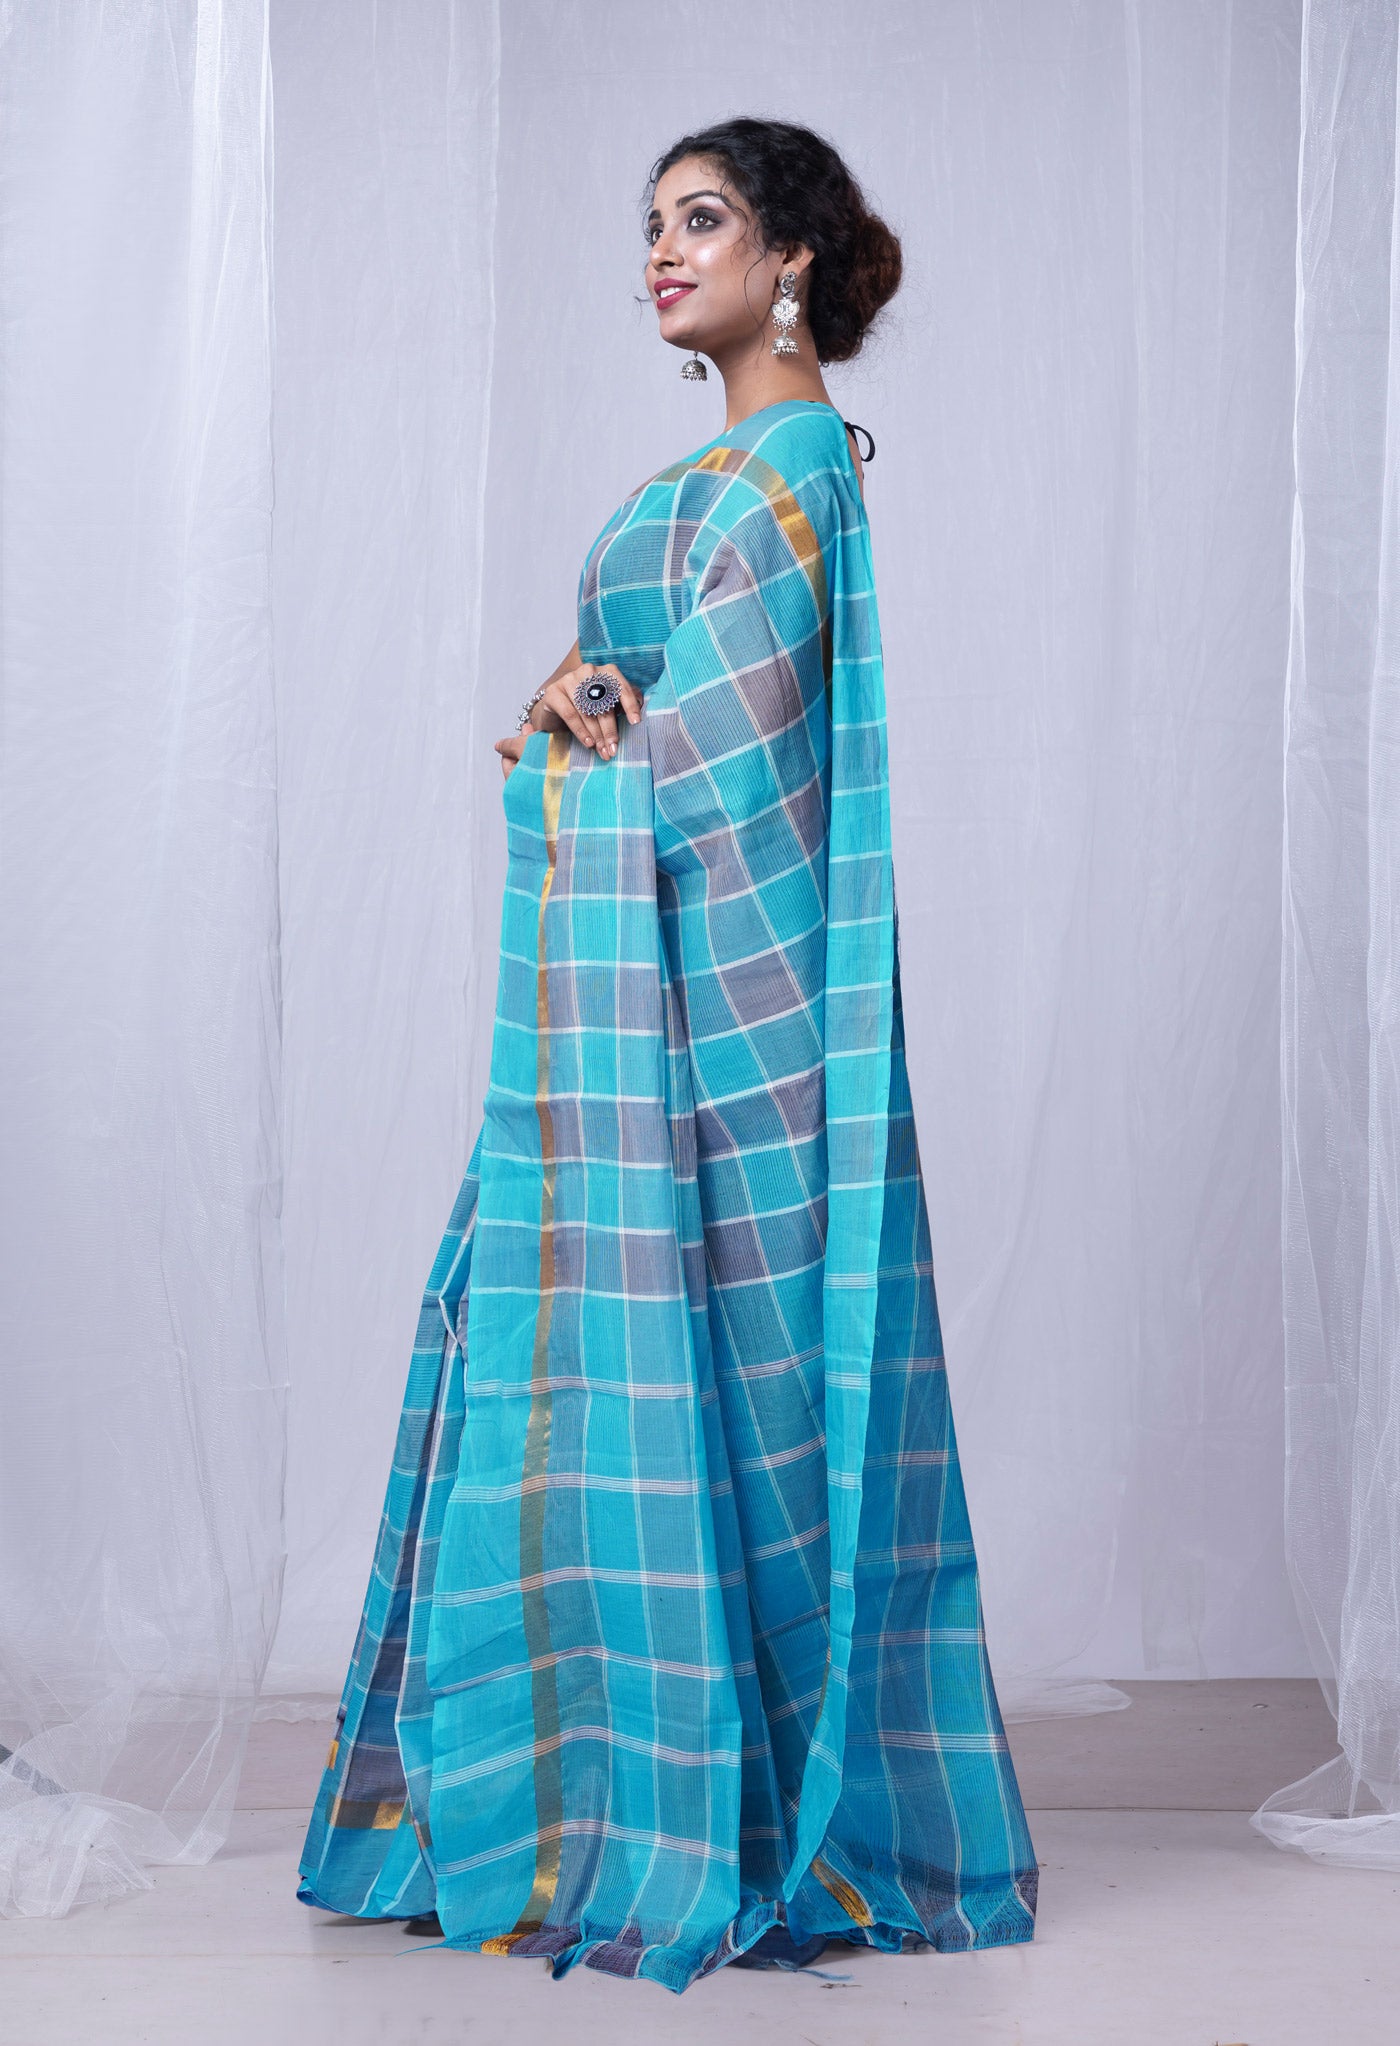
Cape over the regular saree blouse – a fashion statement of Bollywood that drew awe
Have you seen the cape fashion in India? Deepika Padukone, it seems, suddenly inspired her thousands of fans when she appeared in public in her stylish saree blouse ensemble as usual,; only this time a cape over that ensemble caught the attention of onlookers in a big way. It looked awesome and sparked off a new trend that has caught on in tremendous measure.
A cape is a sleeveless outer garment, which drapes the wearer's back, arms and chest, and fastens at the neck. It can be used for fashion or for costume purposes. A fairly straightforward item of clothing, it has been used throughout the centuries to add warmth, increase stature or improve appearance. As a fashion statement, it can sometimes make onlookers gasp in wonder.

The idea of wearing a cape is to protect the wearer or the fine fabrics of their evening wear from the elements. A coat either hid or crushed the fine garment that was meant to be on display. The cape, be it short (just over the shoulders or to the waist) or as a full-length cloak made sure nothing was hidden yet offered the protection.
Short capes are usually made of, or trimmed in, fur. In today’s times, fur is less accepted as a fashion accessory. In fact more luxurious items like velvet, silk and satin have been substituted for fur. These shiny materials serve as a wonderful opulent lining and trim.
Cloak comes from the Latin cloca meaning cape. As a matter of fact the correct term for the full garment is cloak. From historical times, the term for the attached collar or small extension that falls over the shoulders is known as cape. As time went by, the small cape developed into two or three layers that often reached the waist. So the word cape was used in an interchangeable way.
Hooded cloaks were often referred to as capes and were sometimes known as Capucins. Anything that went beyond hip length could by no means be considered a cape. Early cloaks were very simple in cut. They could and still can be easily achieved by cutting a circle or near circle of fabric with a hole for the head.
Let us try to design a cape for oneself.
- Starting with the fabric
Fabrics for the cape could be cotton, flannel, satin and wool. The thicker fabric is for the outer or main, the lighter fabric for the lining. The colors could be matching or contrasting, patterns same or radically different. You could make the cape interesting by having a pattern on one side while having a solid color on the other. The fabric could be light like cotton and used for both sides of the cape.

- What shall the neck and length measurements be?
Just measure the base of your neck. The length measurement will be where you want your cape to end, from the shoulder. Note down both.
If you are more interested in a cloak like version, measure from shoulder to ankles or mid-calves. On the other hand if you are interested in a short cape or caplet, measuring down to just past the elbows would be appropriate.

- Fold the main fabric into quarters
Begin by folding the fabric in half widthwise. Fold it in half again, also widthwise, to form a square. Rotate the fabric so that the folded corner is in the upper left-hand corner. Don't fold the lining fabric just yet.

- Start drawing the neck part of your pattern
Pin a piece of string to the top-left corner of your fabric, where the folds are. Tie a dressmaker's chalk or pen to the string so that it's the same length as your neck radius. Use the chalk/pen like a compass to draw an arch from the top edge of the fabric over to the left side edge.

- Finish drawing your pattern.
Add your radius measurement to your desired length measurement. Lengthen the string according to that new measurement. Draw a second arch to make the bottom of your cape.
- Cut your fabric adding ½-inch or 1.27 cm seam allowances.
When you are done, fold your lining fabric into fourths, then place your cut fabric on top. Cut your lining using the cut outer fabric as a guide.

- Cut the front of your cape open
Unfold your outer and lining pieces and stack them together. Fold them in half widthwise so that you get a semi-circle. Cut along the left folded edge; leave the other one alone. This will create the opening of your cape. Save a step and stack your fabric together with the right sides facing in.
- Stack and pin your fabric together
Unfold your fabric semi-circles. Stack them together, right sides facing in. Make sure that all of the edges are aligned then start pinning them together.
- In case you wish to consider adding a ribbon closure (optional)
Cut two 30-inch (76.2-centimeter) long pieces of ribbon. Unpin your cape at the top two corners to either side of the opening. Tuck the ribbons into the cape. Make sure that the ends are aligned with the edges of the cape, then pin them shut. The ribbons should be sandwiched between both layers of fabric. Give your ribbons a nicer finish by sealing the ends with a flame first. Choose a wide ribbon that coordinates with your cape. Something around 2 inches (5.08 centimeters) wide would be ideal.

- Sew the cape using a ½-inch (1.27-centimeter) seam allowance
You want to sew along the inside collar, bottom edge, and the two straight edges. Leave a 4-inch (10.16-centimeter) gap along the bottom of one straight edge for turning. Make you sewing stronger by backstitching at the start and end.
If you have added a ribbon closure, be careful not to sew across the ribbons!

- Cut notches and slits into the curves, and clip the corners
Cut some notches into the collar, about 1 inch (2.54 centimeters) apart. Cut some slits into the bottom curve, about 1 to 2 inches (2.54 to 5.08 centimeters) apart. At the end, clip the top and bottom corners of your opening. This will help the cape lay smoother.
Try to cut as close to the stitching as you can without actually cutting through it.
- Turn the cape inside out, then press it flat with an iron.
Use something blunt but pointy, such as a knitting needle, to help fill out the corners. Tuck the raw edges of your turning gap in until they match up with the rest of the cape, and pin them in place. Iron your cape flat.

- Stitch the gap shut
You can do this by hand using a ladder stitch. You can also topstitch all the way around the cape using a matching thread color and a ⅛-inch (0.32-centimeter) seam allowance.
Remove the pins when you are done.
Note: You can also stitch in a clasp-style close, a hook-and-eye-closure, or even a corded frog closure. Choose one that matches the style of your cape the best.


