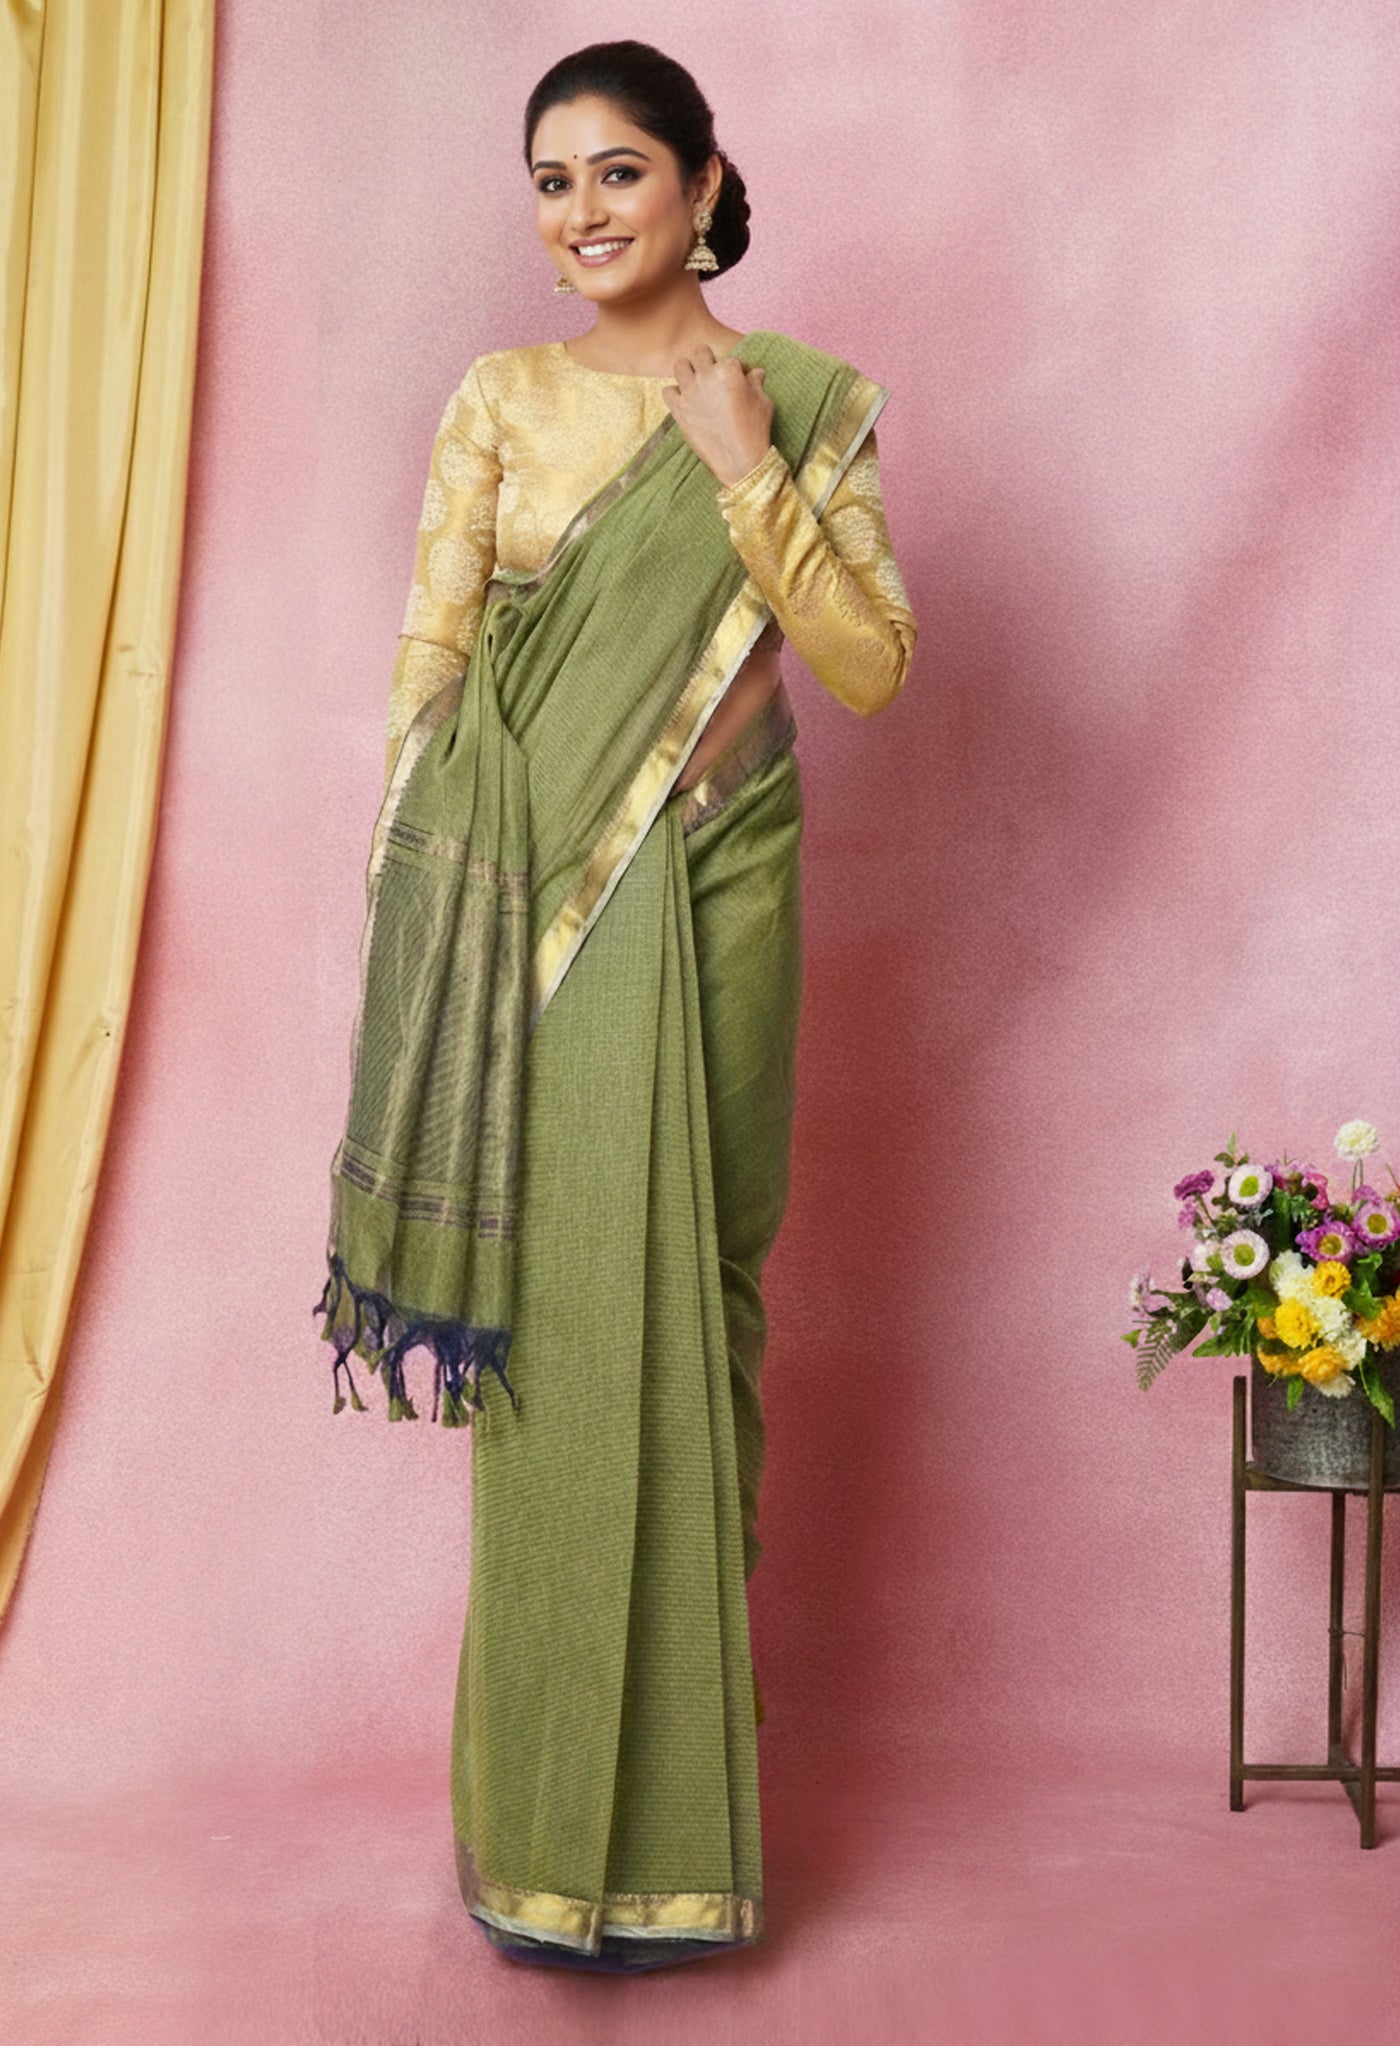
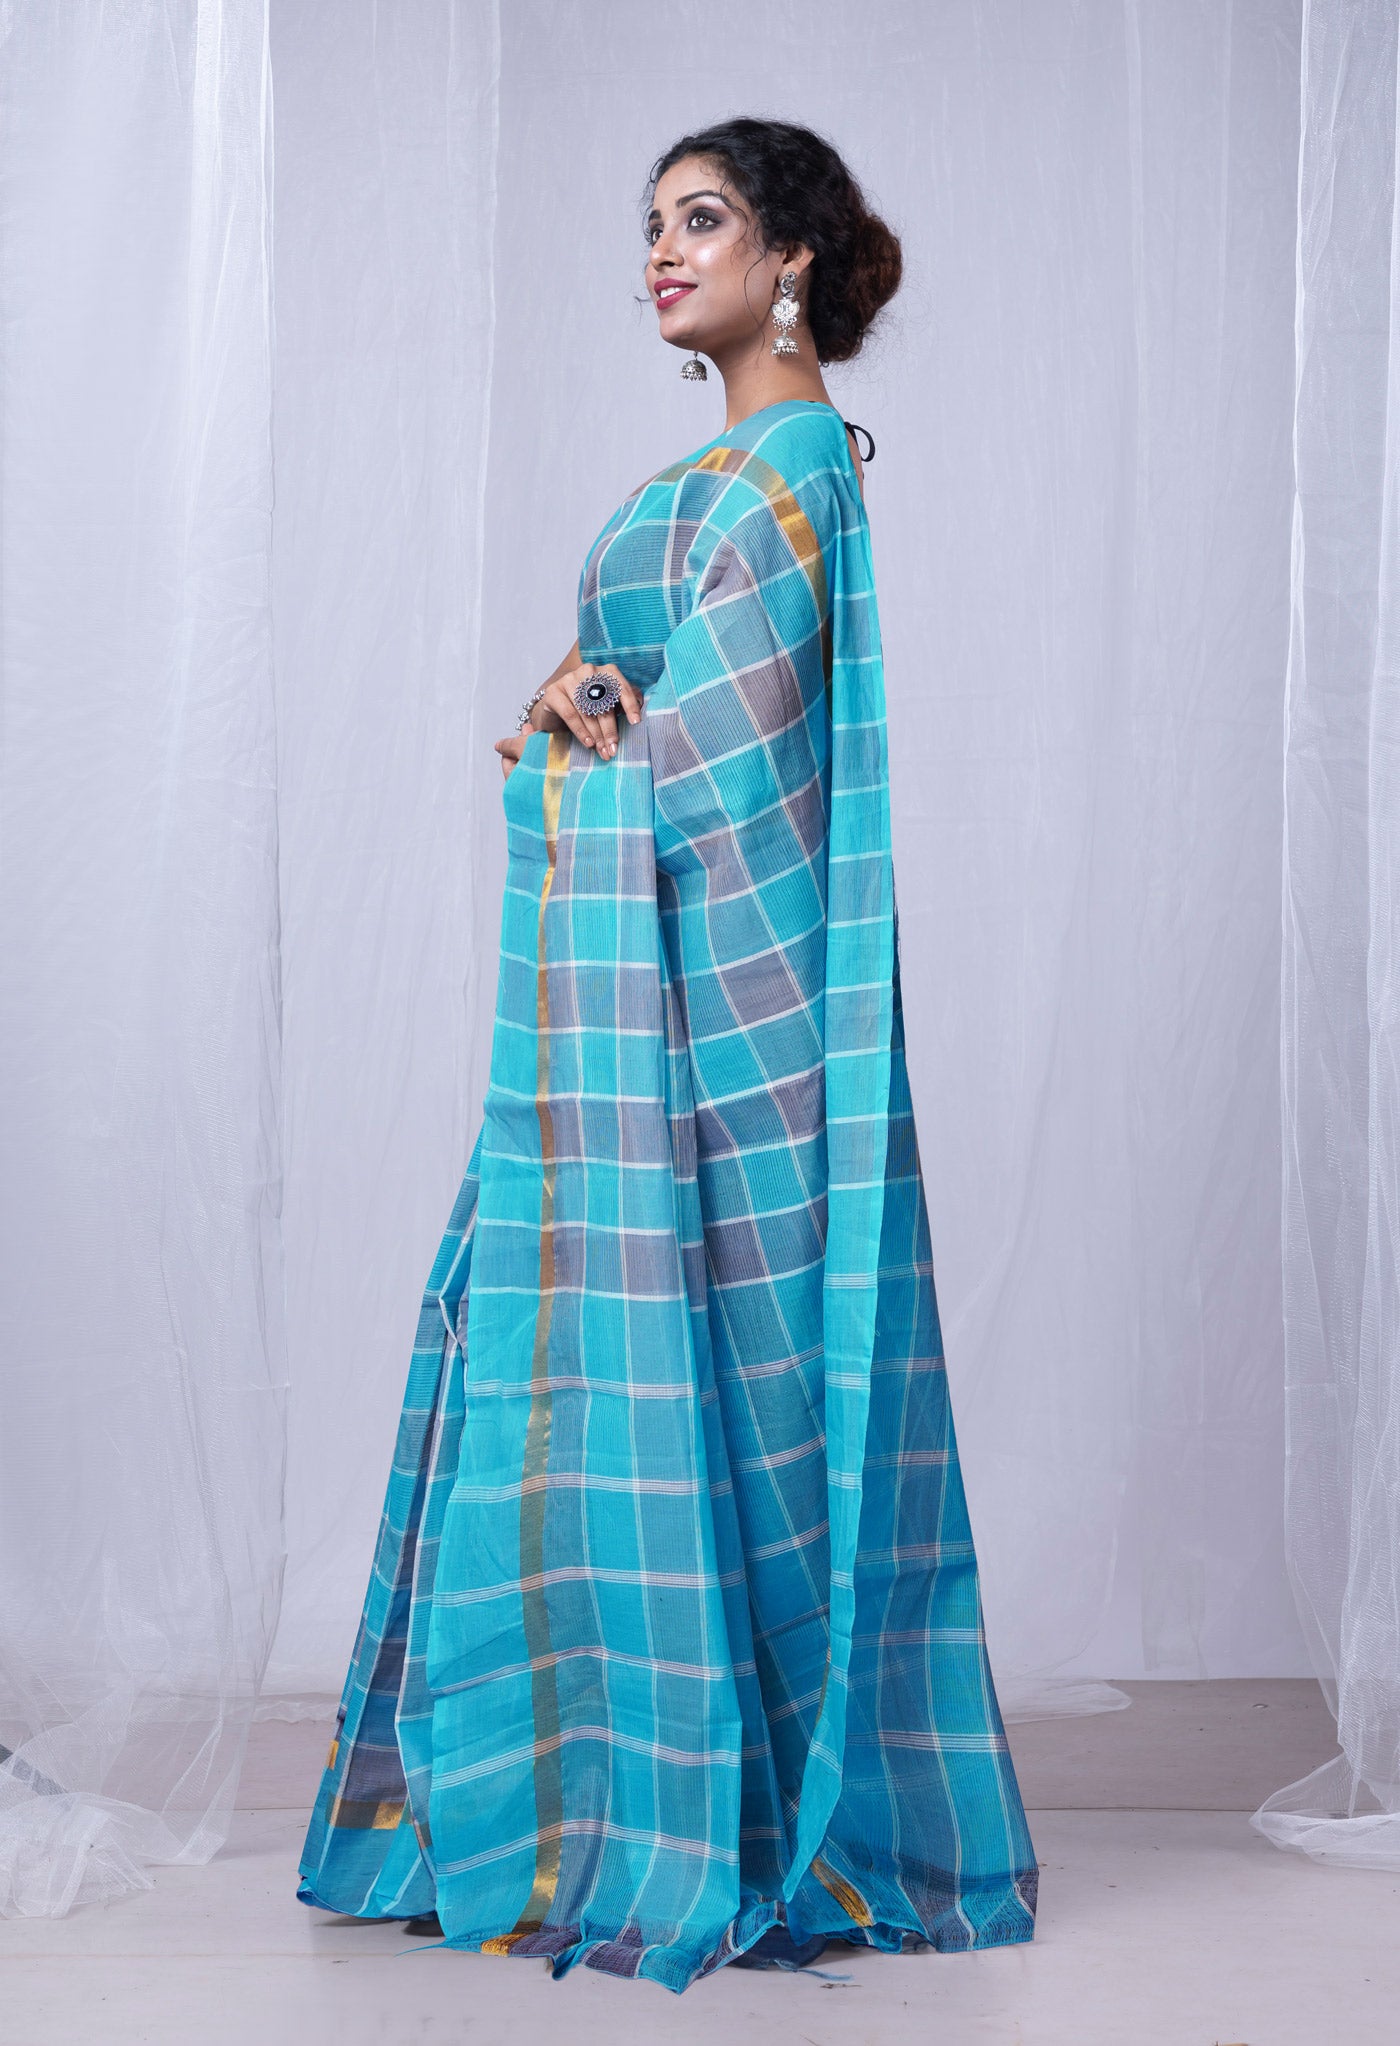
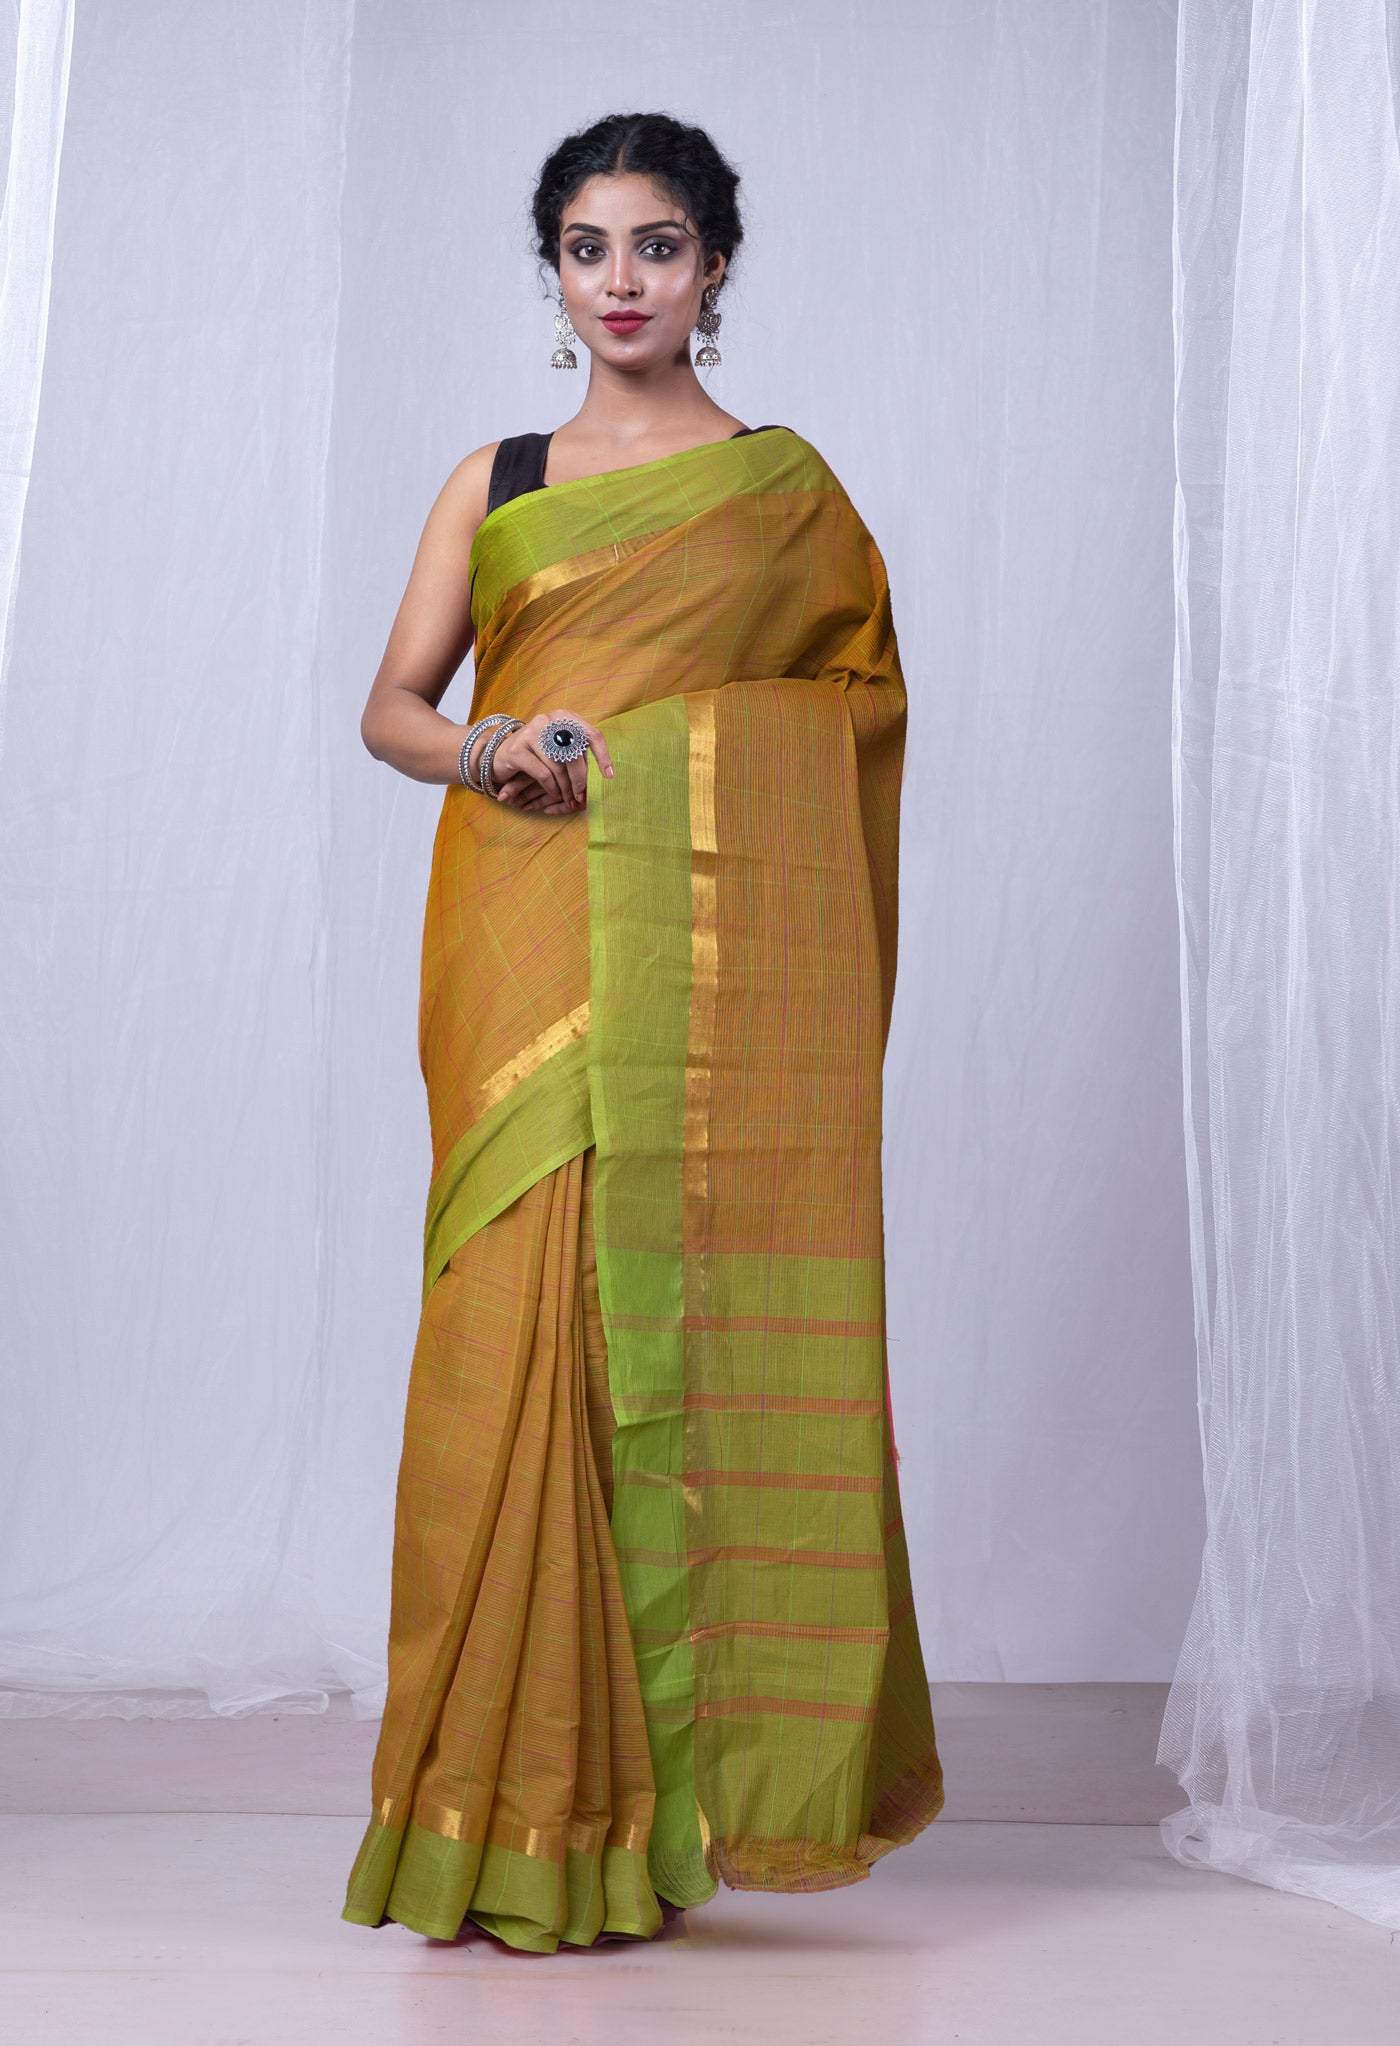
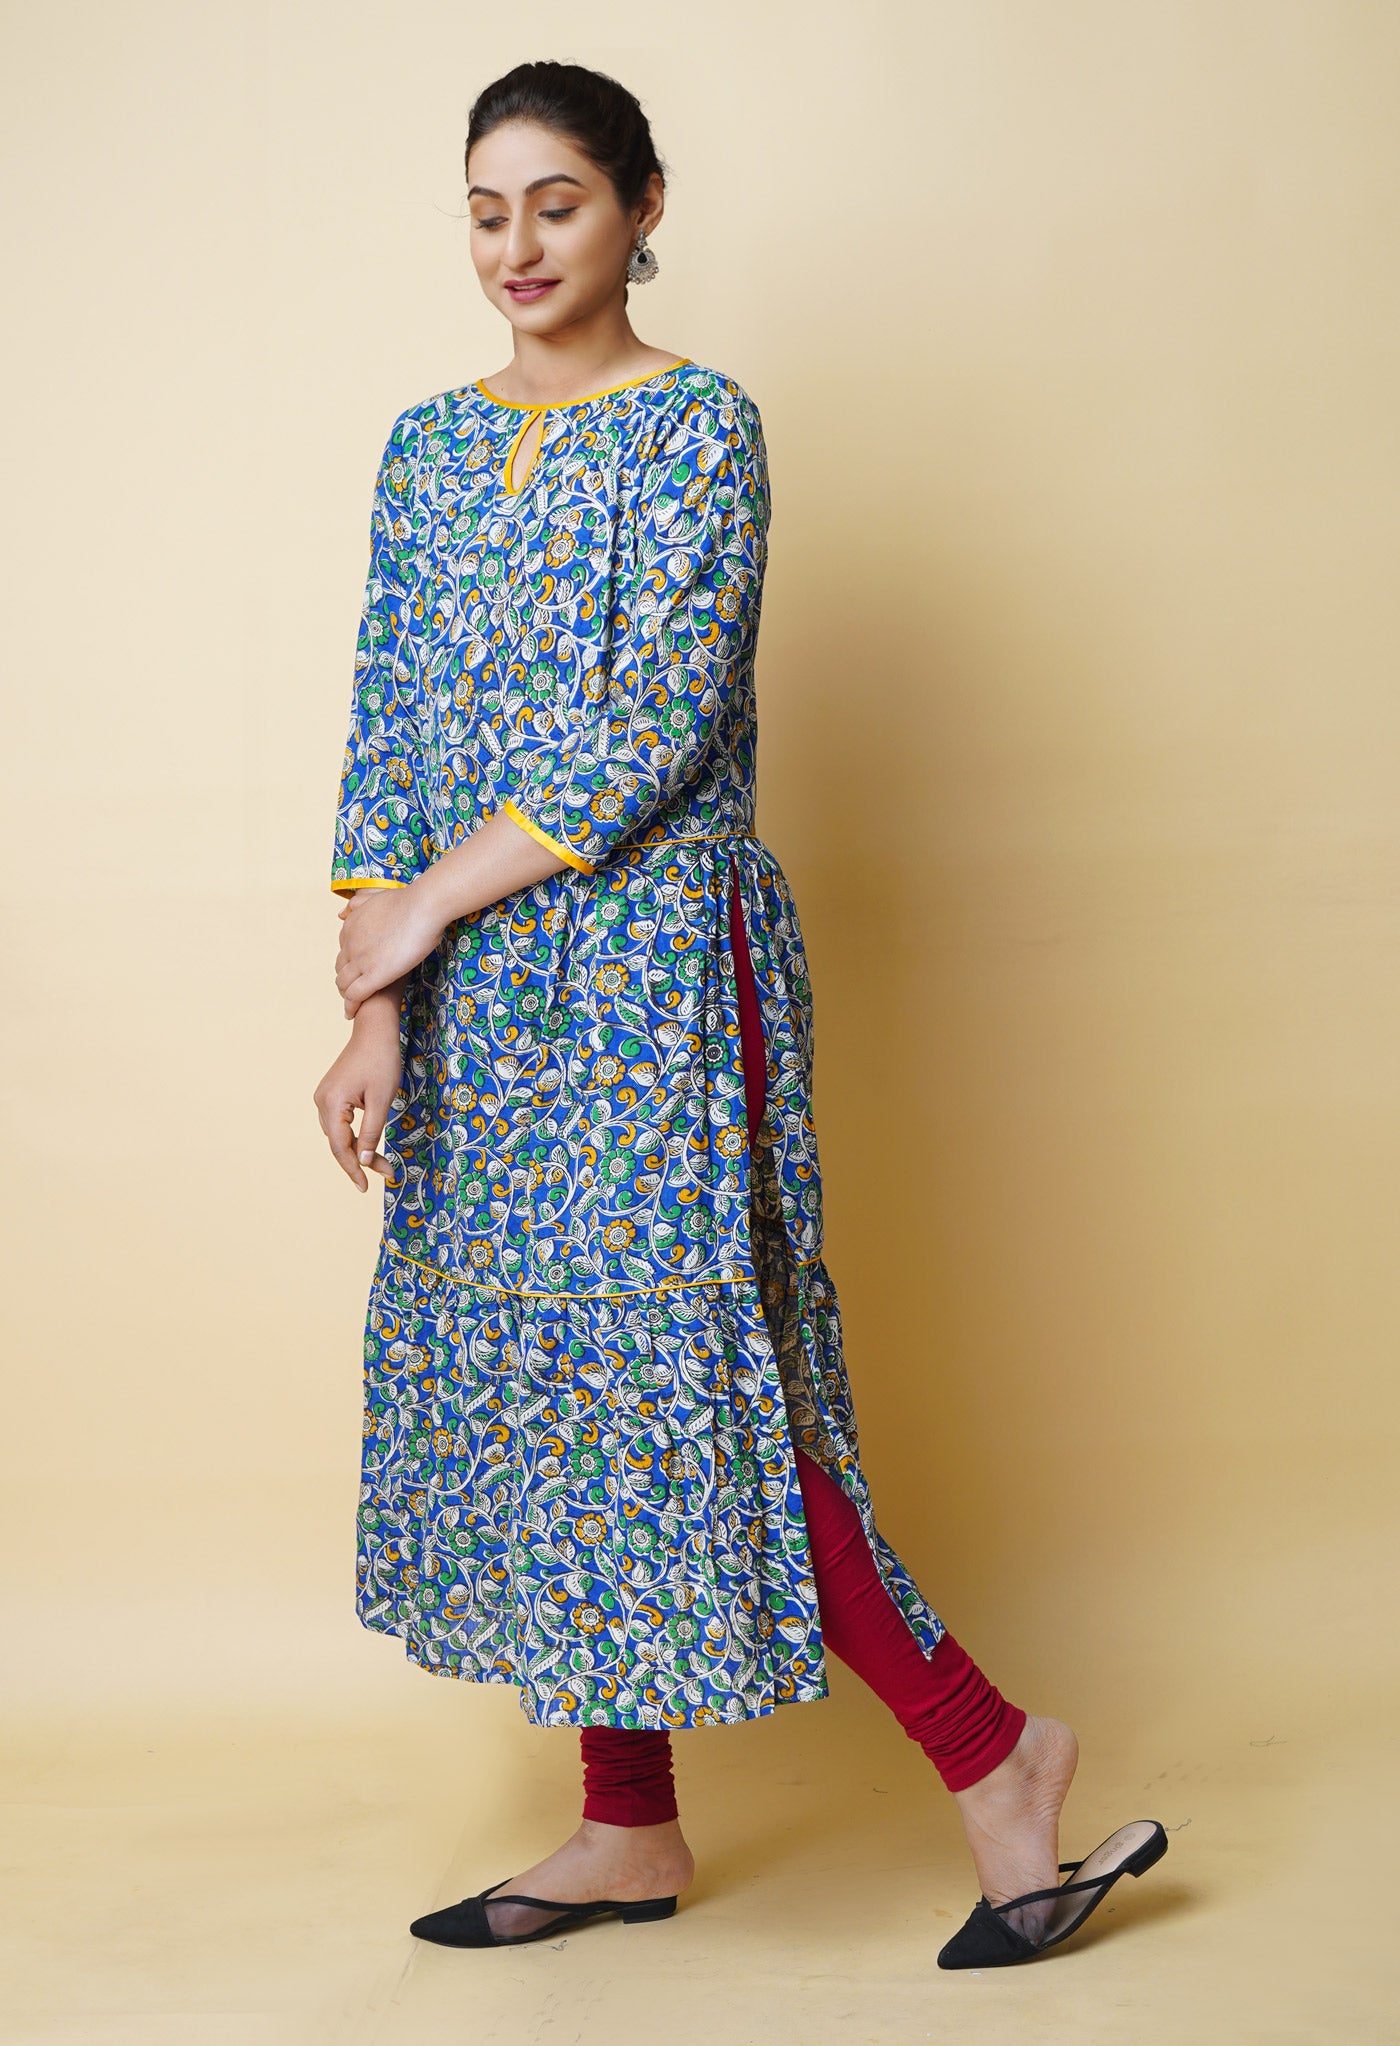
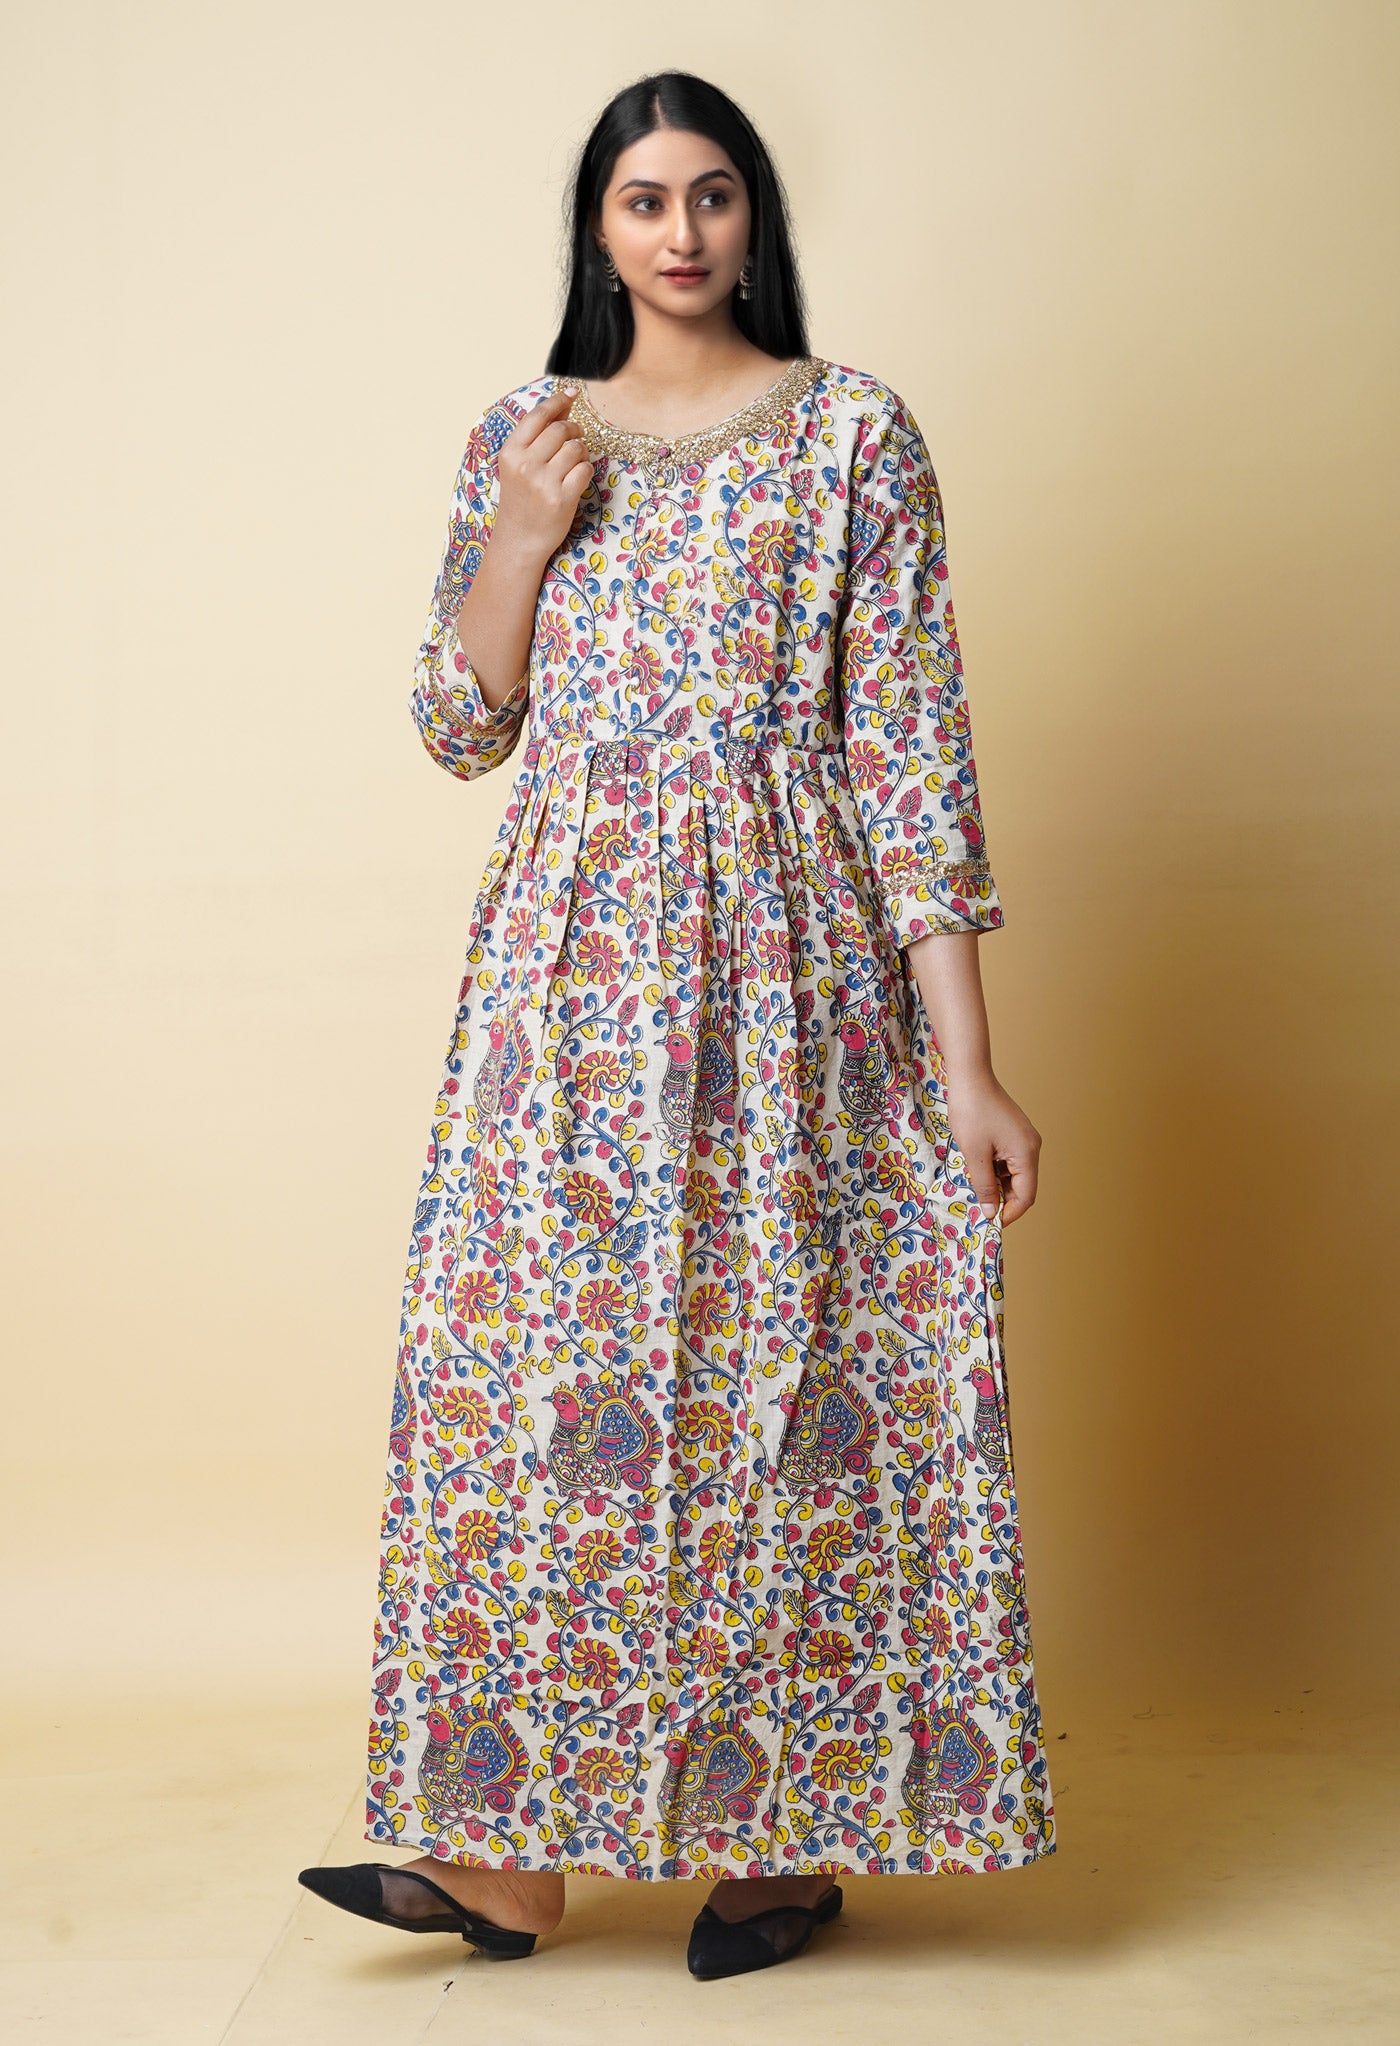
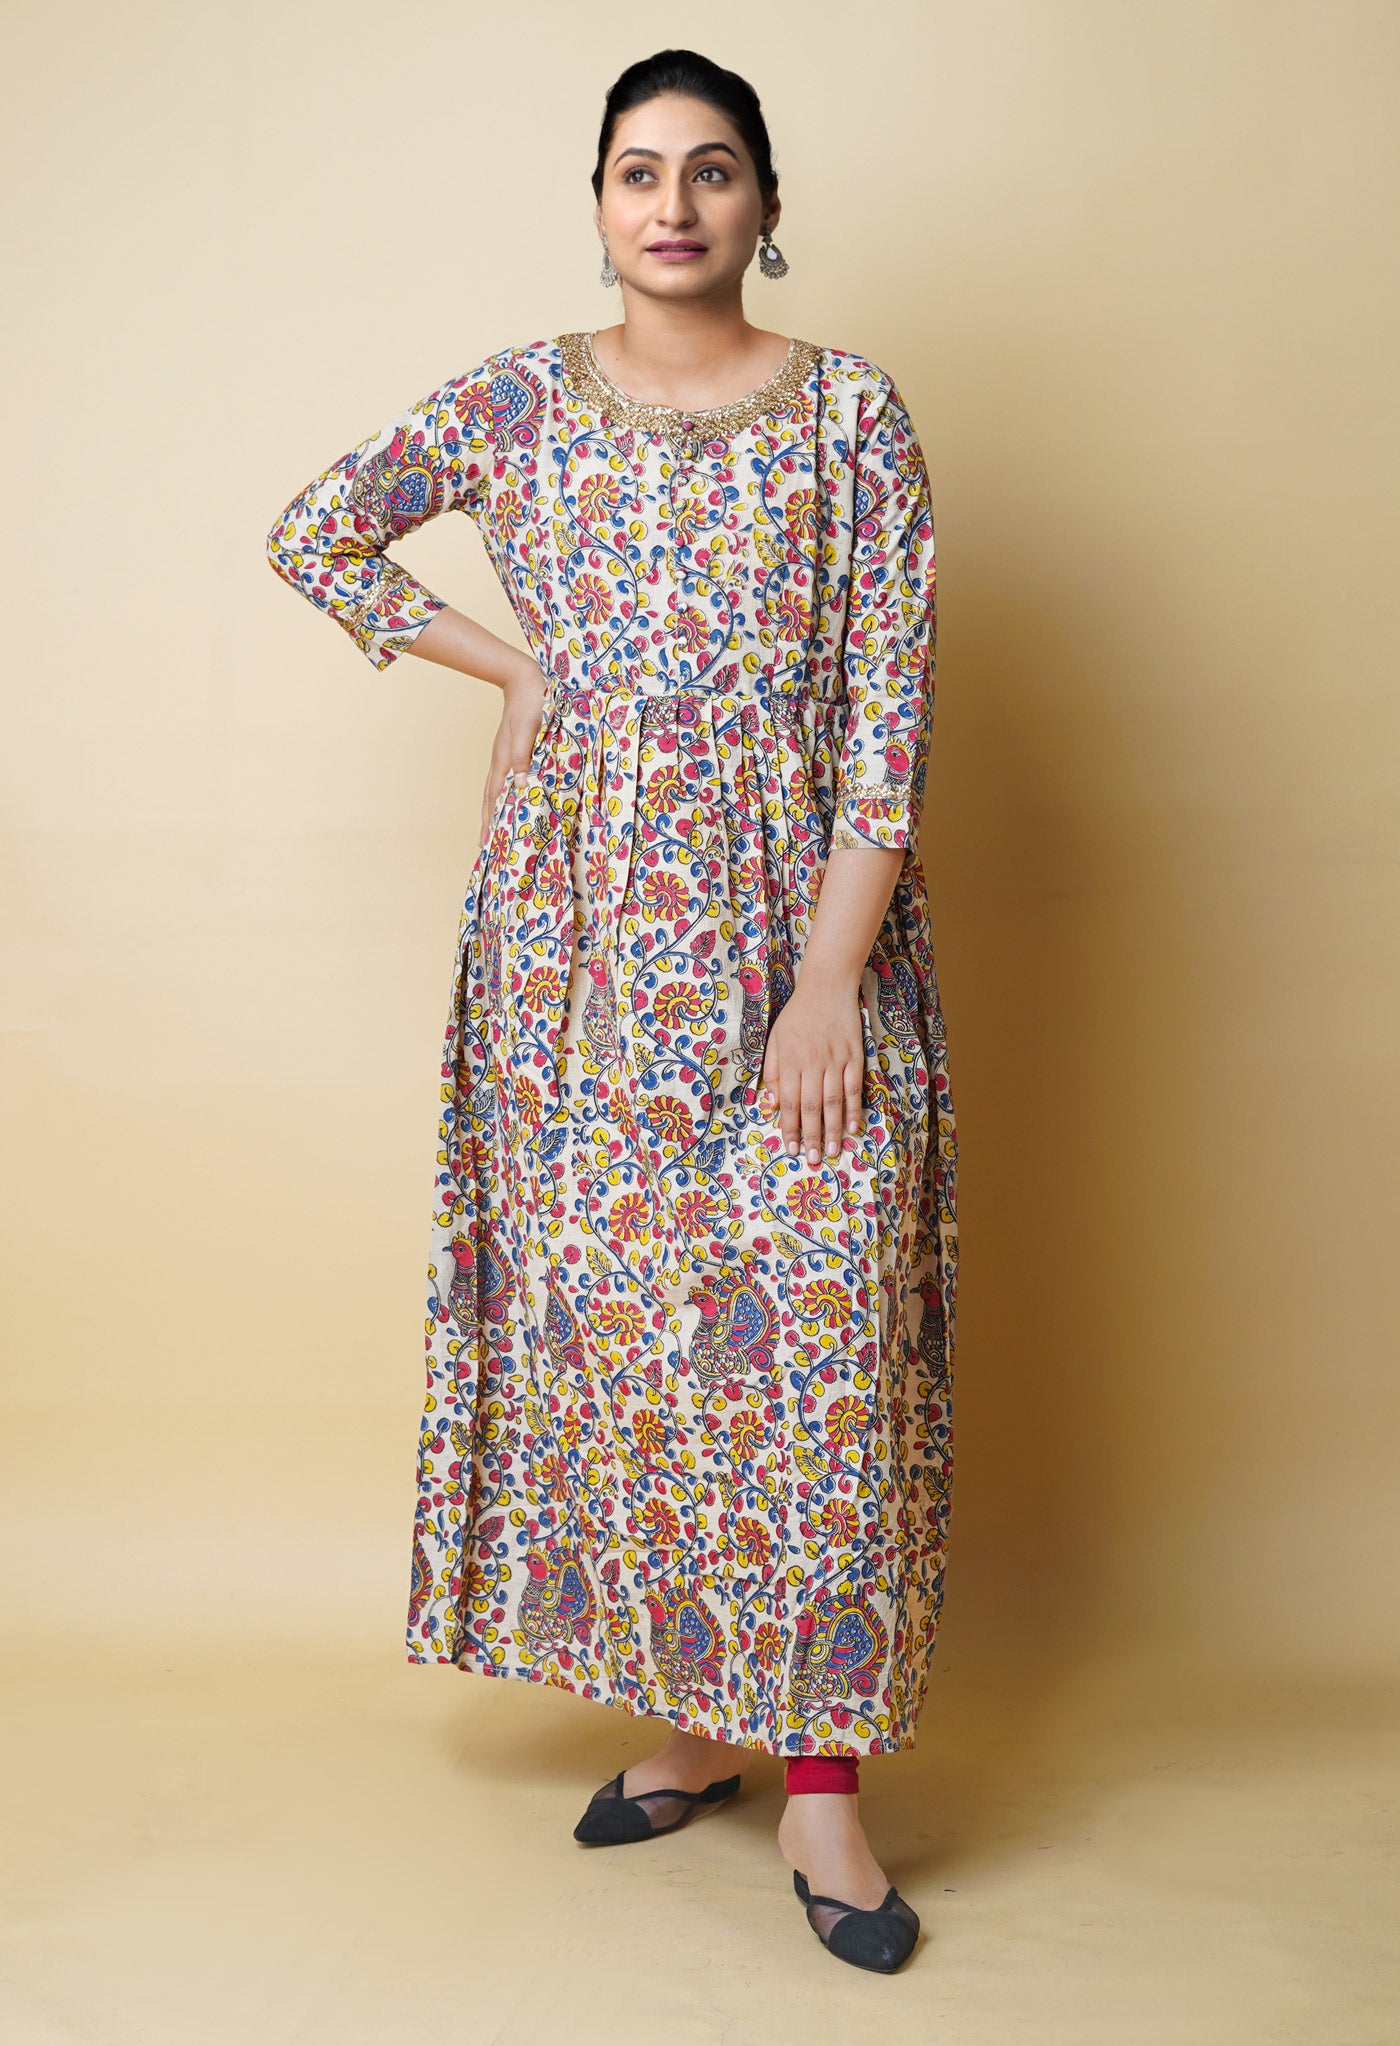
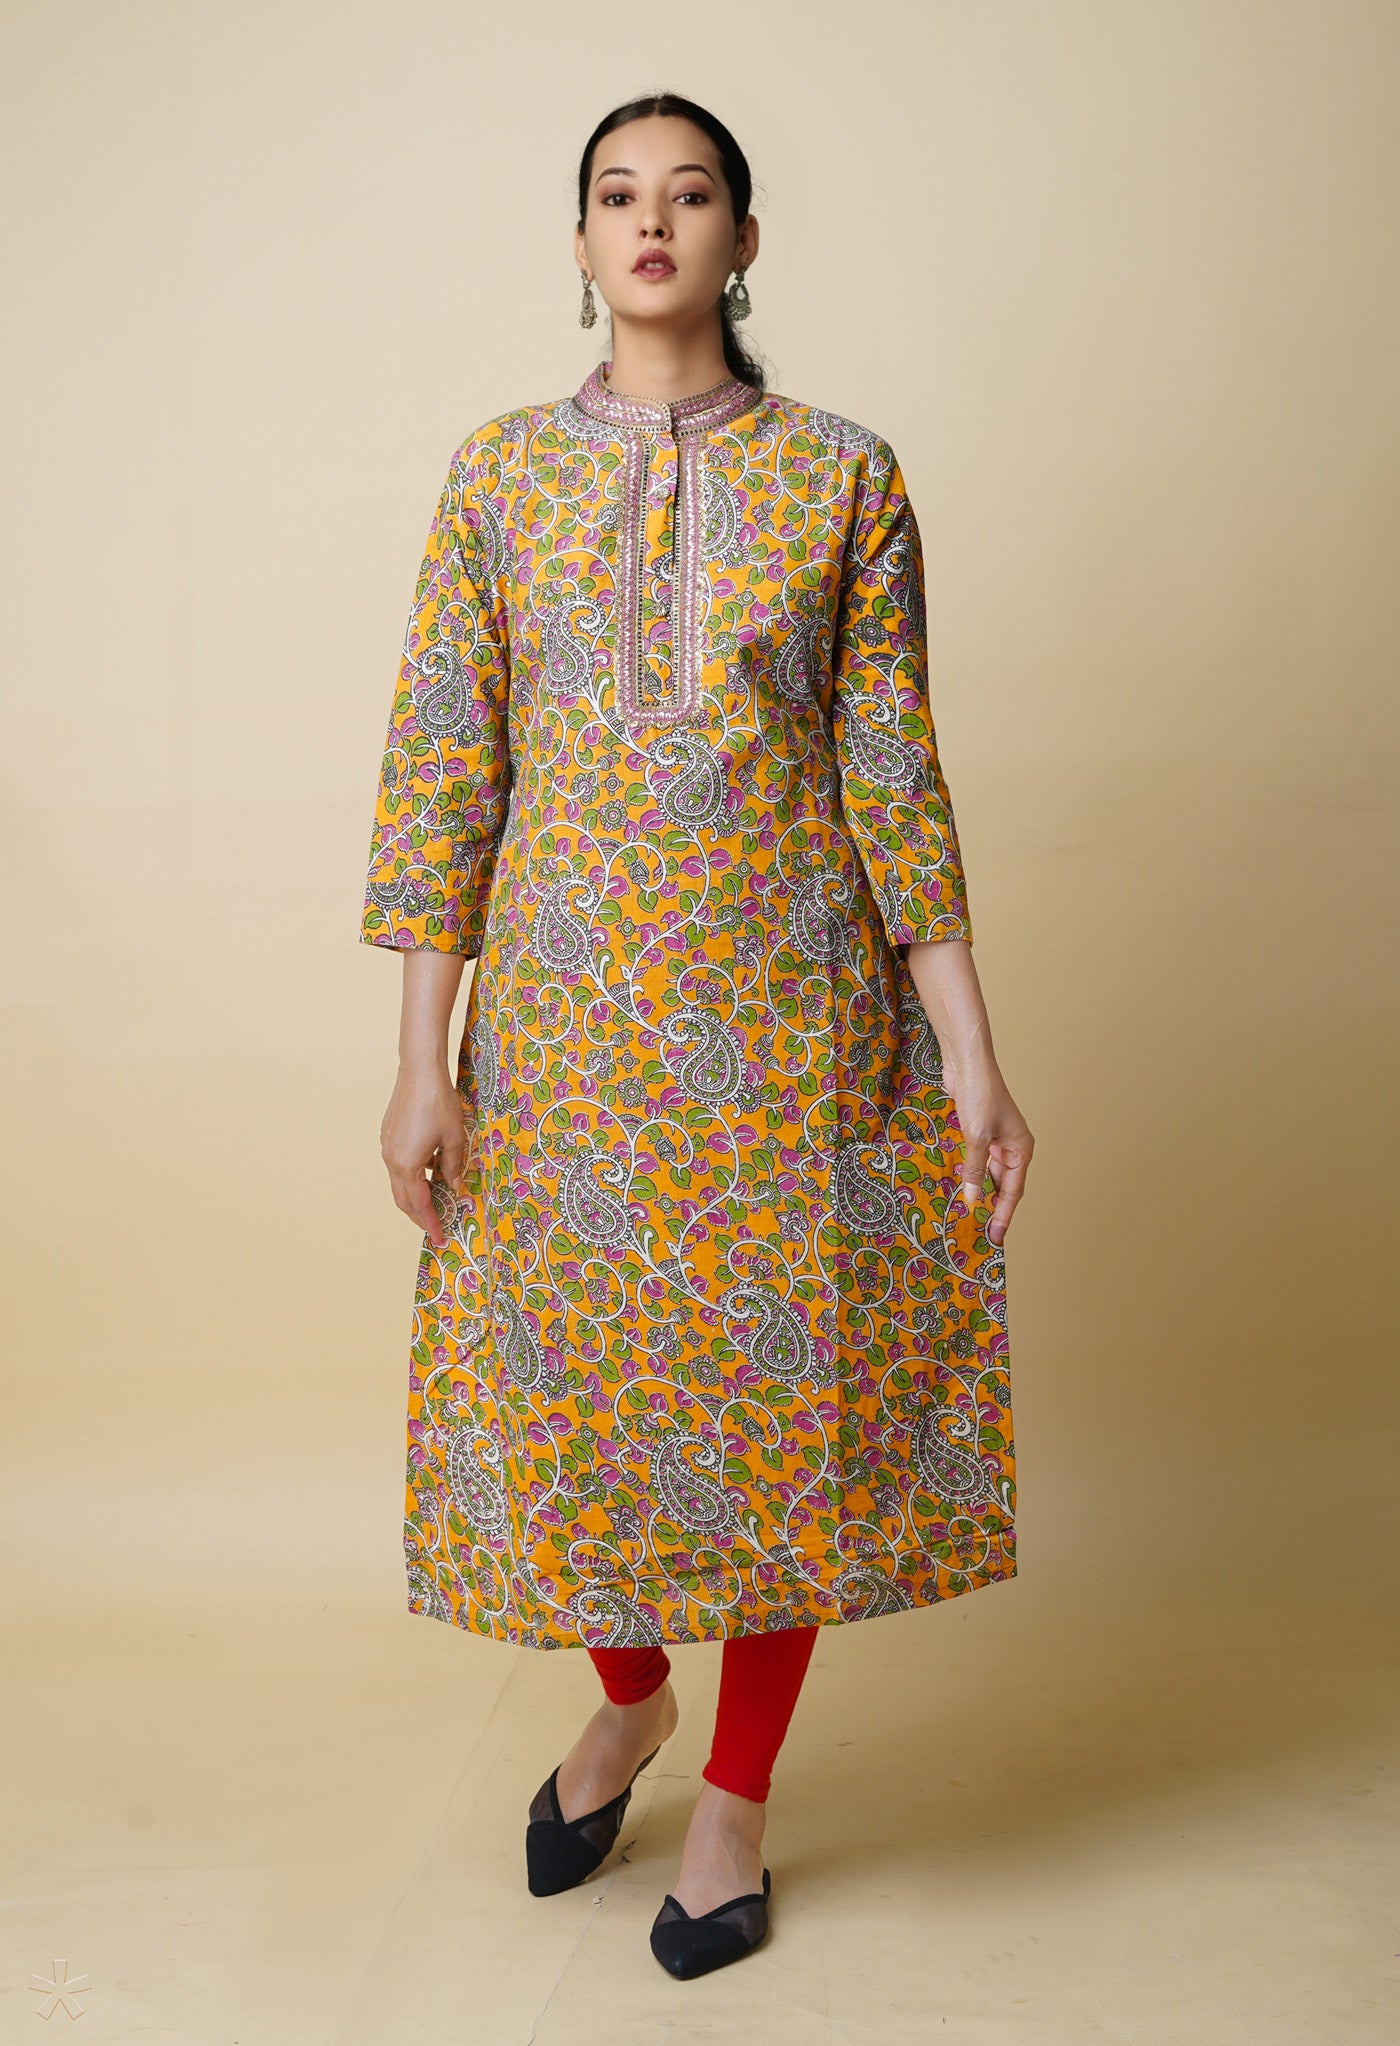
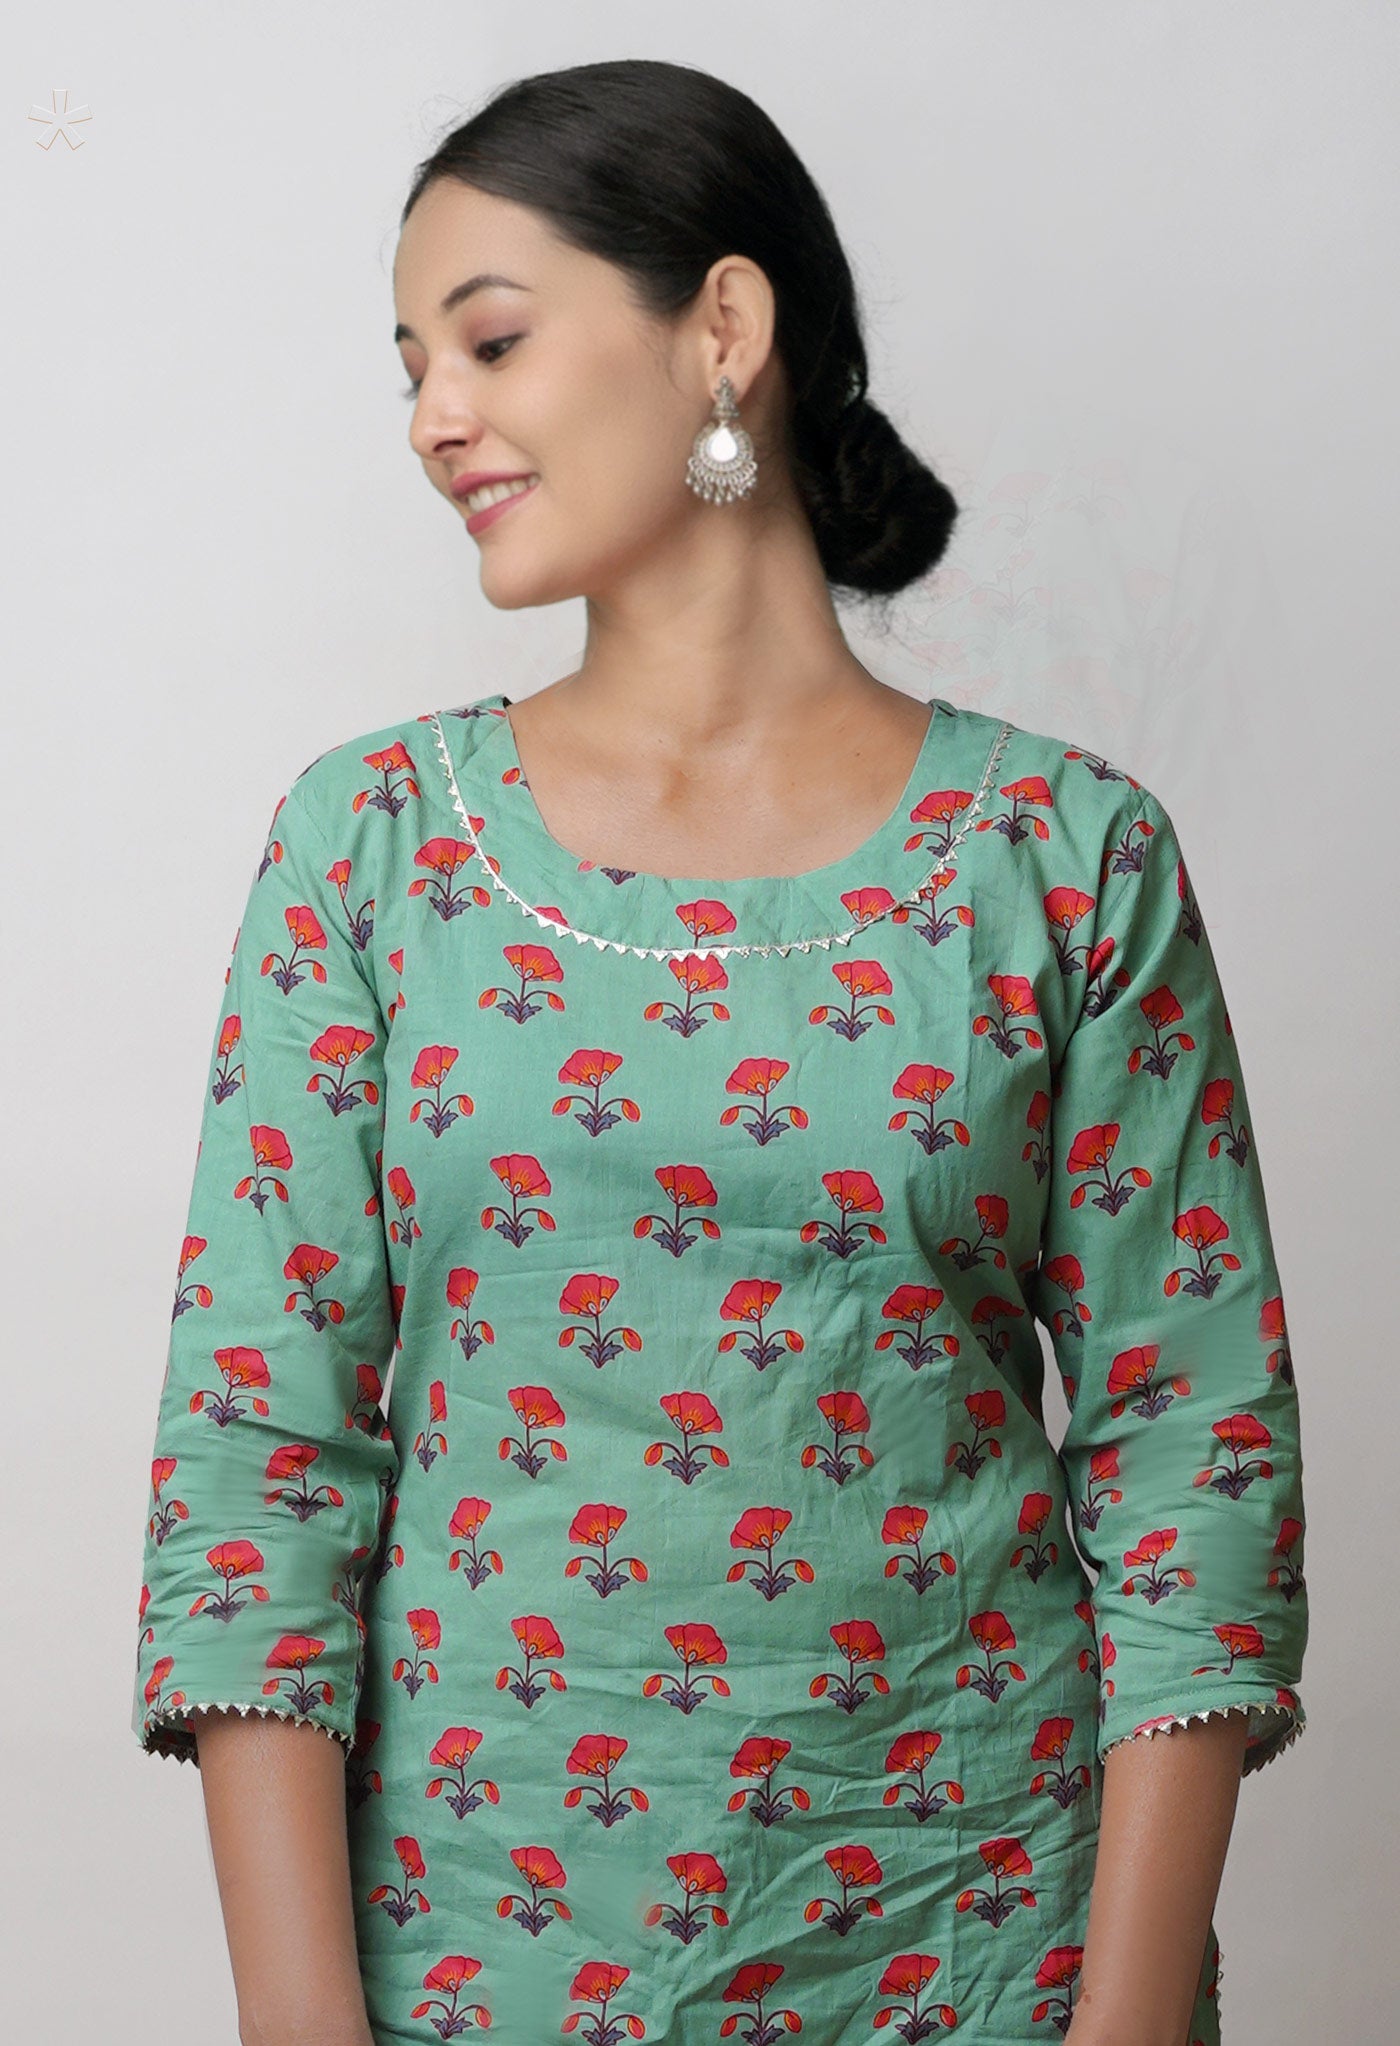
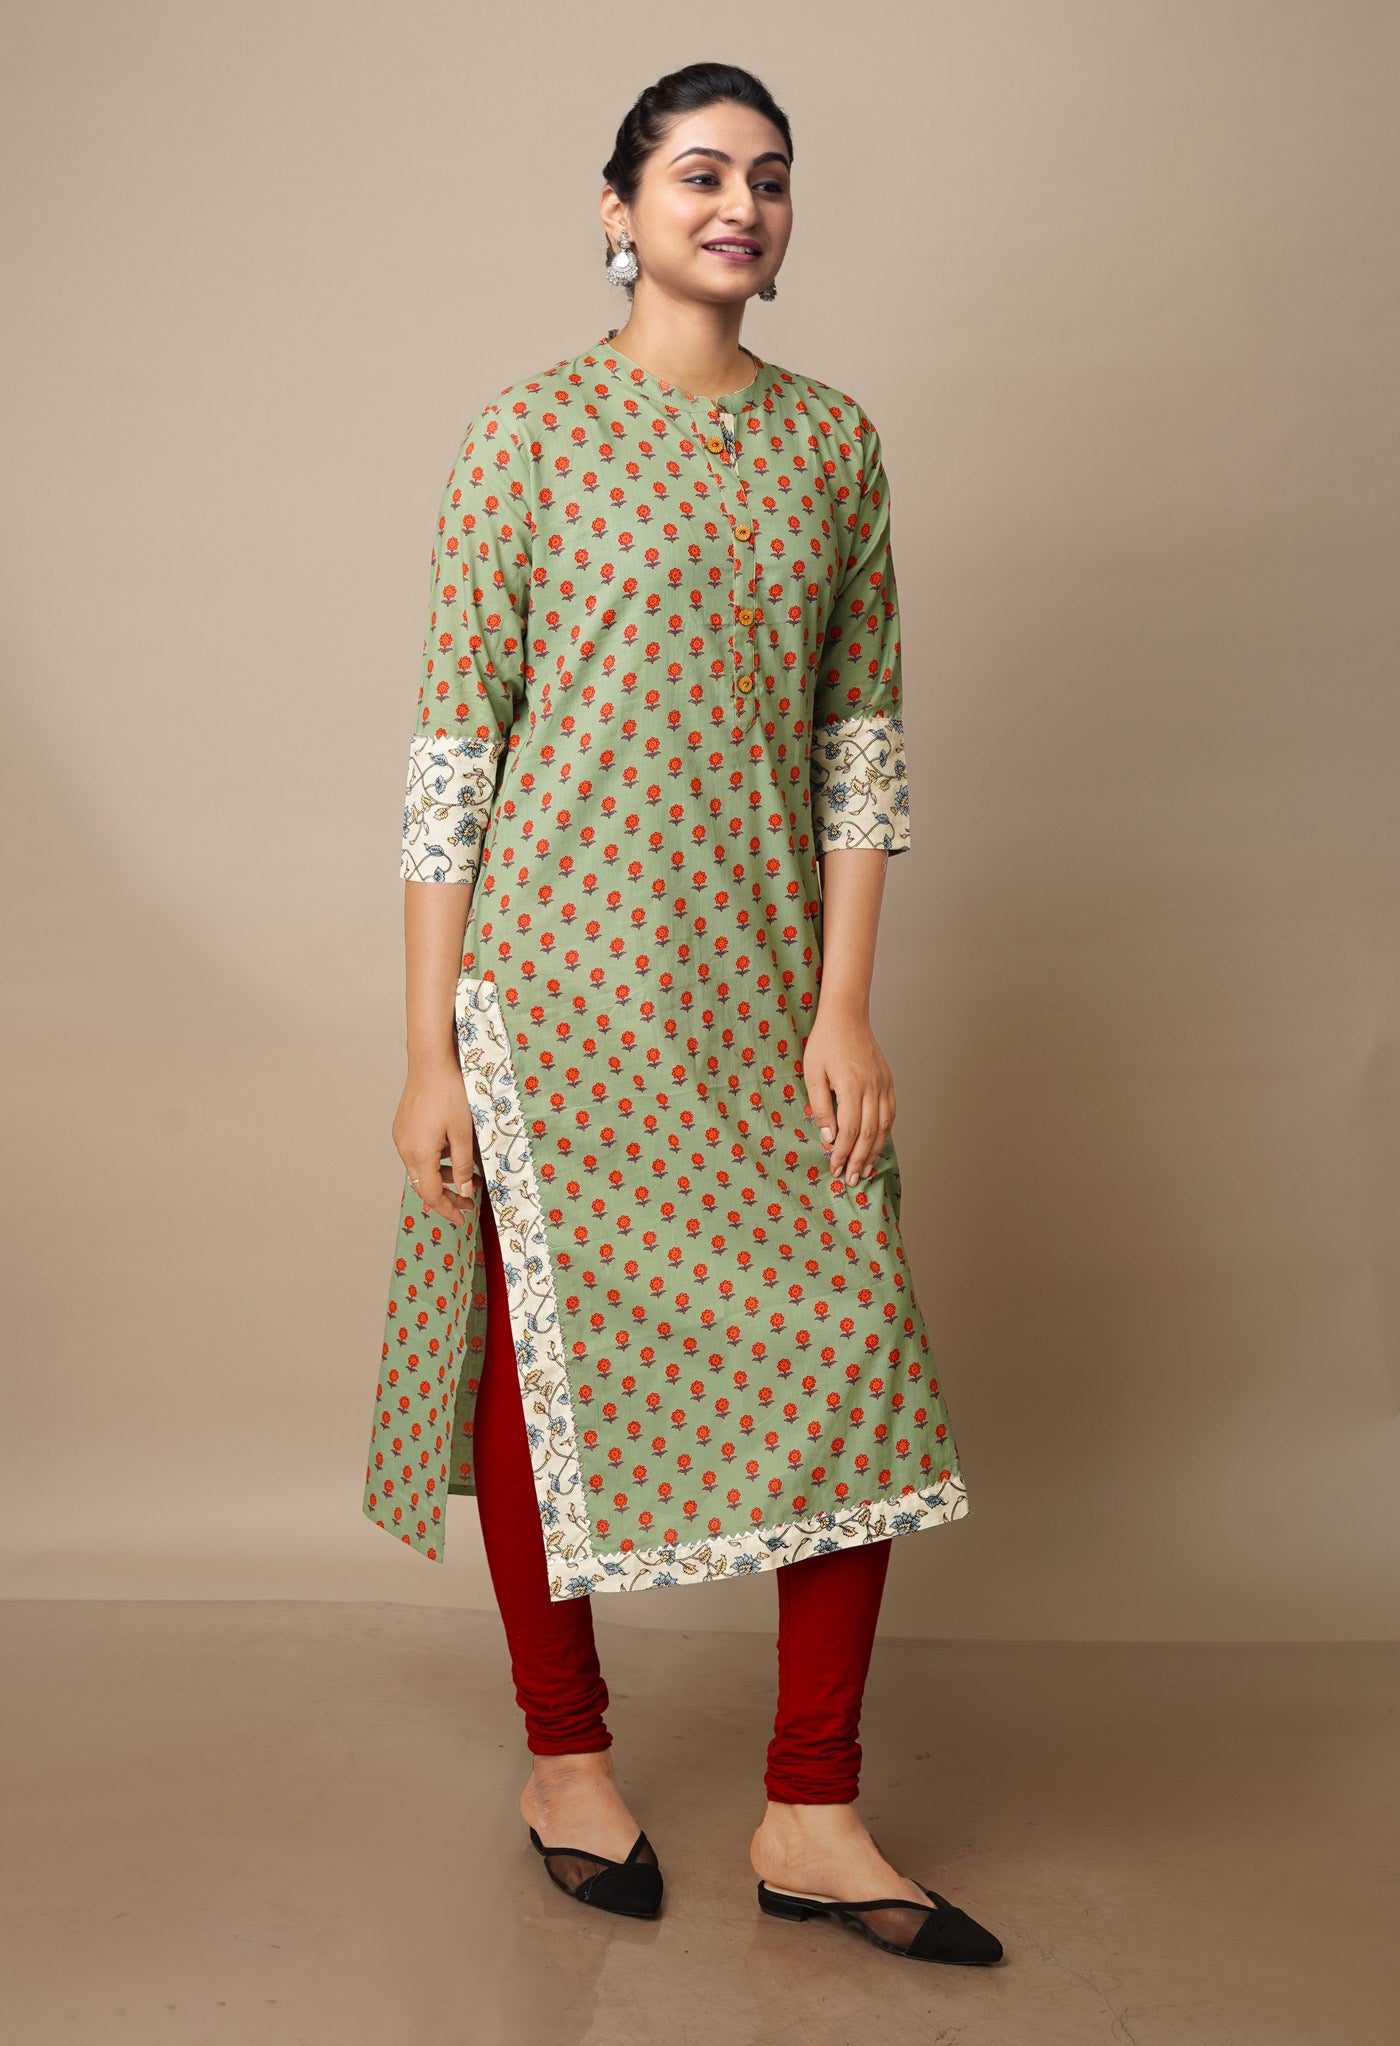
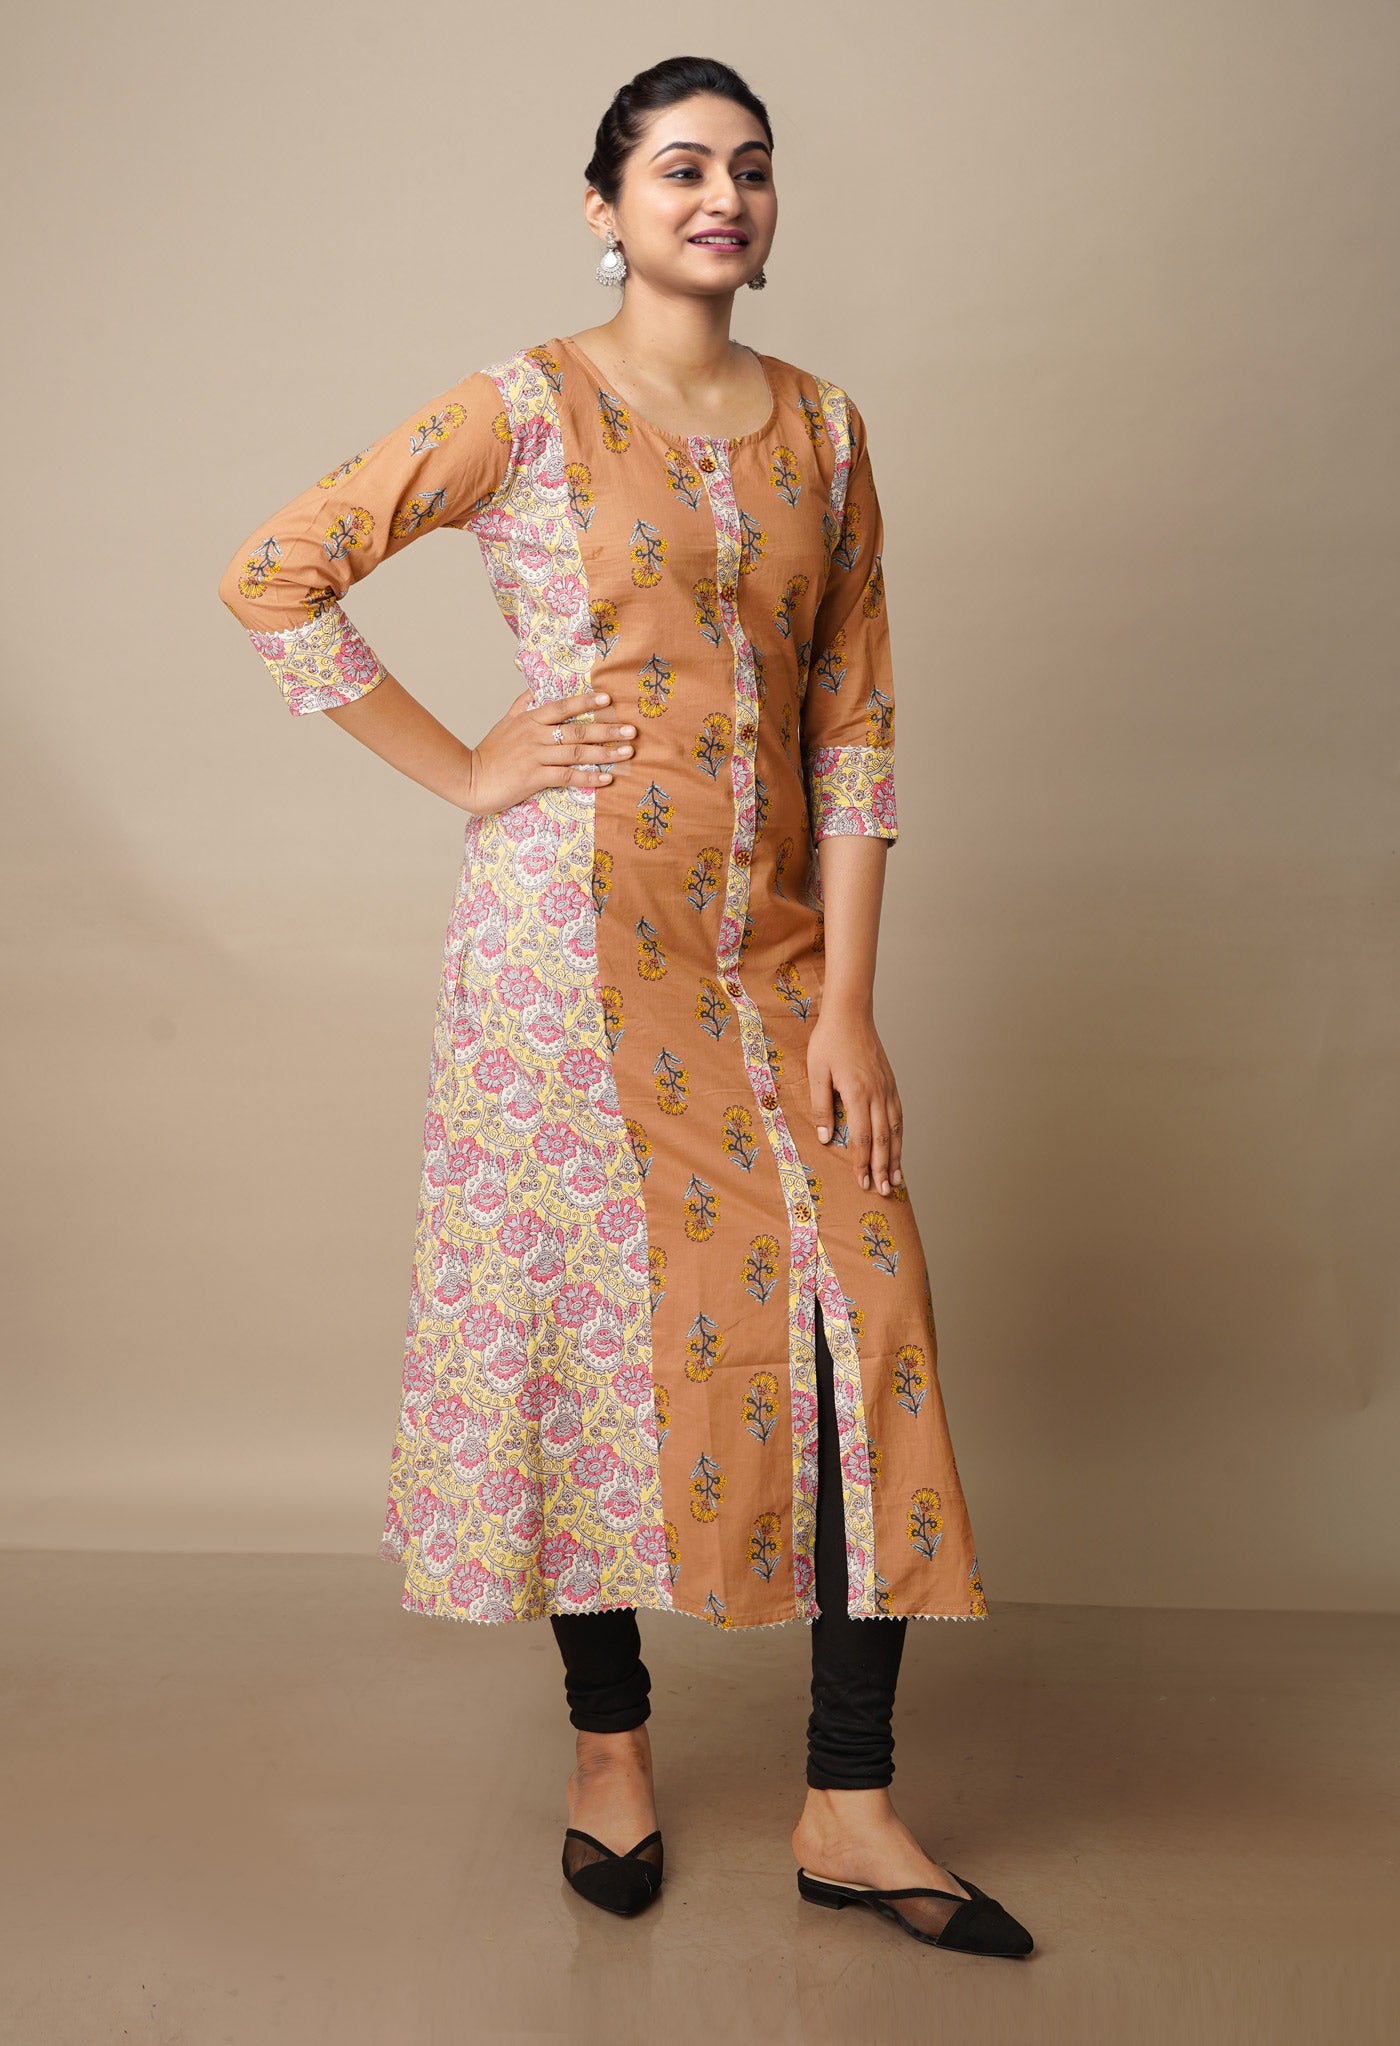
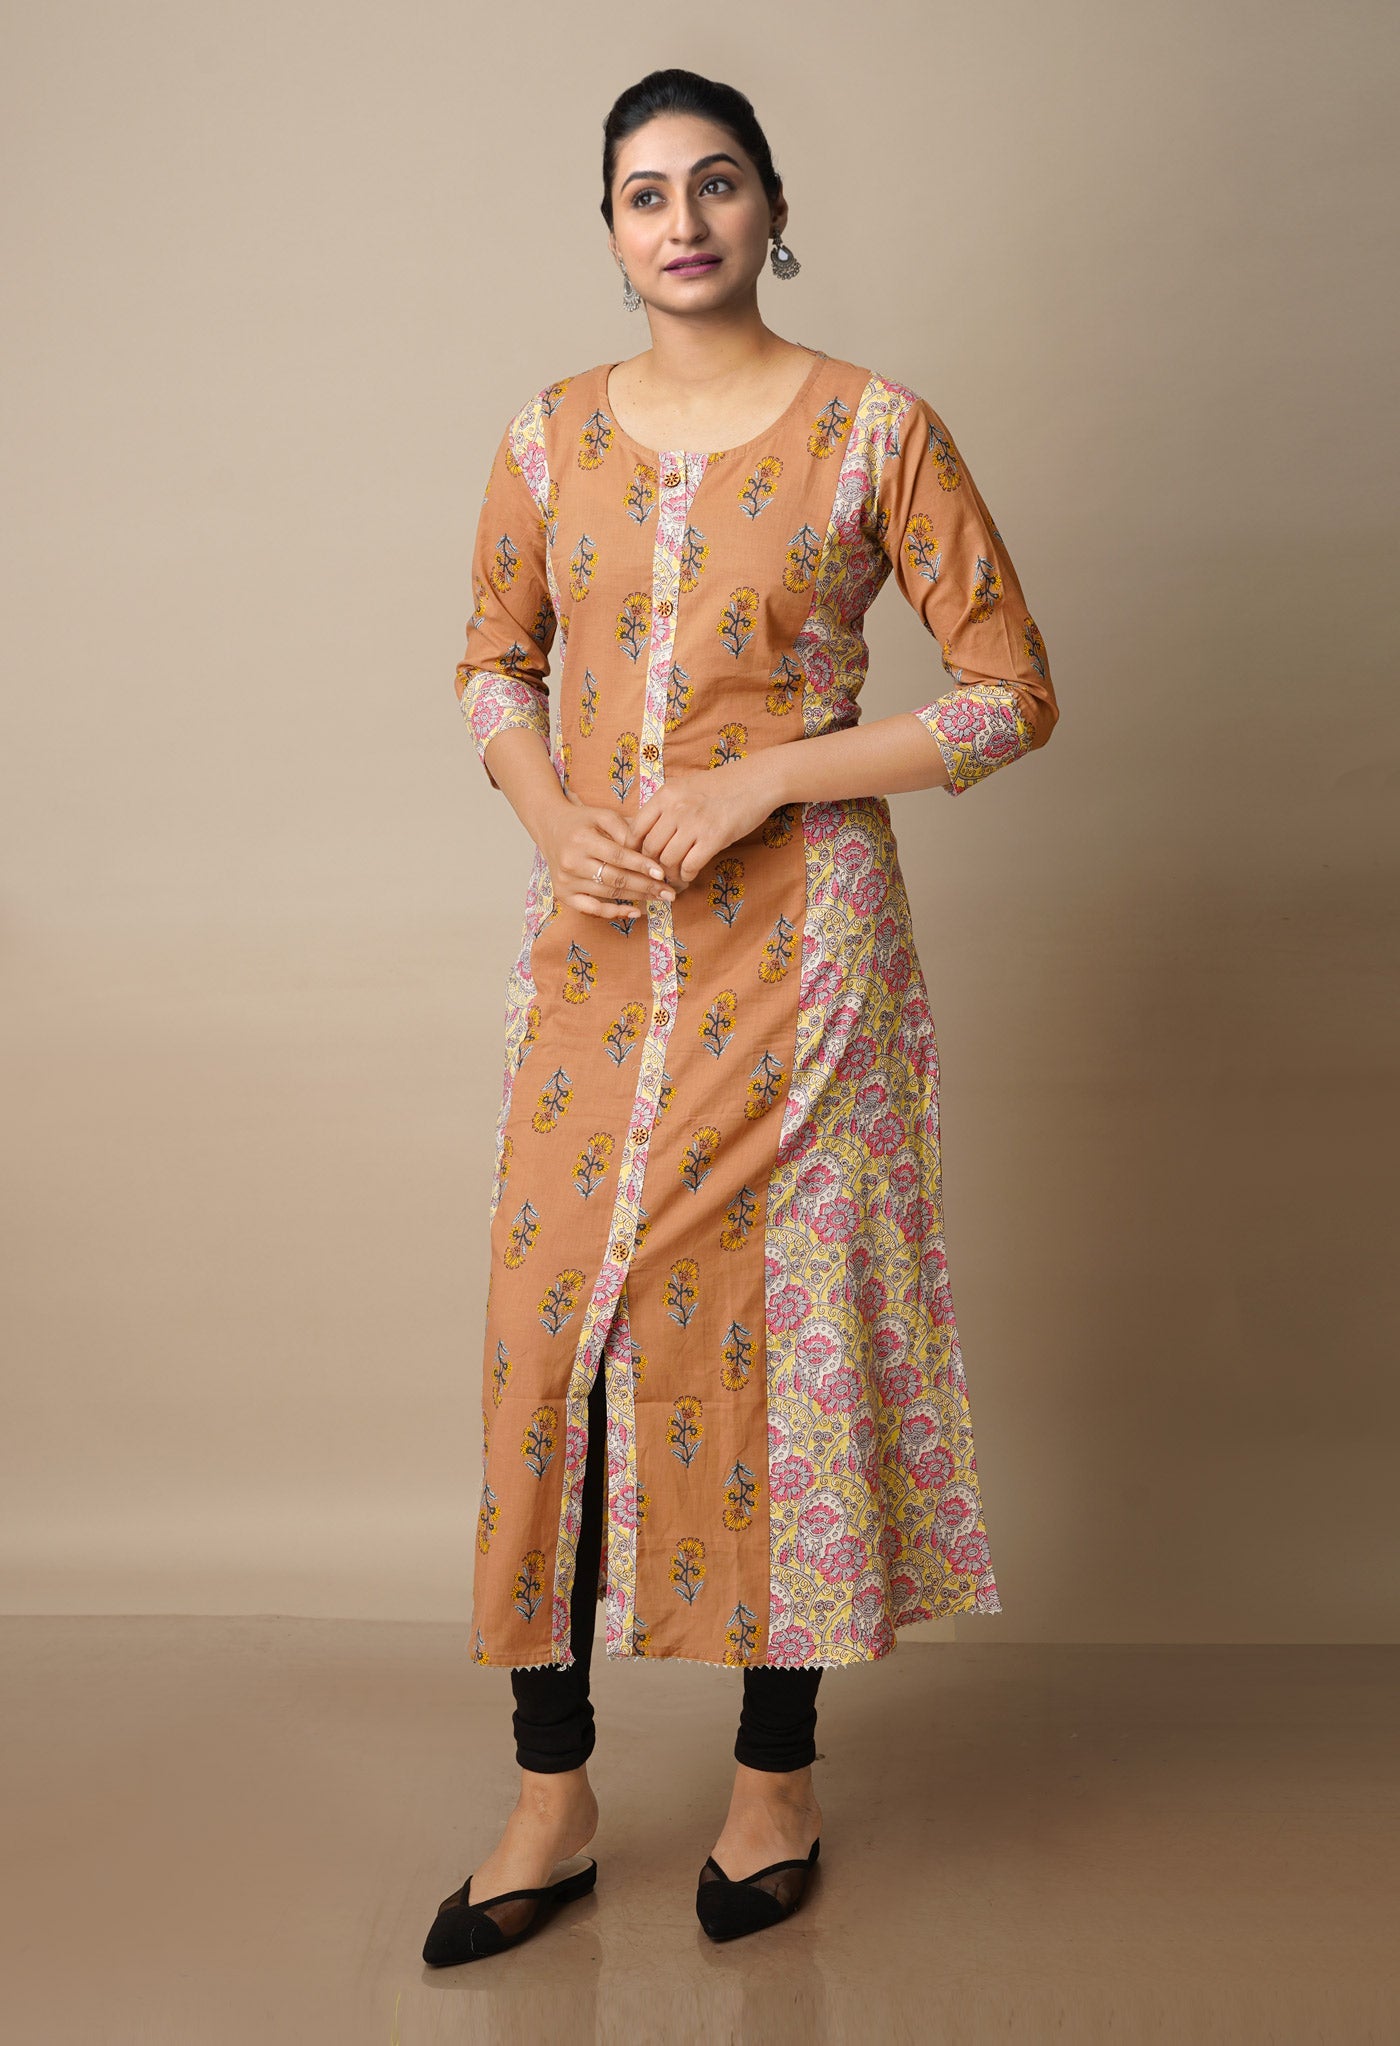
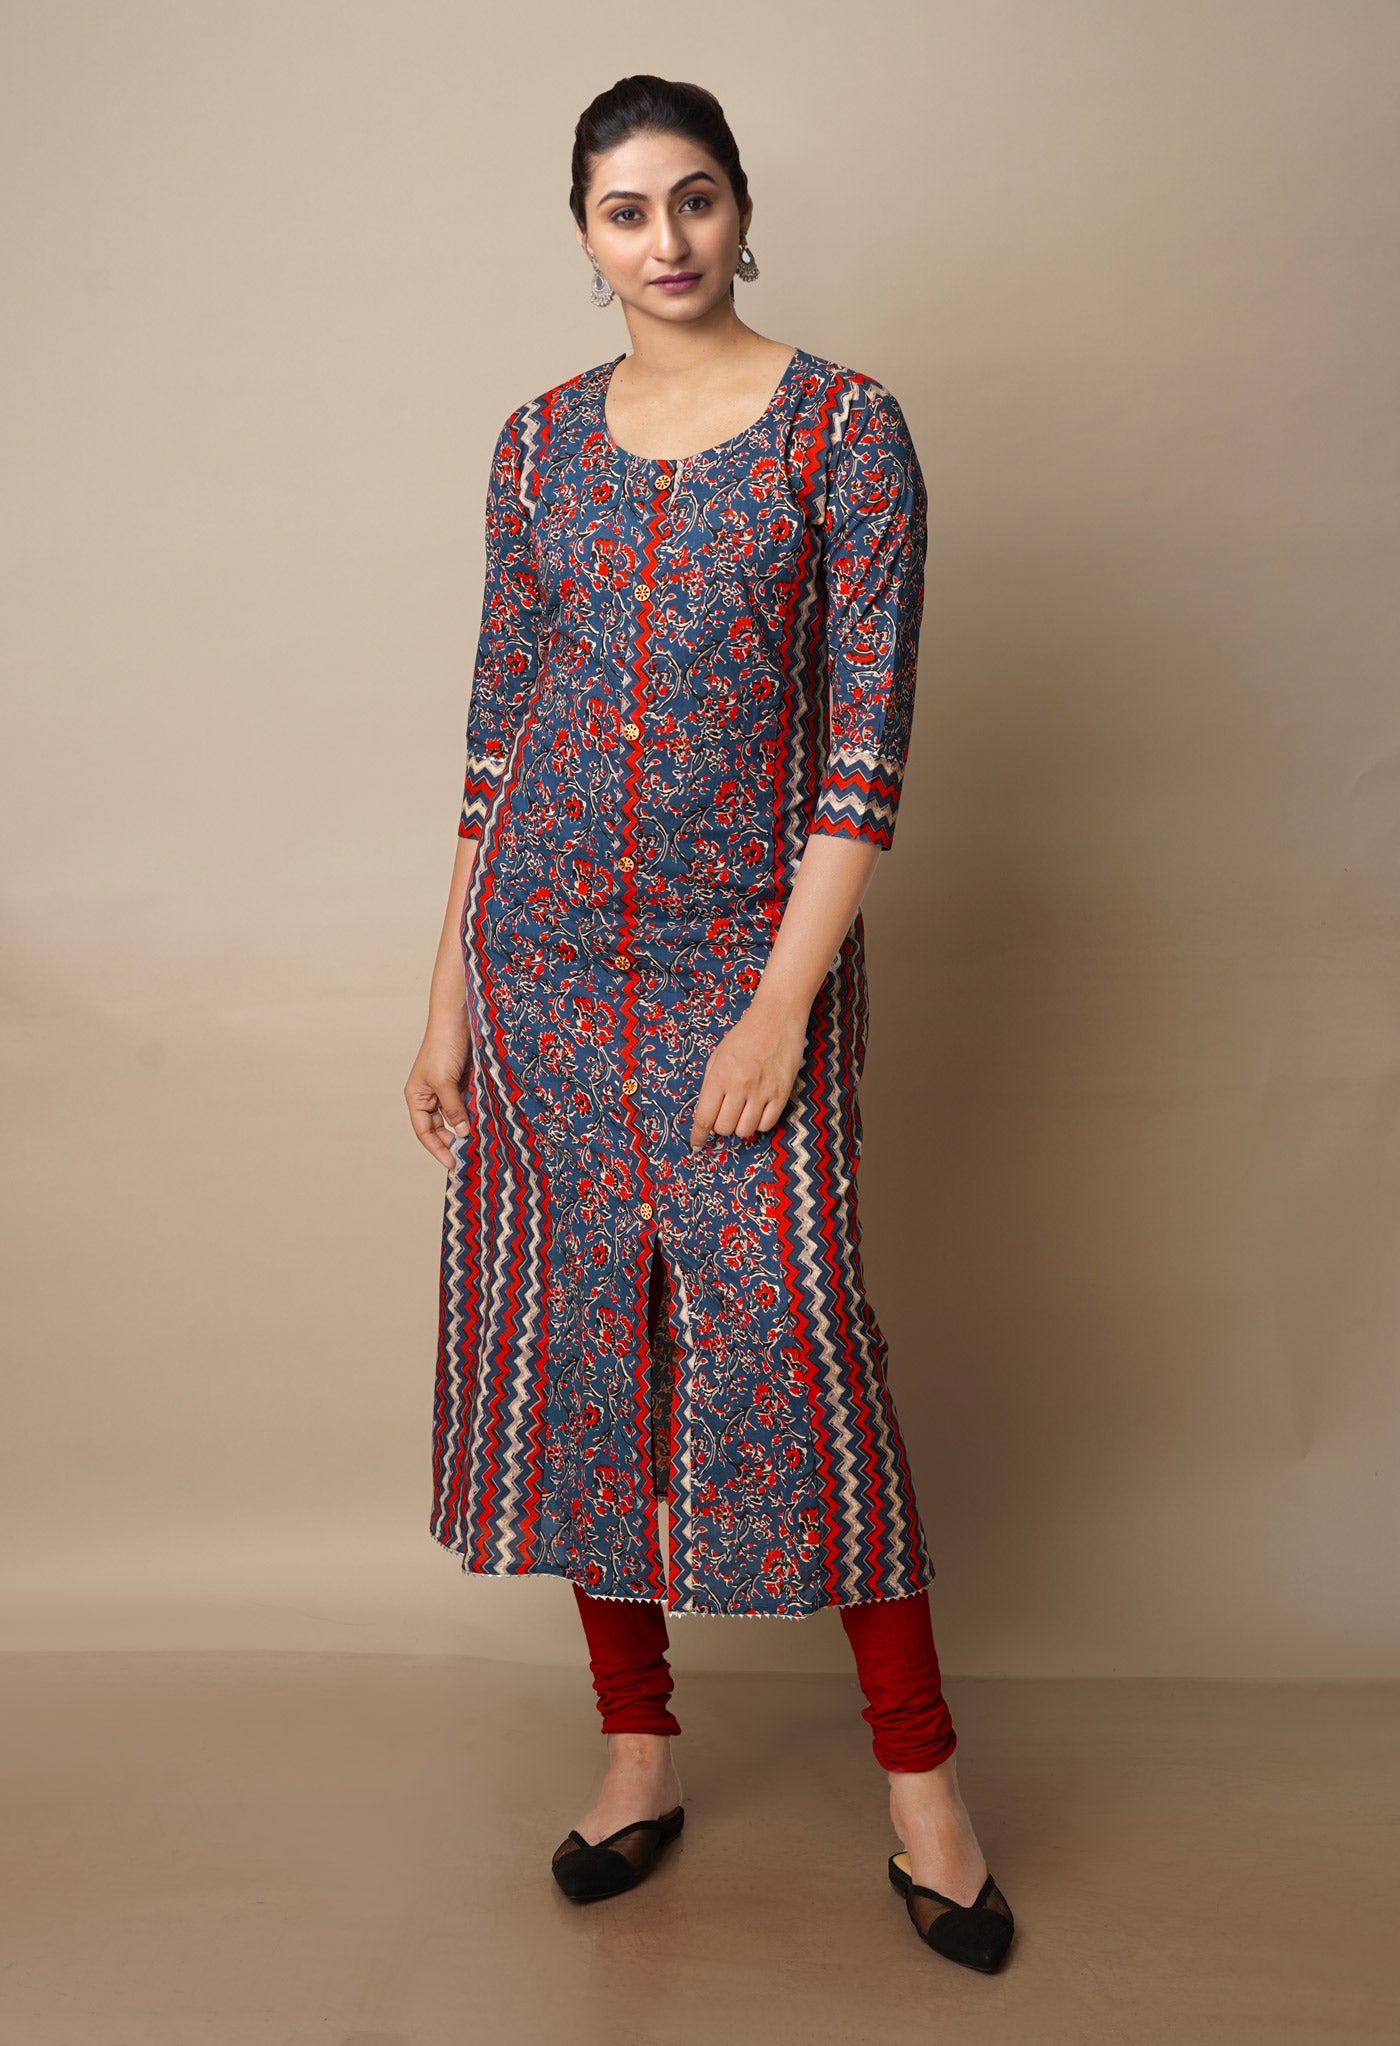
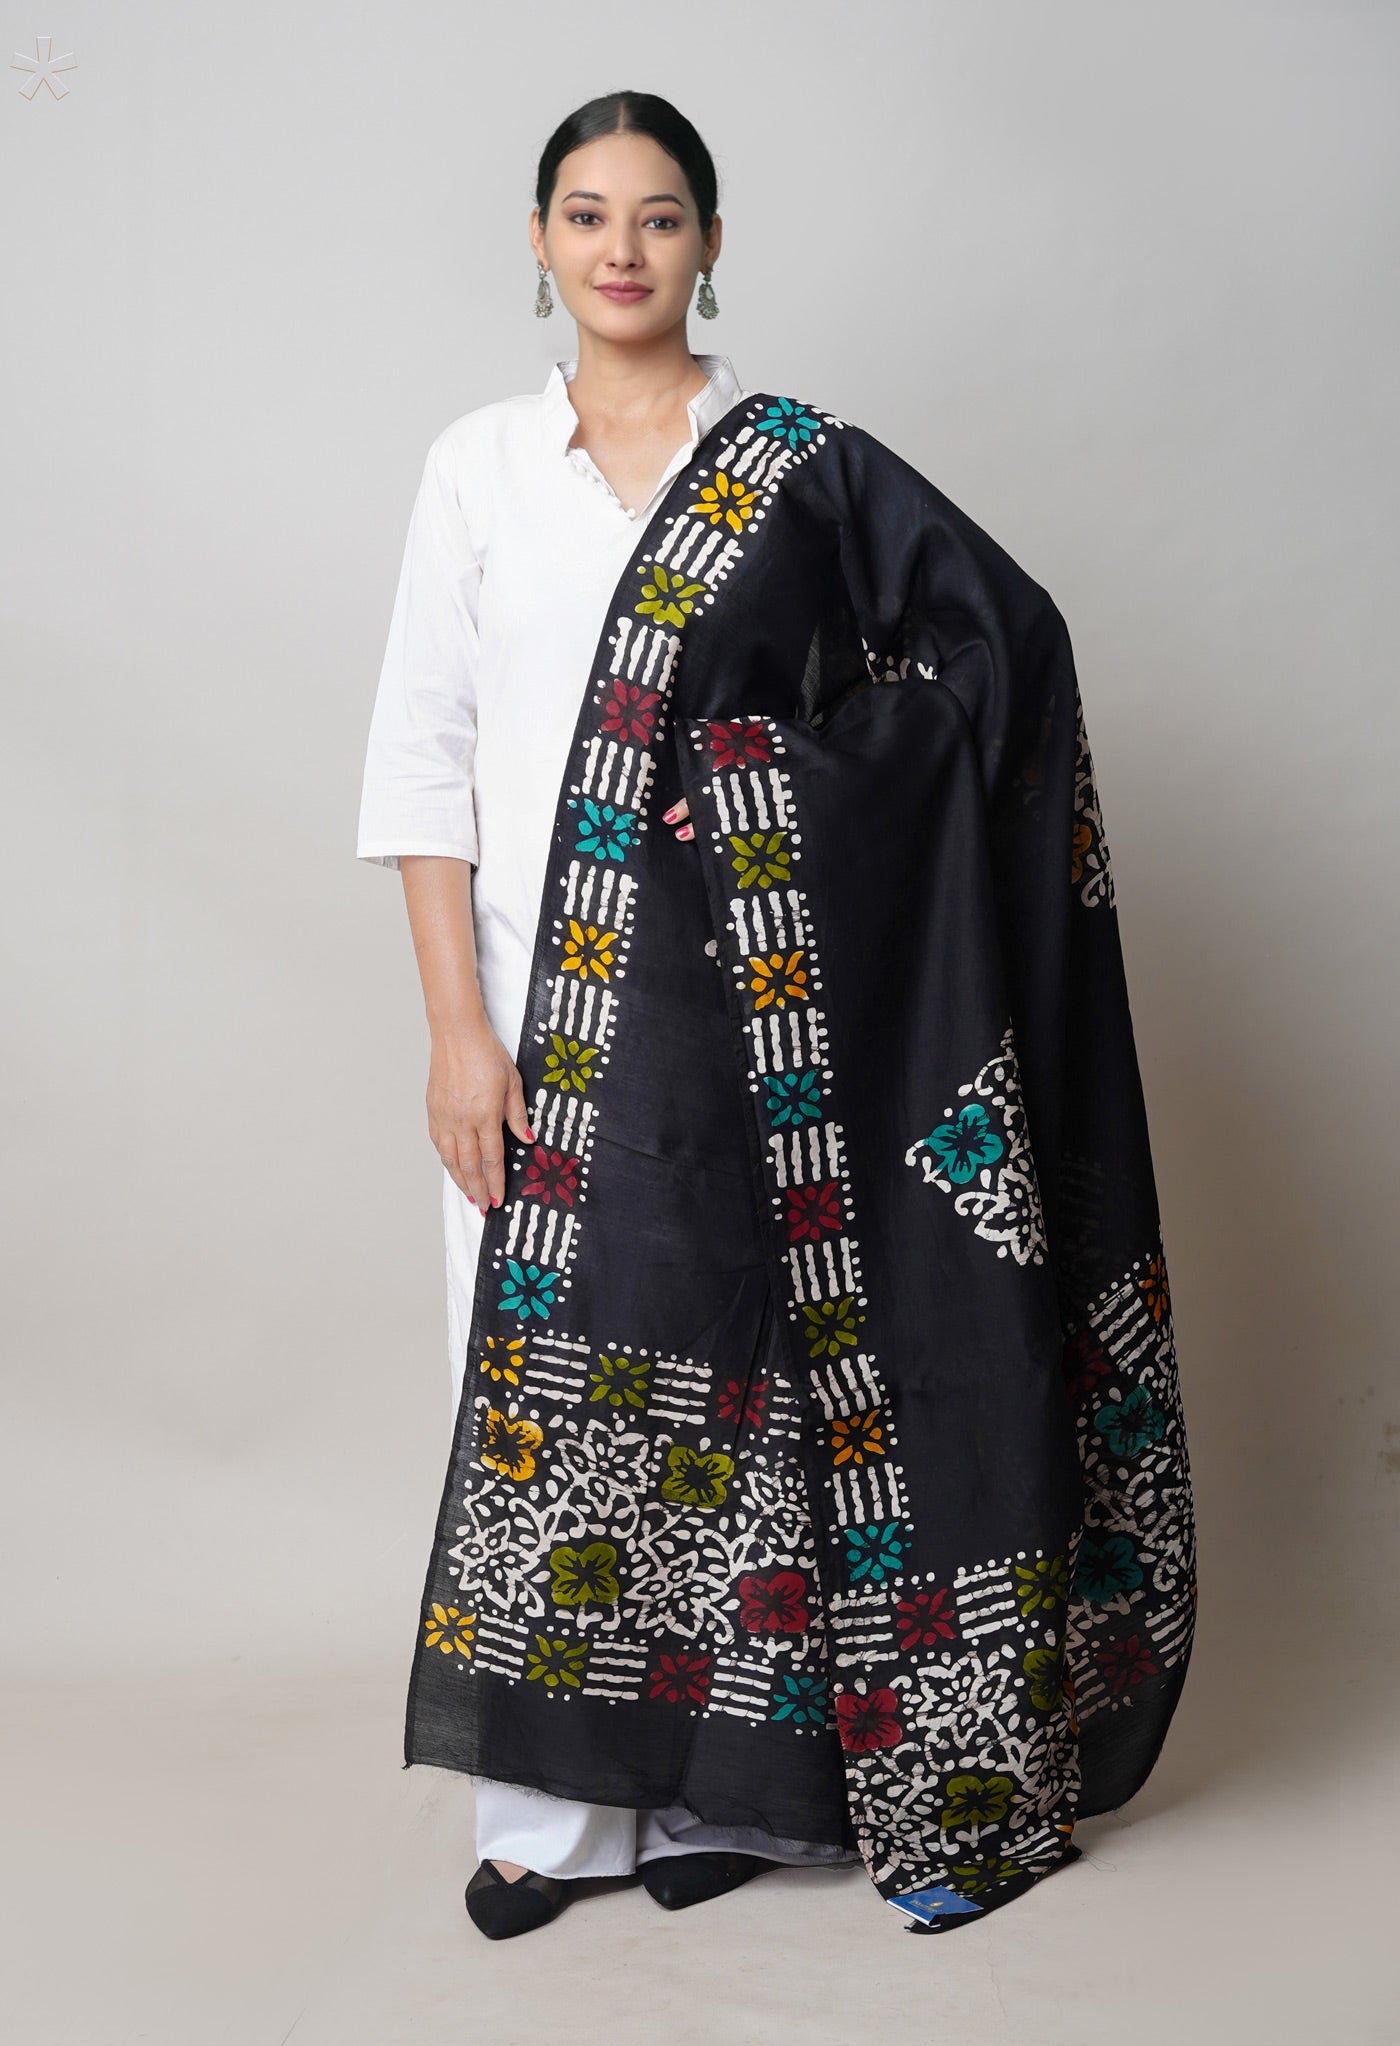
Adventurous are you? Try Designing and making your own clothes for a fling
You’ve ever attempted to make your own dress with your own patterns? No?
Well do attempt it at least once. After that you would not have the heart to leave it alone.
You have decided to make it for yourself, good!
Now it starts with choosing the design. It has two options. You could make the design yourself or there are shops and the internet that could provide the designs that you like.
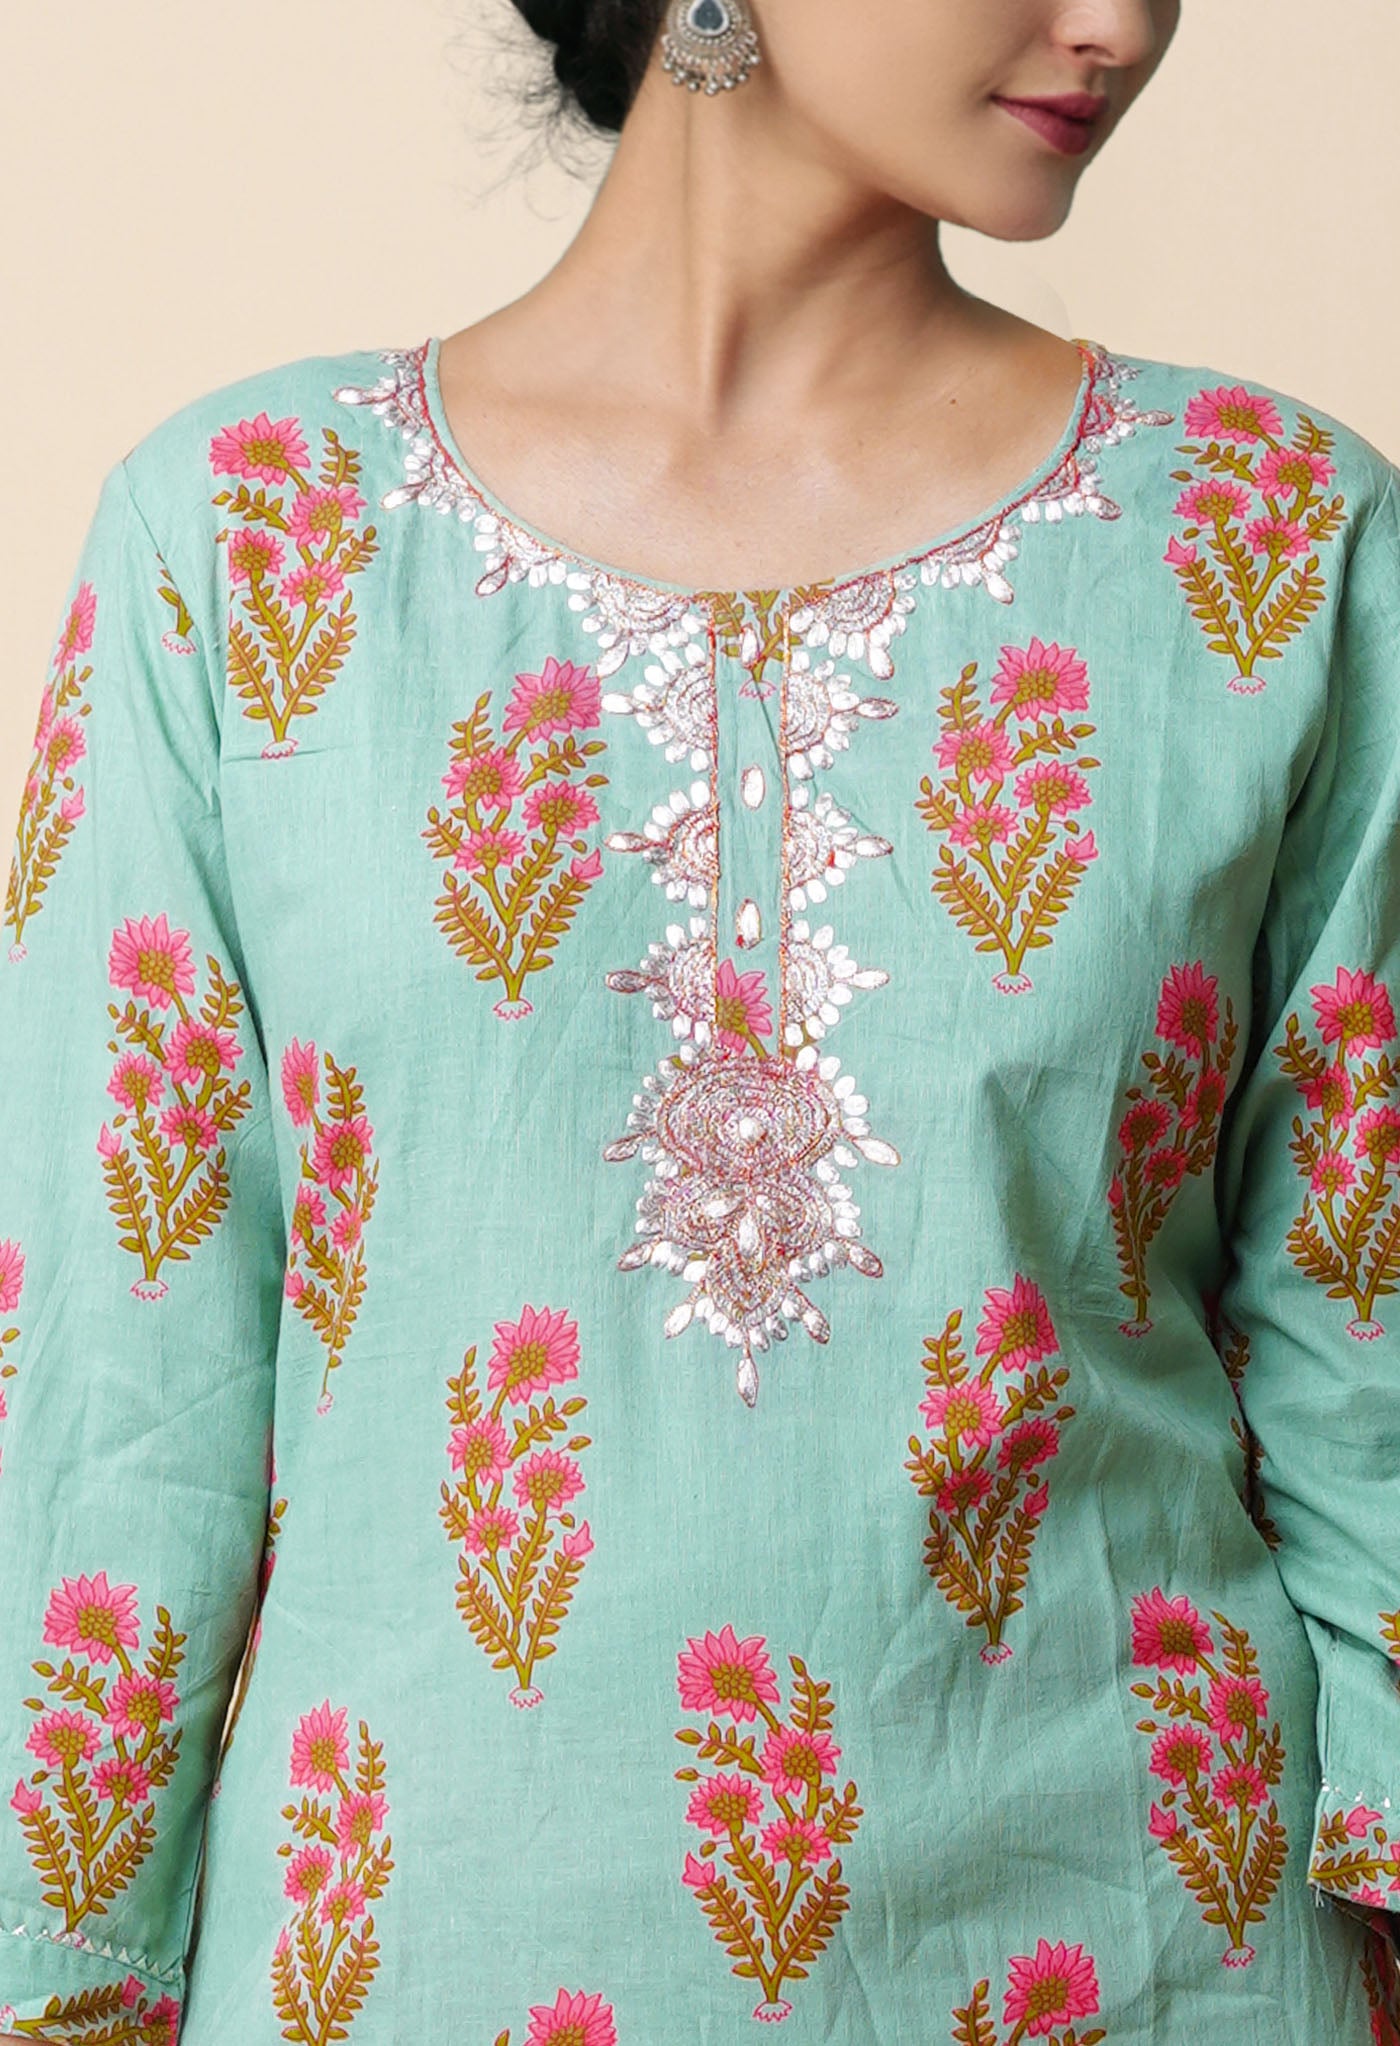
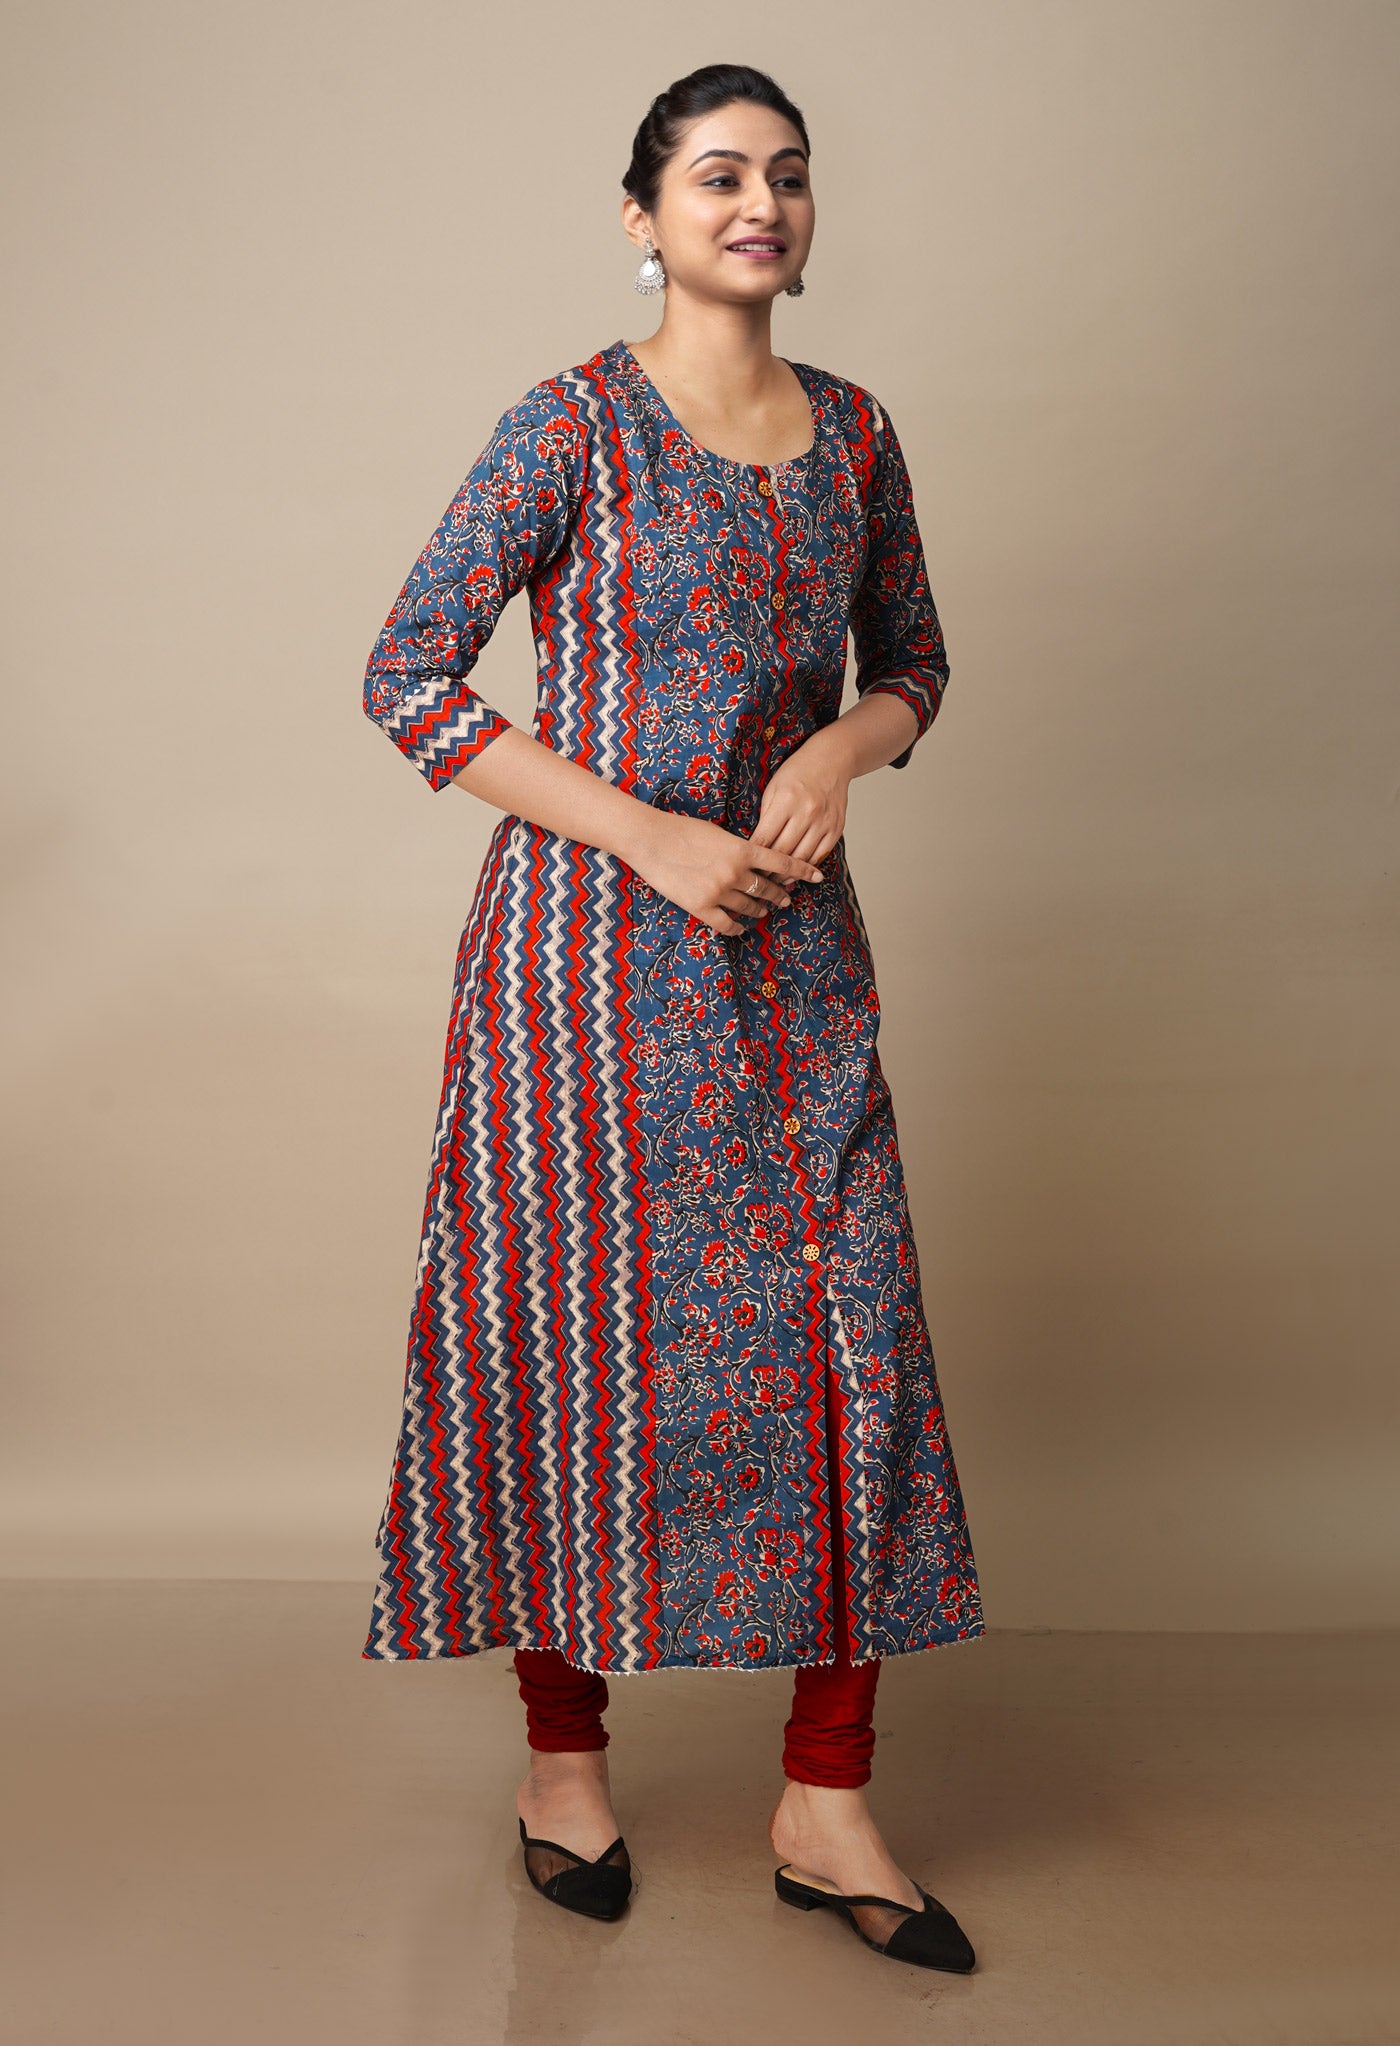
So once you have decided to make the design and kept it ready for marking, then one starts with marking the design on the fabric. There are several ways to do that.

| Types of marking | Description | Advantages | Disadvantages | How to use it |
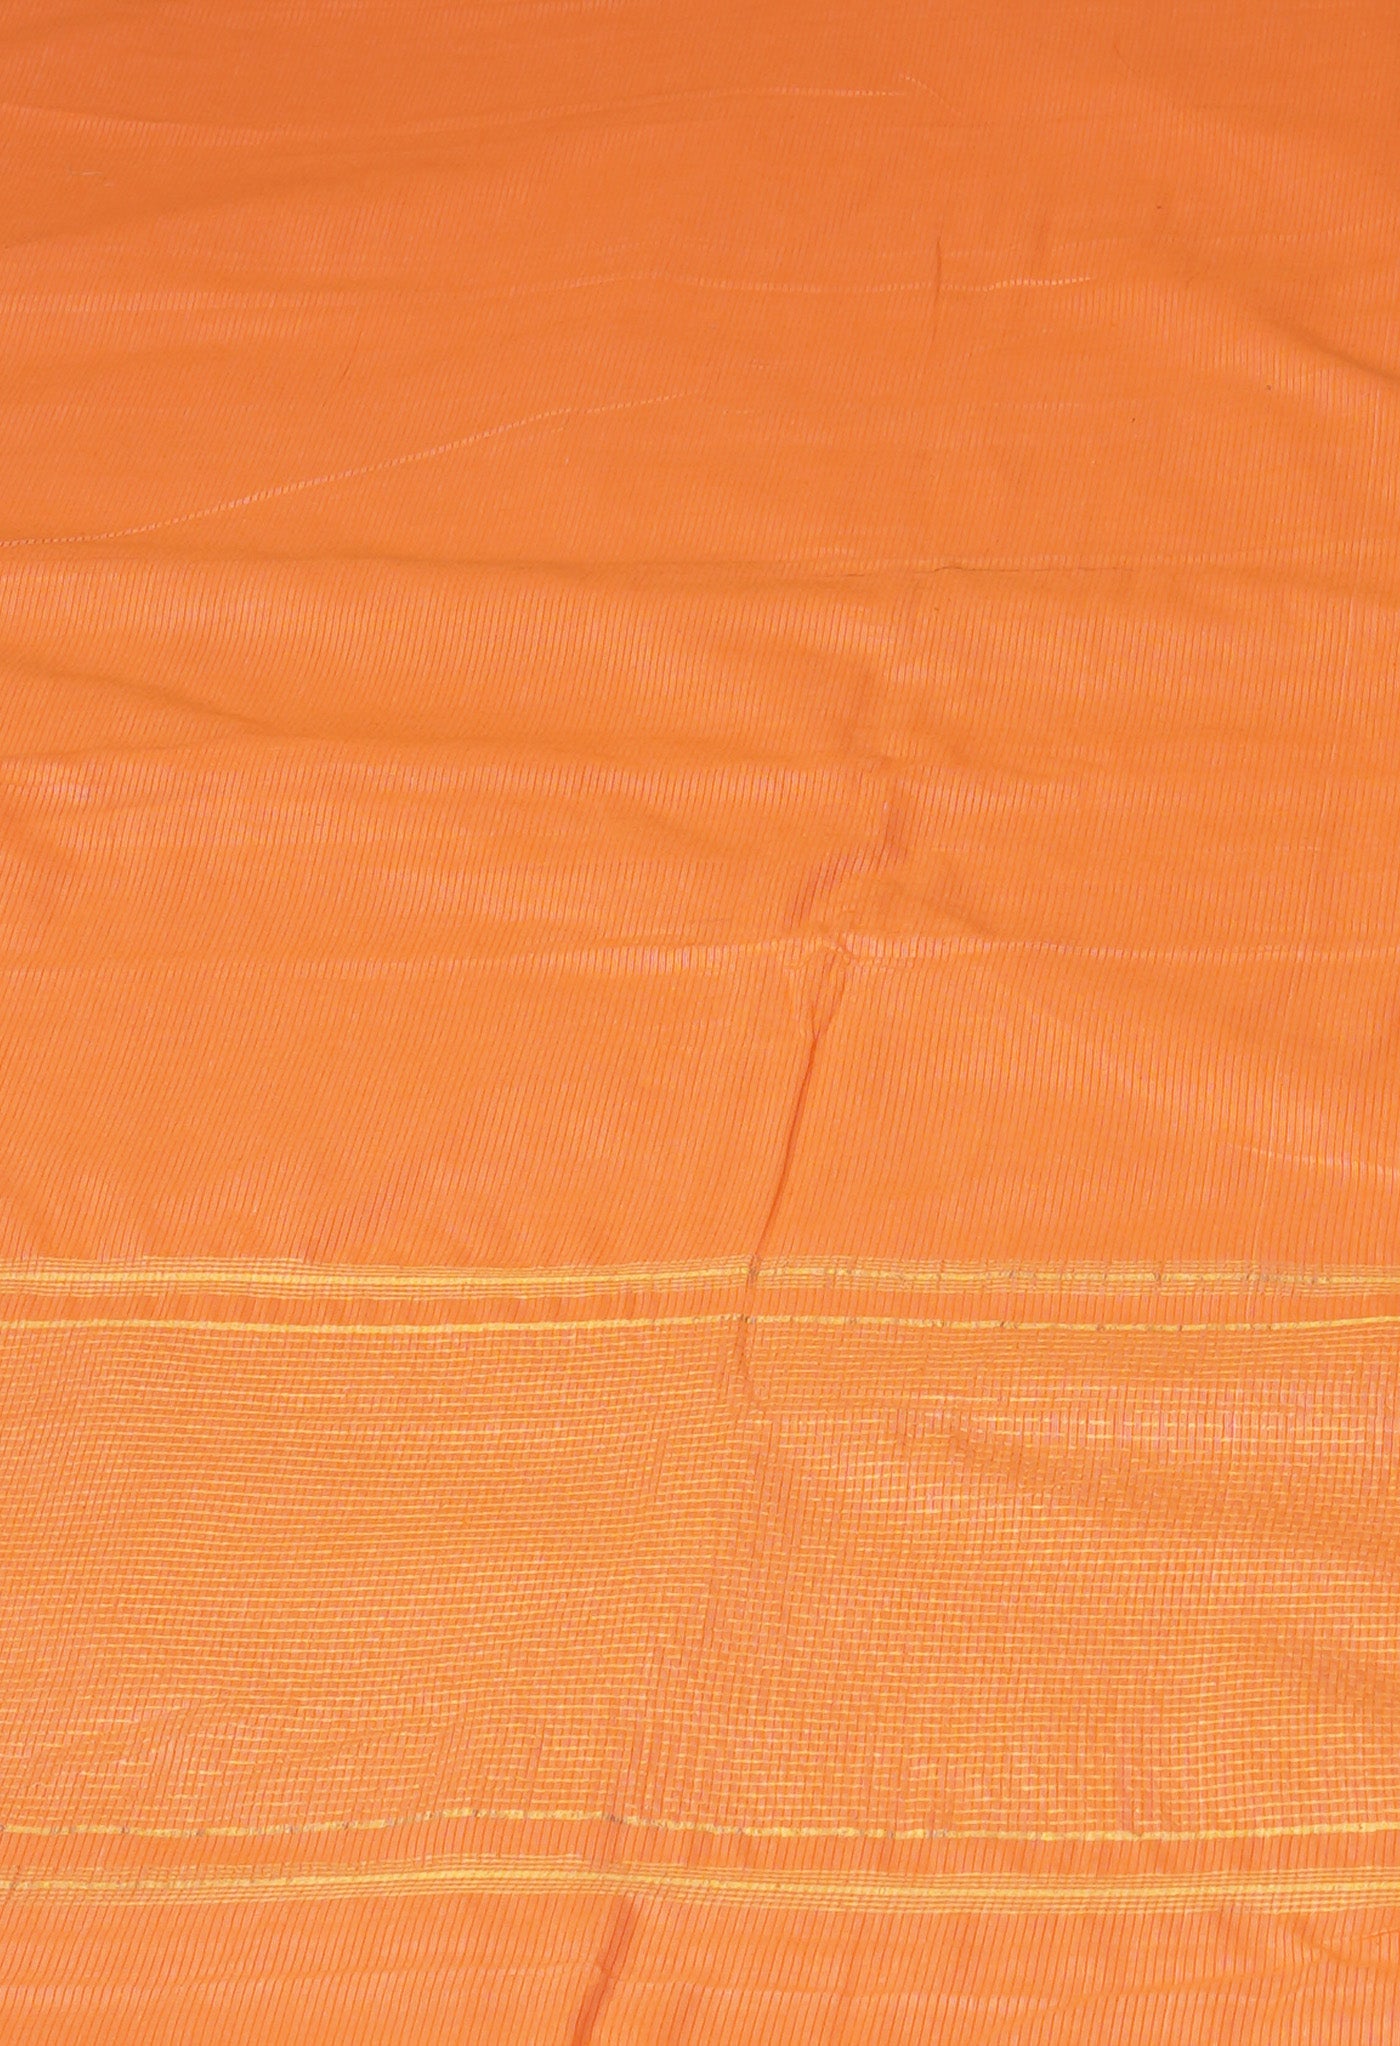
| Tailor's chalk | This chalk is especially made for fabric marking and comes in a number of colours; choose one in contrast to your cloth | This chalk is very easy to use and is gone with a wet wipe or wash | the marking might fade very fast with slightest touch | use this chalk like a pencil to trace around the pattern. |
| Tracing wheel | A pizza cutter like marking tool which makes small dotes in its wake.if used above a carbon paper creates a visible dotted line | the marks will go off with a wet rubbing; easy to see and not so easily removed as chalk. | mark made is difficult to see if used alone so cannot be used on see through or printed clothes. Also never use with carbon paper with dry clean only clothes or clothes which may not be washed before use. | use cardboard underneath to protect the other side of clothes and surface. |
| Marking pen | The ink in these pens disappear in a few days | easy to use | some inks may not disappear so test on a patch of cloth | use like chalk |
| Bar soap | a sliver of bar soap is used to mark | cheap and you will have it at home always | Can’t be used on dry clean only fabrics; very difficult to see the marks on light coloured fabrics | use like chalk |
| Stiches | Using needle and thread to stitch markings by hand | best for heavy patterned clothes | very difficult and time consuming | use tracing paper and wheel to make markings on wrong side then hand sew the line. |
| snips/clipping | these are made using scissors; small snips are made at appropriate places | easy | Do not overdo it otherwise it can weaken the seam | clip about 1/4 inches into the seam allowance. |
| Tacks | use contrasting thread to make small stitch without knotting the thread | used in places where marking with chalk and other tools are impossible | the stitch may come loose |
The design can be traced on paper and transferred to cloth by loosely stitching on the areas where you want it.
Paper patterns
There is a distinct advantage in using paper patterns.
- Time saving, if making the garment / or a single piece of garment like a sleeve, again; as, once you make a pattern you don’t have to waste time the next time you are making a similar dress, in taking measurement and marking on paper etc ; you can just go about choosing your fabric and start sewing.
2. Ease of use is an obvious advantage as, if we mark directly on to the fabric and if there is some alteration in the measurement, the markings you have made may mess up your cloth.

Marking tools to transfer the patterns to your fabric
Now that you have your pattern, how do you transfer the design onto the fabric.
One of the easiest and cheapest methods is using a piece of soap. Cut some pieces of soap and keep them near your cutting table.
They can be used to mark on fabric- the advantage being that they can easily be removed by rubbing gently with a wet cloth.
Pattern pieces normally represent a garments right half. Place the paper pattern piece straight on fold and pin spaced about 10 cms apart; cut accurately. Do not forget to place one hand near the cutting line for stability while you cut with the other hand.
Fold your fabric in half lengthways with right sides together.
Note: Drafting a pattern can be done on the paper or the cloth directly. Once you have made paper patterns, unless your body has not changed, you can keep on sewing with the same pattern again and again.
There is also the method of making tack stitches for marking.
Tacking refers to stitching or using some other means to keep fabric layers together temporarily in preparation for stitching before the final permanent sewing. Tacking stitches are also called basting stitches in this context. Check out the post on the different basting stitches used in sewing, if you are looking for stitches that are temporary stitches holding fabric layers together
But tacking stitches are used for temporarily marking fabric as well. These tacking stitches are different from the loose running stitches which are also referred as basting stitches. This is a loose looped stitch which is cut on the fabric, as an indication as to where to stitch finally

Why do we make Tack stitches ?
There are places in your fabric for sewing where you are not able to mark patterns using the usual way – with chalk or tracing wheel on the face of the fabric.
One may not want to make obvious markings on the precious fabric for various reasons.
- One that it be precious actually
- it could be a dry clean only fabric and you do not want to touch even a drop of water to remove difficult marks
- maybe it is a heavily beaded/sequined fabric;
- may be it is an open loose weave fabric and you cannot mark any other way;
- maybe chalk is not available, the pins are rusty
- maybe there is more than one layer of fabric in which the markings have to be exact.
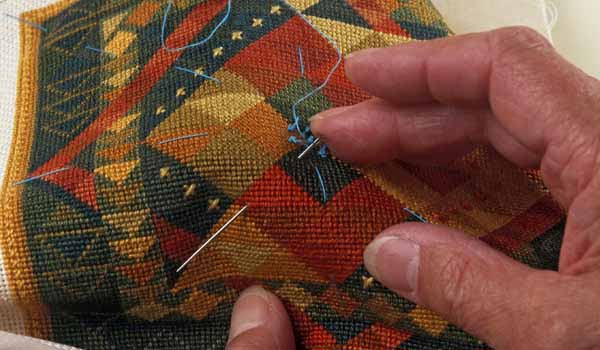
Whatever the reason the Tailor Tacks is a very useful stitch to master. The tacking stitches works great as temporary marking stitches. Positions like dart positions, buttonhole endings, fold lines, pleats, closures, pocket corners etc are marked using tack stitches this way.
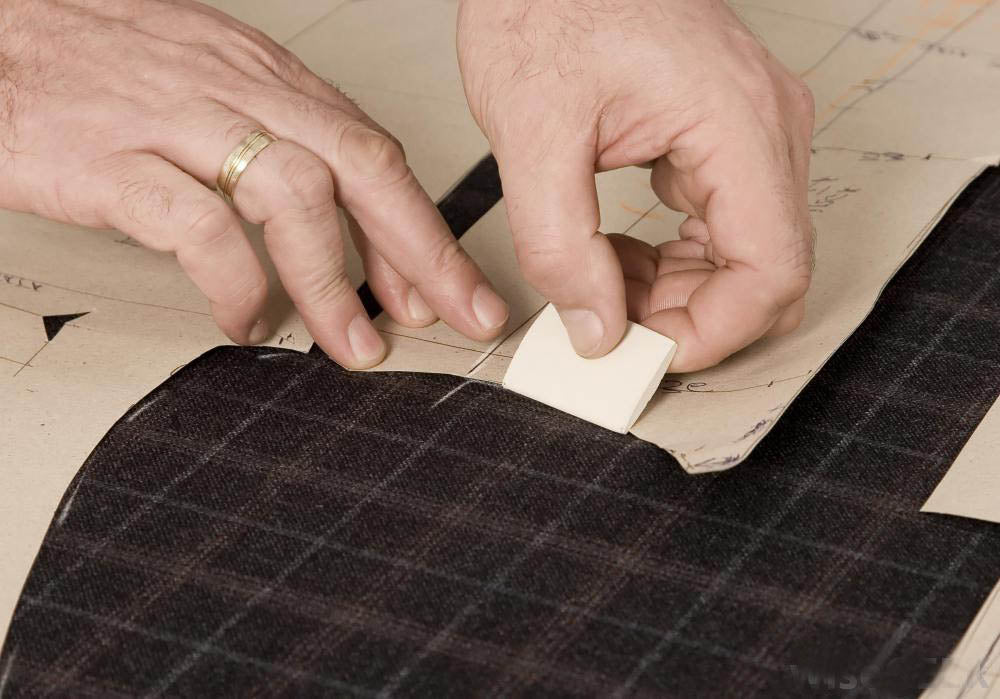
Step 1 Keep the pattern paper on top of the fabric layers
Thread your sewing needle so that you have two strands of a contrasting thread on the needle.

Step 2 Make loose running stitches of 1 to 1.5 inch length through all the layers – the pattern paper and the fabric layers.
Leave a lot of tail at the start and at the ending and make really loose stitches so that they project out as loops. The stitches should appear like small loops on the surface.
You can make individual tack stitches or continuous tack stitches depending on the purpose. For button positions, buttonhole ends etc., individual tailor’s tacks are used. For dart markings, seams etc you make continuous tack stitches.

Step 3 When you have finished the stitches, cut through the top of the loops of the stitches.
Use the thread snips for this or sharp small pointed scissors. It will now look like the above picture. You should make bigger loops than what I have made if you have more than one layer of fabric under the pattern paper

Step 4 Now you can carefully remove the pattern paper.
The cut loops will give you direction as to where you should make the permanent stitches

Step 5 If you have more than one layer ( i.e. you have two identical fabric on which you need to make the markings at the same place) Carefully open up the top layers of fabric and as you open very carefully cut the stitches in between.
This will leave thread markings on both the layers of fabric. You have to ensure that the thread do not come off the top layer as you cut
After you have made the final permanent stitches you can simply take off the tacking stitches; they come off easily enough.
If the fabric is very fine and you are afraid that these tacks will slip out you will have to make bigger loops so that you have longer tails. You can also make knots with the tails to ensure they do not fall off
 Tie tack stitch
This is a stitch used to join fabric layers together in one spot. The needle makes a loop stitch and take out the tail so that you have two tails on top of the fabric. These tails are then tied to make the tack stitch.


