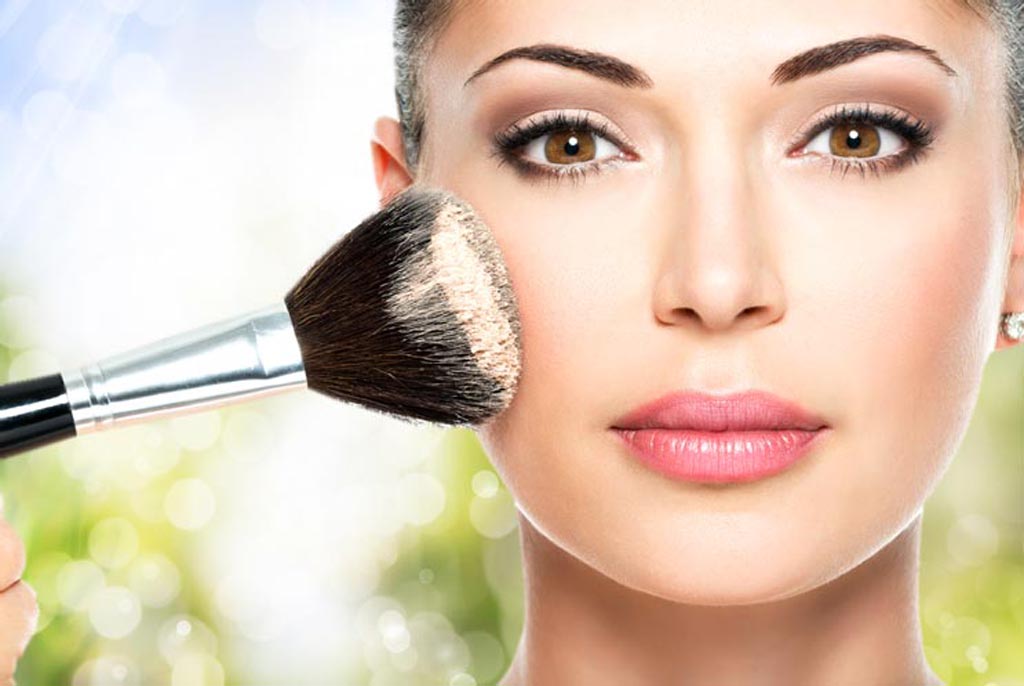
Face Contouring – A fast catching art of facial enhancement
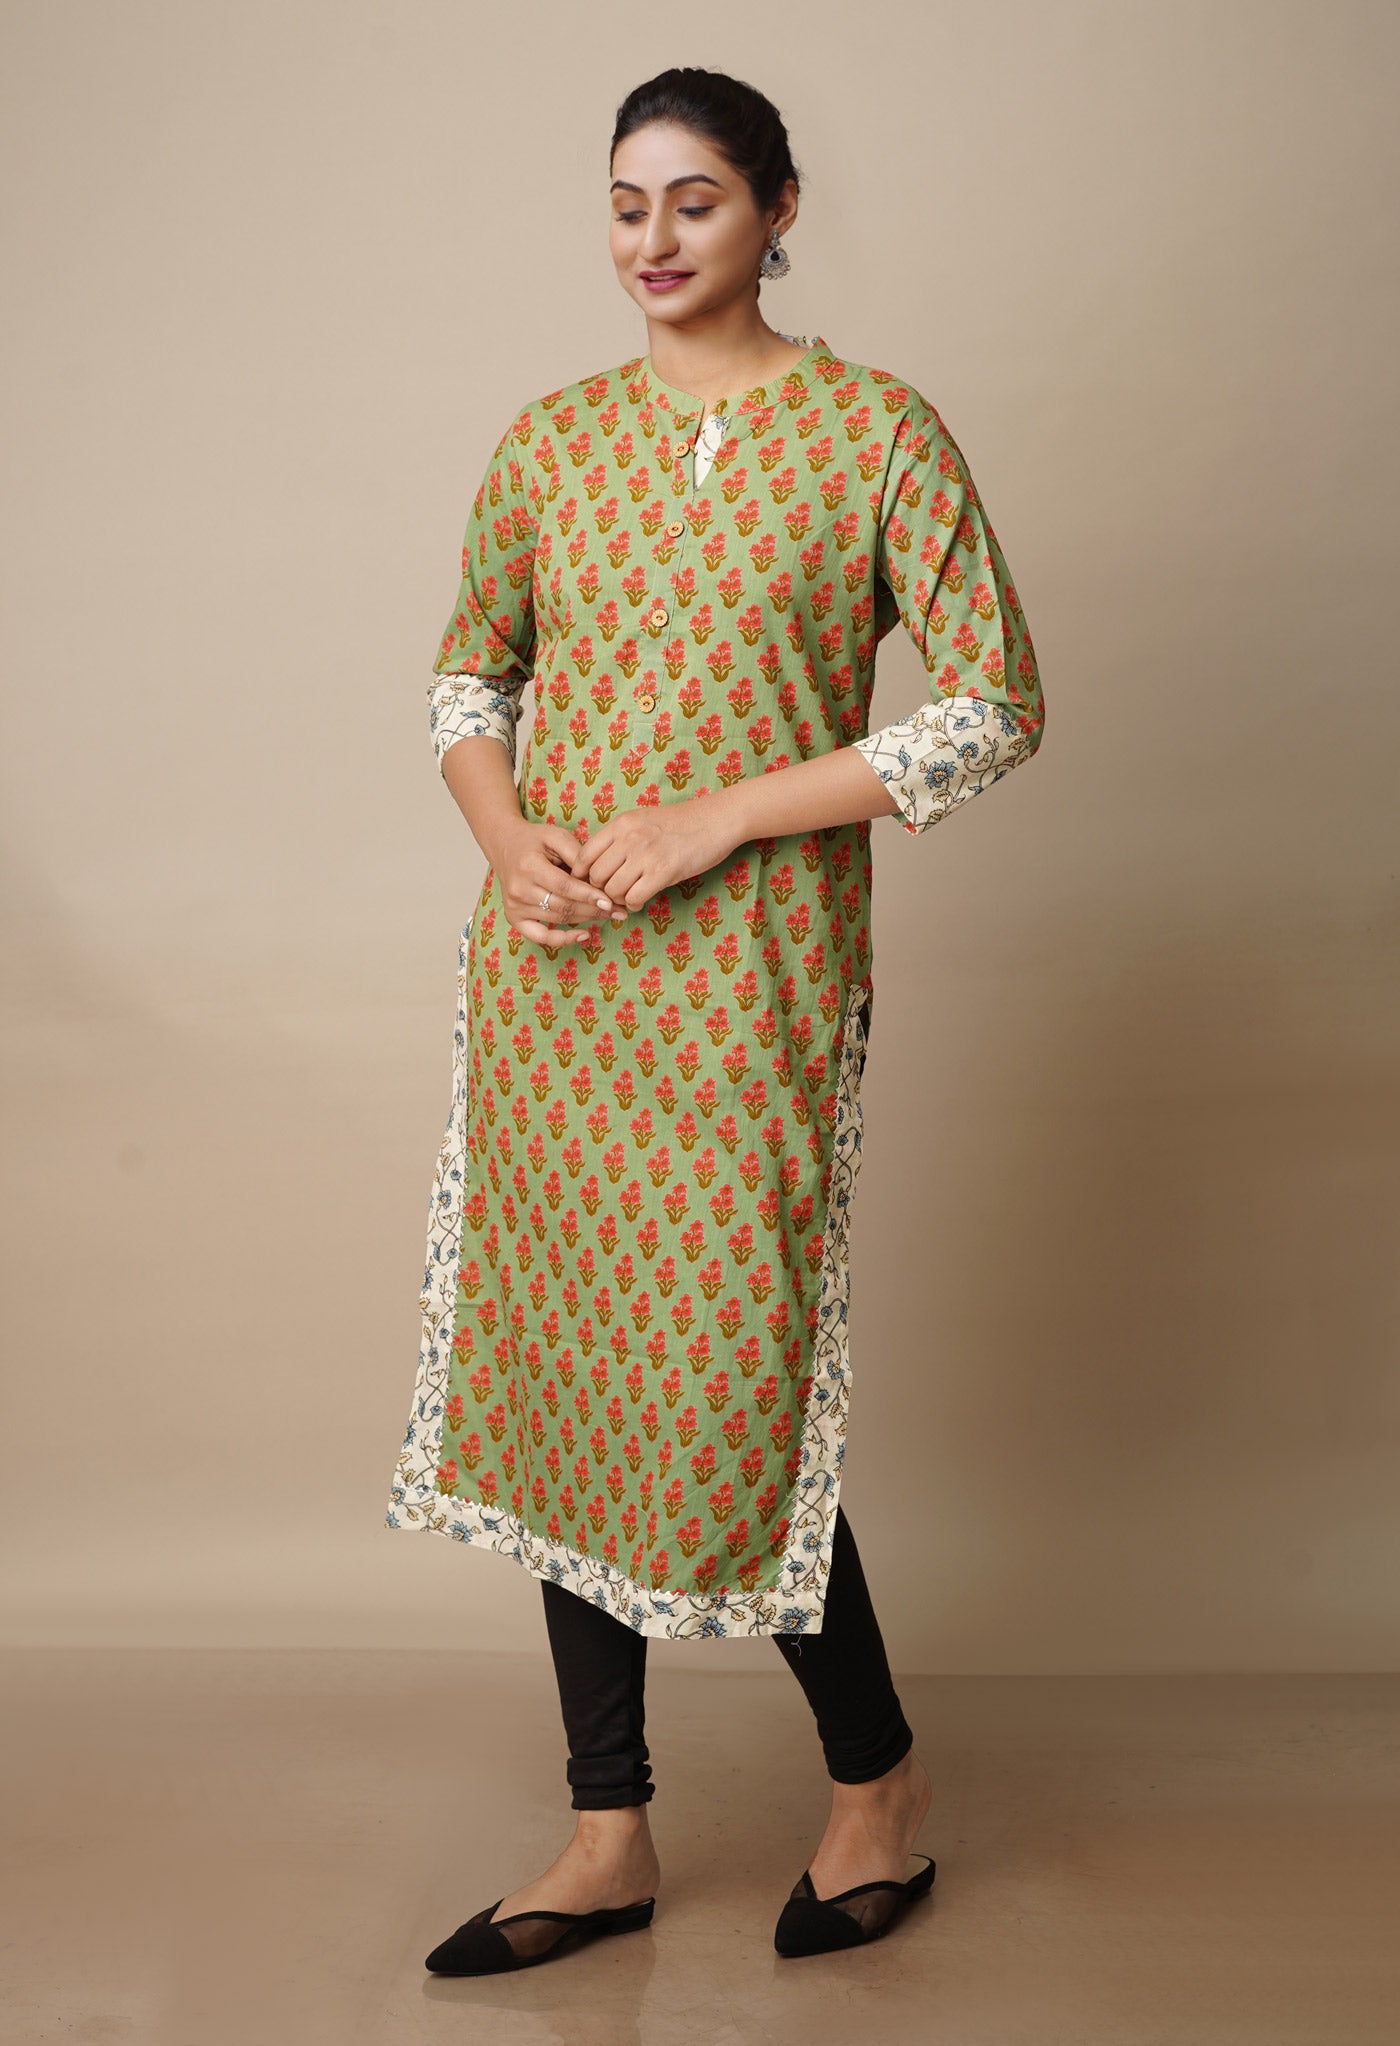
[vc_row][vc_column][vc_gallery type="flexslider_slide" interval="5" images="10728,10731,10729,10727,10730" img_size="1024*686"][vc_column_text]Looking good at all times or at least when it matters, is every woman’s right and especially need in an age when the face must stand up well against public scrutiny, to flatter the ego. From the professional model to the aspiring one, the socialite to the active college student, the working professional to the prim- looking housewife, all need that shot-in-the-arm or rather boost-in-the-face to have the day made.
Diet, exercise, creams, lotions, and plenty of tips from here and there are all part of a regimen that is religiously to fanatically followed to be one-up over the supposed competition. Anything that can keep the face fresh-looking and full of sparkle!
One of the latest fads or the in-thing in a string of one-more-to-be-tried solutions for flattering the face is face contouring, the subtle art of face enhancement.
What is face contouring?
Someone deftly put it as "Contouring is giving shape to an area of the face and enhancing the facial structure through makeup,"."It's not supposed to be noticeable—just a subtle definition."
Facial contouring has become the beauty trick of the moment thanks to Kim Kardashian's love for the flattering technique, but it's a trick make-up artists have used for years. Using two different hues of strategically-applied, thoroughly-blended make-up, you can define and enhance your bone structure.
Steps towards the beauty look
If one is not familiar with face contouring then here are tips that have been tried out successfully by models and everyday women. It slims your face and creates definition and illumination to create a sleek, sculpted look. Experts in fact tell that the best makeup tricks don’t have to be expensive, time consuming, or difficult.
One of the most important things about face contouring is the order you apply the products. Try using some of these top face contouring tips next time you decide you want to upgrade your makeup routine a little.
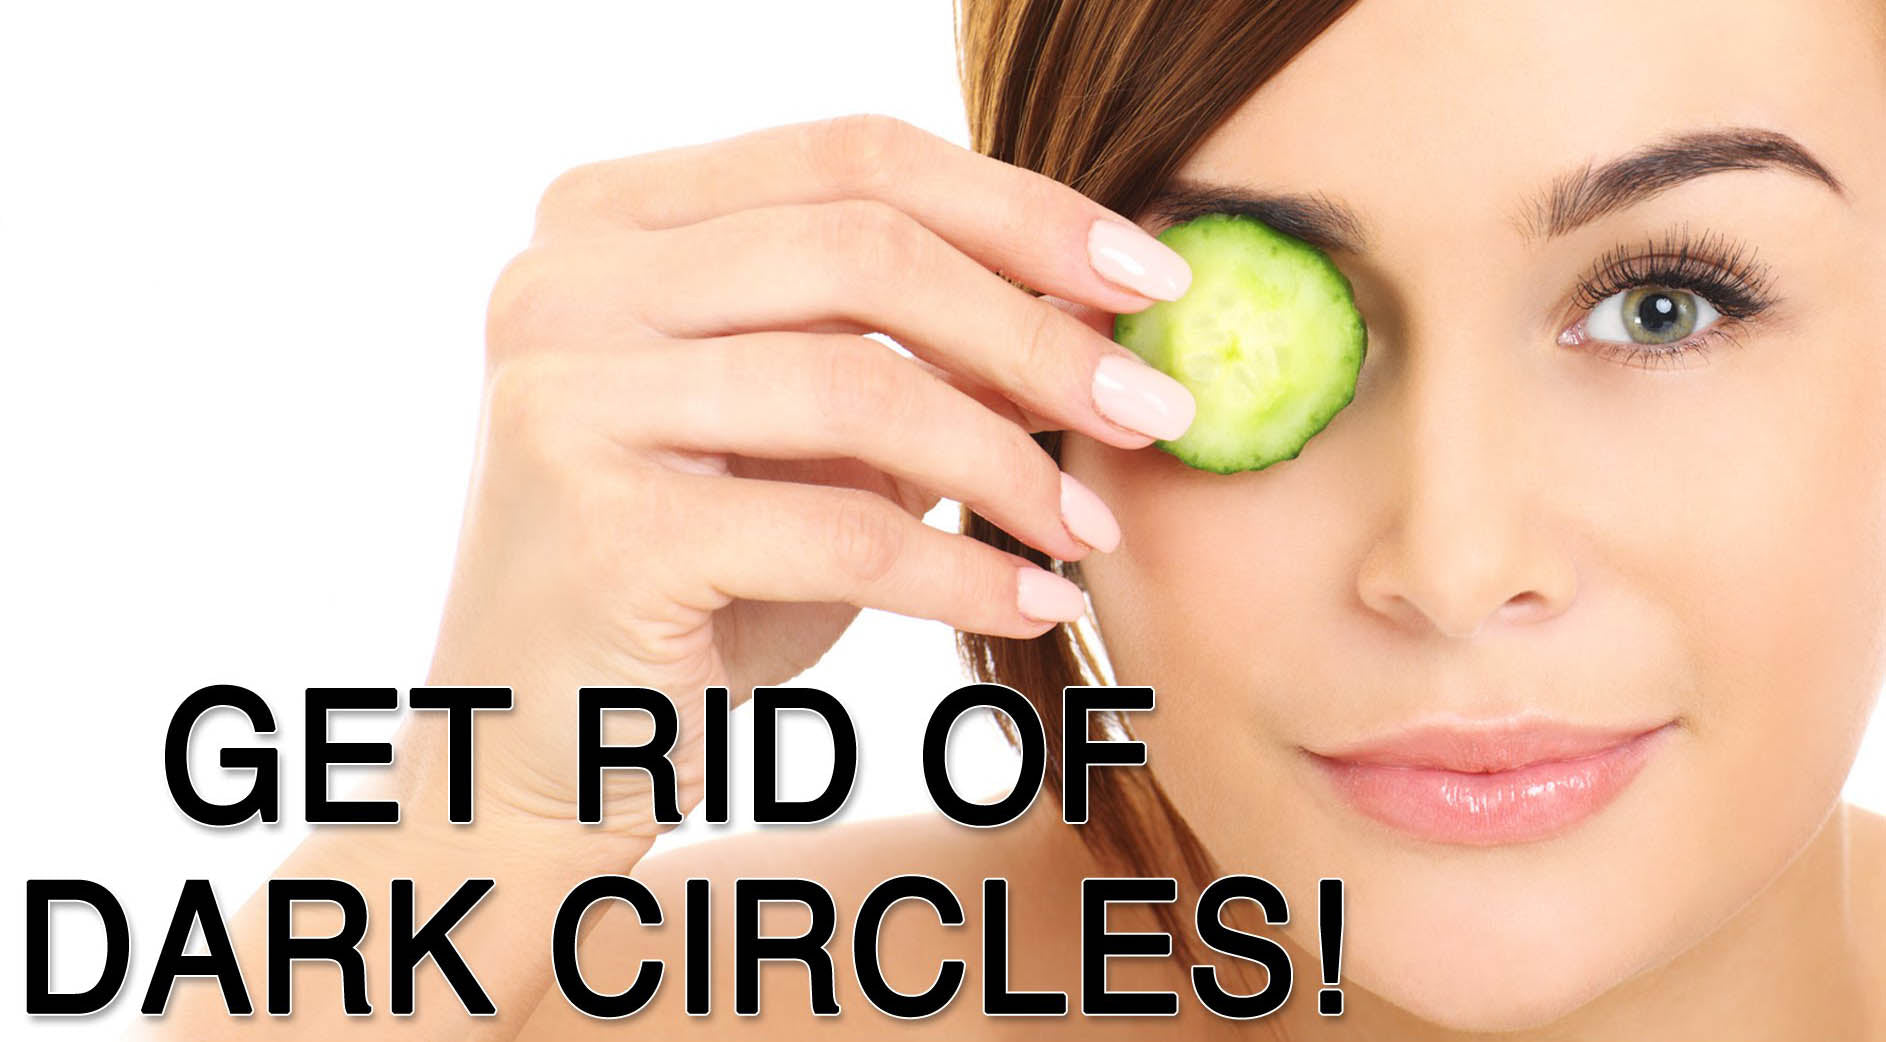
1. Use Concealer First And Use It Liberally
The concealer is not just meant only for the dark circles below the eyes. Under the nose if there is redness, the concealer hides it.
In fact the best places for the concealer would be
- a) underneath the eyes
- b) between the eyebrows
- c) all over the entire eyelids
- d) down around the nose
- e) underneath the nose towards the mouth

The application must be with fingers (not the tube itself with the wand), patted gently and spread out well. The areas where you apply the concealer would be highlighted before the foundation is applied to the face, thereby giving an illuminated effect. A good cream colour one from Maybelline’s line-up would do fine for a neutral color and highlighting effect.
2. Highlight
Highlighting makes the face look more fresh, youthful, and awake! Apply a cream eyeliner to the inner corners of your eye, your cupid’s bow (area above your lips), bridge of your nose, and your chin. Blend in these areas using a clean finger before you apply your foundation, and you’ll create a glowing look on your face!
3. Pick a good cream based foundation
One important tip for face contouring is to pick a good base foundation. A pricey one need not be best. A good foundation needs to be non-greasy and one that blends well.
Choose a cream foundation that blends in really well and sets into a solid foundation that won’t break your face out, or take away from your concealer. It would then really set well into the face and create an overall even look, which is what you want to contour your face efficiently. Most experts will tell you that when you decide to contour your face, foundation is just as important as your contouring products, because the foundation sets everything into place. Apply it all over your face evenly, over the concealed areas. Do not apply foundation before your concealer or you won't get an even look and it could end up looking funny.

4. Use an illuminating powder or cream
After the application of the concealer and foundation, you will need an illuminating powder or cream. Again the golden rule that works – pricey need not be the best. A beauty parlor professional could he easily advise on the best one that would work well.
All you need to do with this powder is apply it with a large makeup or blush brush right above your cheekbones to create a lighted effect. You can also apply it to the tops of your eyelids if you have dark shadows on your eyelids. You’ll apply it over the concealer you applied earlier, which gives the eyelids a very dramatic lighted effect that brings your eyes forward so they stand out more. Once you apply your foundation and illuminating powder, then you’re ready to finish up the rest of your face.
5. Use the White Eye Shadow technique
The White Eye Shadow technique creates an amazingly neat and contoured face. To create this effect, the bright white eyeshadow is used all over the eyelid, after applying the concealer and illuminating powder. By adding a dark gray color in the crease, and above that applying a beige color over the white eyeshadow and then finishing up with a little pop of light pink color right above the grey crease makes the eyelids look sensational. The eyes look soft, feminine and very illuminated. The face contour looks most effective. You can use any brand of eyeshadow for this with these colors. A Maybelline brand could help and try to use one with a little shimmer to it.
 6. Apply the Bronzer next
The next step in contouring is to apply a little touch of bronzer after the rest of your products have had time to set in place. Lightly touch the balls of the cheeks and then lightly extend upward towards the cheekbone. Don’t apply bronzer all over your face. It will take away from the contouring effect and give you a false tan look. Bronzer is meant to accent your features, not cover your entire face.
7. Apply a good Blush
Right after the Bronzer, the cheeks should be finished with a good Blush. A blush that could match the skin tone would be most appealing. Like a peachy, coral color for an olive colored skin. For this online help would be available or a professional could easily tell.
Swipe the blush with a large powder brush right over your bronzer, which really adds the last final touch of lift to your cheeks to brighten you up. Not too much, but just enough so that you have a warm and soft glow to your cheeks.
 8. Focus on your nose
As a general tip for contouring, it's a good idea to focus on your nose. After all, it is front and center on your face! Sculpting your nose makes a huge difference in the overall appearance of your face, the way mascara takes your eyes to the next level!
To sculpt your nose, draw two lines down either side of your nose, starting at the edge of your eyebrow. Then, blend using bronzer to make it look more natural. In between your eyebrows, lightly cover your skin with a brightening concealer. Then, dab the sides of your nose with your brightening concealer and blend. The results would be stupendous.
9. Finish it up
Use a good cream powder to dust the nose, forehead and chin just to see that the foundation cream is in place. This also helps blend those areas in to go with the same color that you used for your cream. A good powder would blend excellently and look very sheer while providing all day coverage.
After that, the eyeliner, mascara and lipstick or gloss can be applied. This would have given time for the eye products to set in place, which again would help the eyeliner stay on better and be less apt to smudge.
If you're wondering, it really does work! This also allows you to use less of these products because now that your face is properly contoured, you may see that you don’t need as much eyeliner or mascara to make your features stand out.

10. Don’t Stop at the Face
Some would in addition want to have a contoured neckline as well that could look absolutely gorgeous! So it is advised not to stop at the face but contour your neckline as well, accentuating your collar bones. On top of your collar bones, apply a Bronzer, and beneath them apply a highlighter. If you're already contouring your face, you may as well make your neck look fabulous, too!
11. Use a beauty sponge
In addition to the steps you take to create a flawlessly contoured face, there are certain tools that will help a lot! For example, the beauty sponge will become your best friend when you begin contouring! Use a beauty sponge to blend and make your makeup look much more natural, rather than sharp and a little bit bizarre. With the help of a beauty sponge, people will wonder if you’re even wearing face makeup!
12.You can also make use of a flat top brush
If you want a really professional-looking contoured face, you should use a flat top brush! This brush applies foundation perfectly, regardless of whether it’s cream, liquid, or powder! Flat top brushes give you better control over your makeup and create a gorgeous look!
13. One could use just foundation
Based on experience on the creation of stunning effect, professionals have even made use of a trick called the foundation-only trick. Instead of applying foundation, then bronze and then highlighter, one could make use of foundation alone but of three different shades.
The highlighter should be foundation that is a shade lighter than your skin, the bronzer a shade darker. This would create a much more natural look for certain skin types and is definitely worth a try.
[gallery size="medium" columns="2" ids="10856,10858,10857,10860"]
Getting face contouring done could be a tedious job to some but with the right products and the practice of a few times, helpful hints from professional beauticians, anywhere between ten minutes and down to five could make all the difference between looking average and the killer face, that you have always been yearning for.
Courtesy – helpful hints from valuable sources


