DIY –Want to try fabric printing at home?
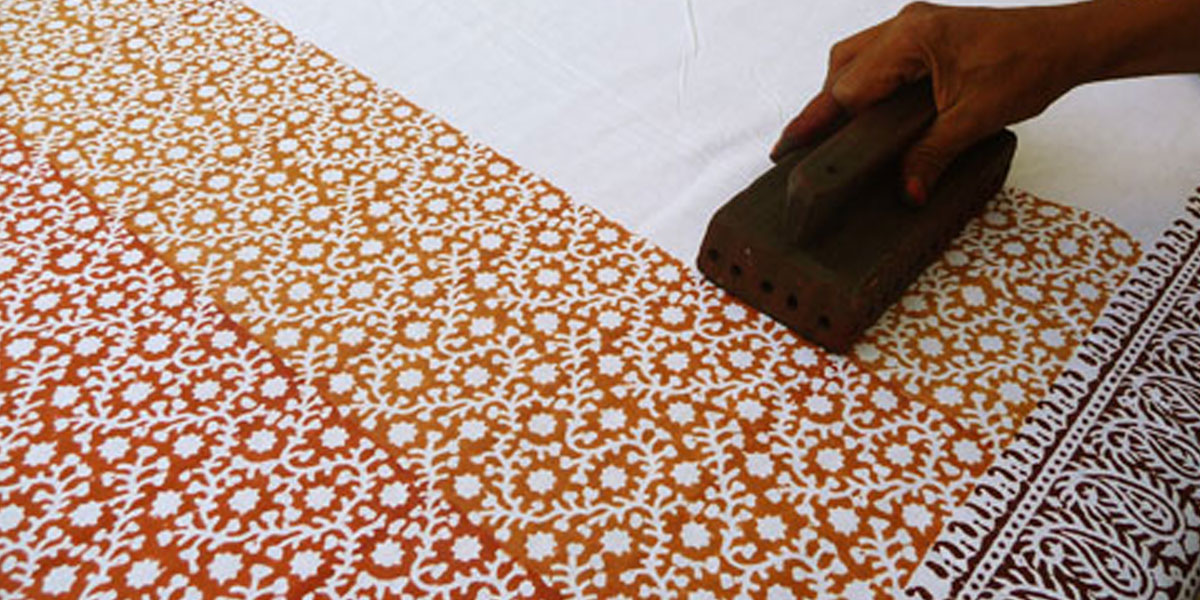
If one were to try it, fabric printing is not at all difficult. In fact one does not need elaborate tools like the conventional hand-block to try out on one’s fabrics. There are some novel means of having the fun and getting the job done as well. Serves well as a hobby, a diversion, yet could also serve to eke out a living during financial crunches.
Let us get down to it.
What you need are the supplies or things required to do the prints.
- We need an old fabric not generally worn yet not one to be discarded.
- The objects or items to be used to get the prints – anything around the house and maneuverable by hand would do
- Some printing ink / paints
- Stencils could come handy for text shapes
The preparation for the job
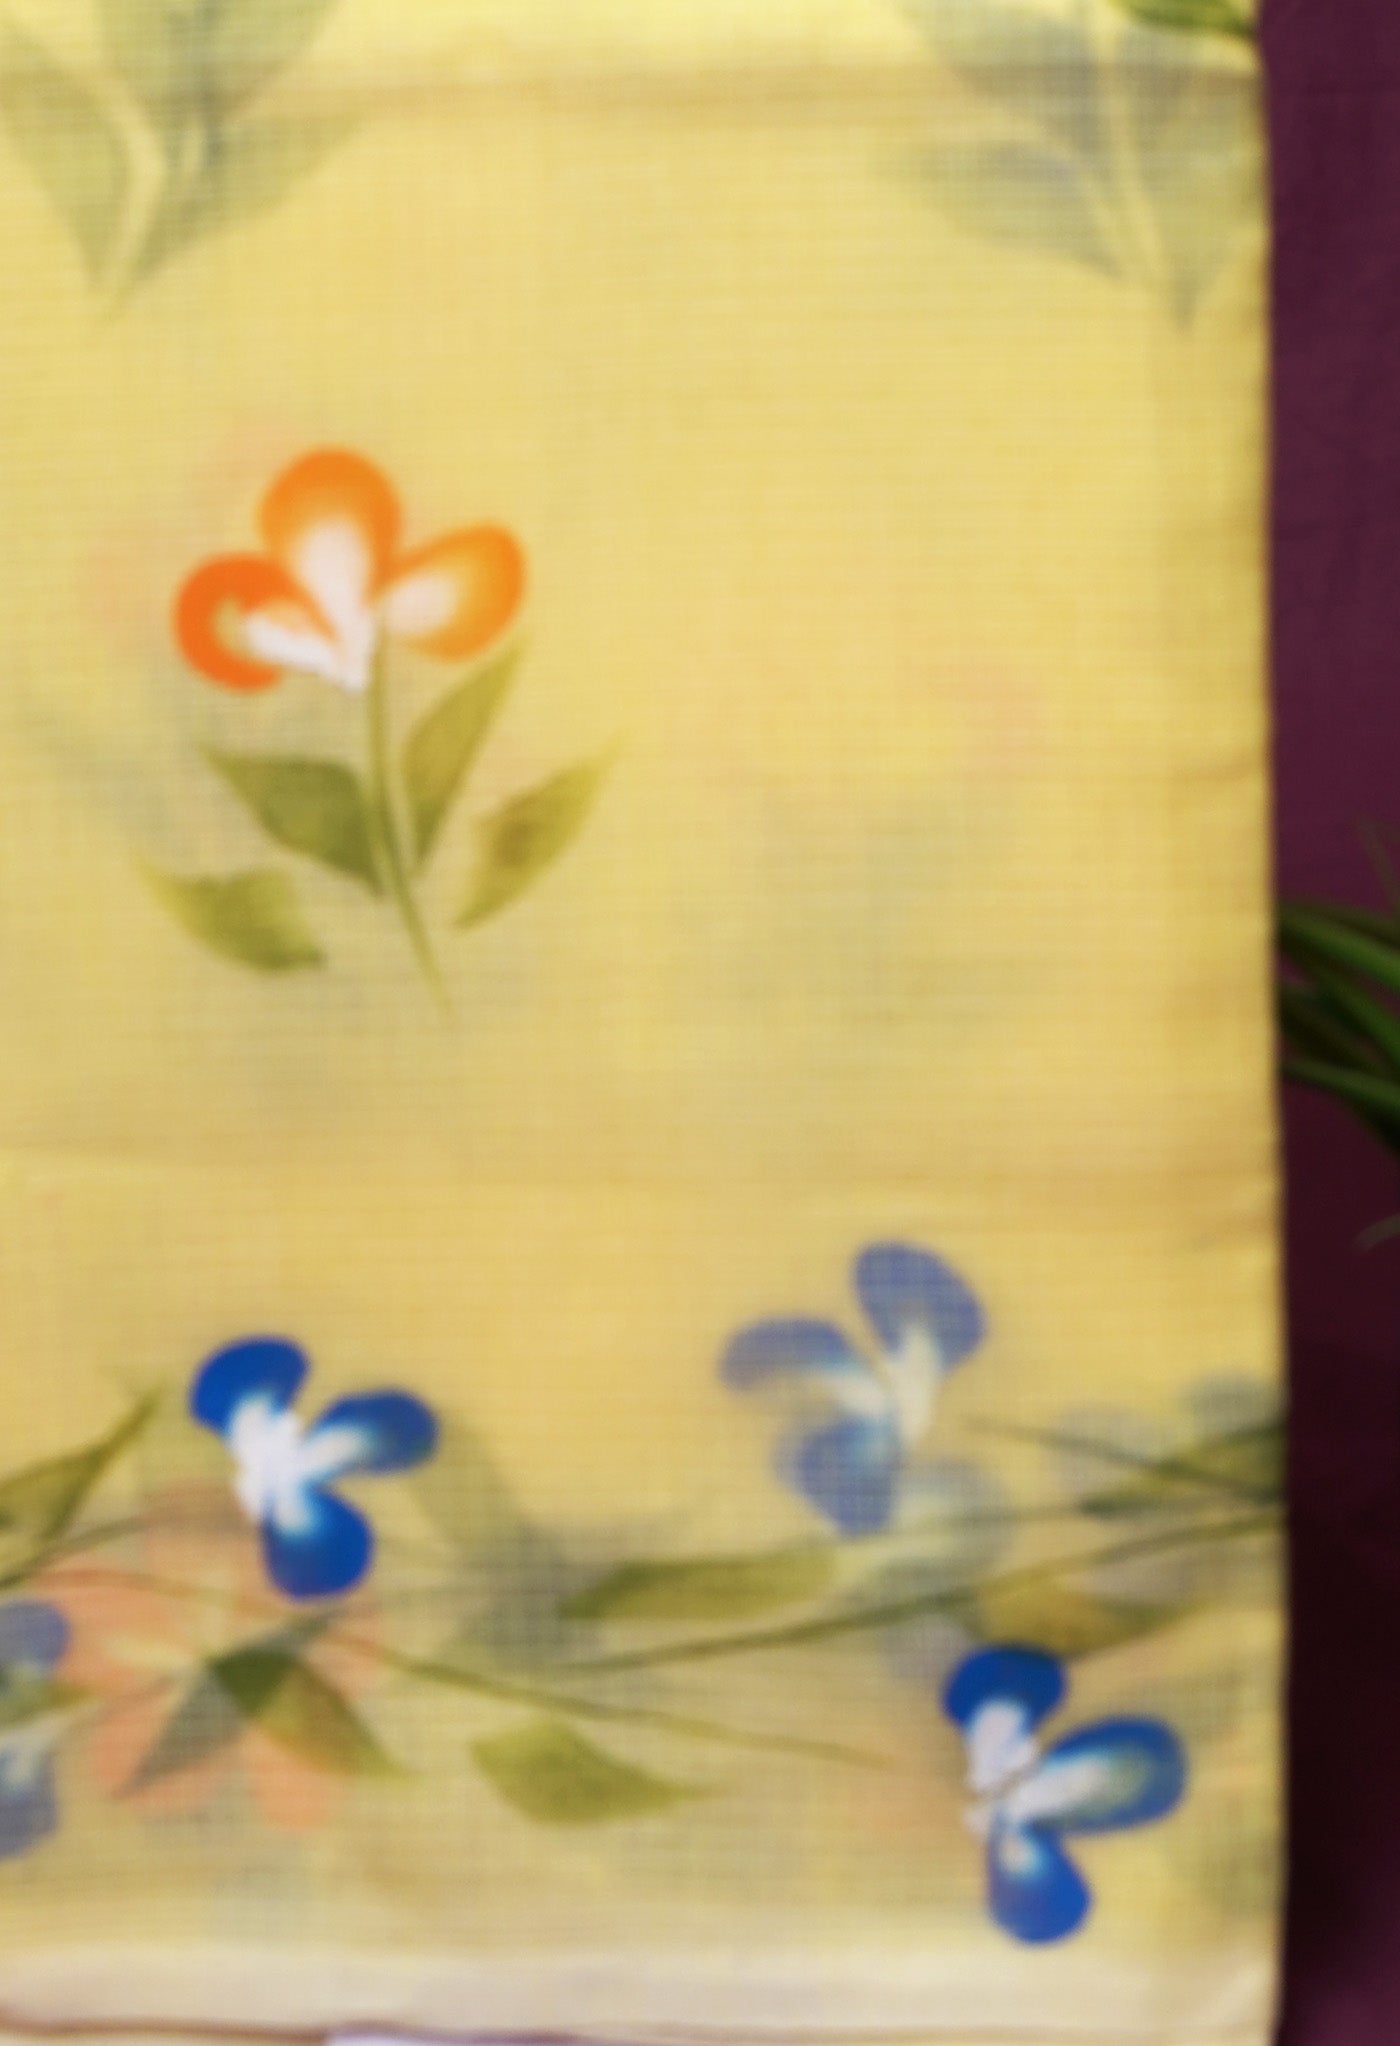
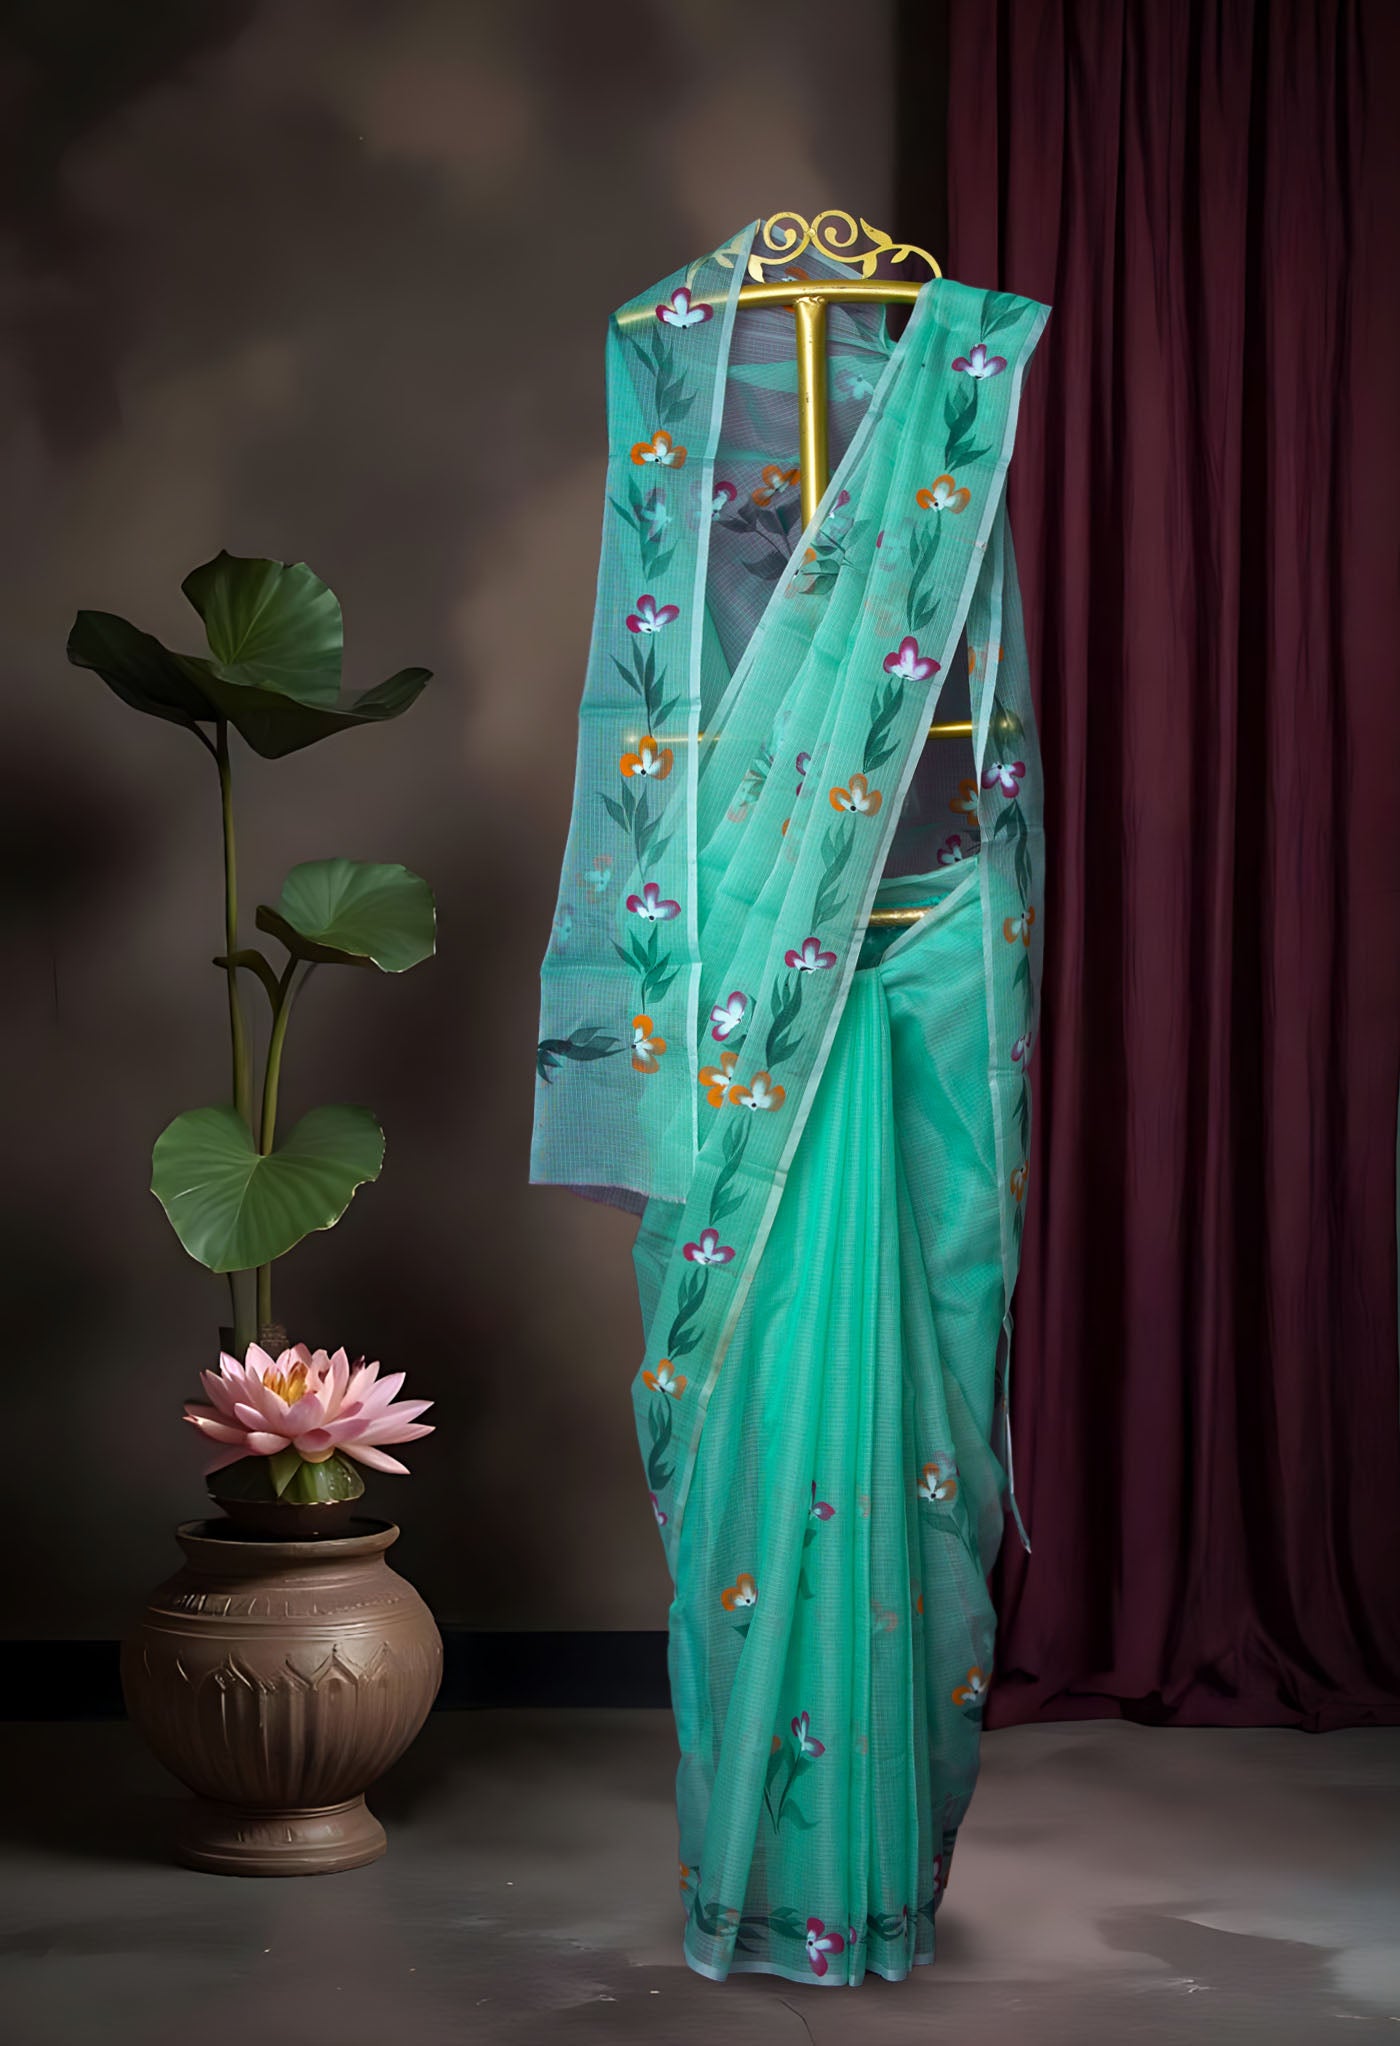
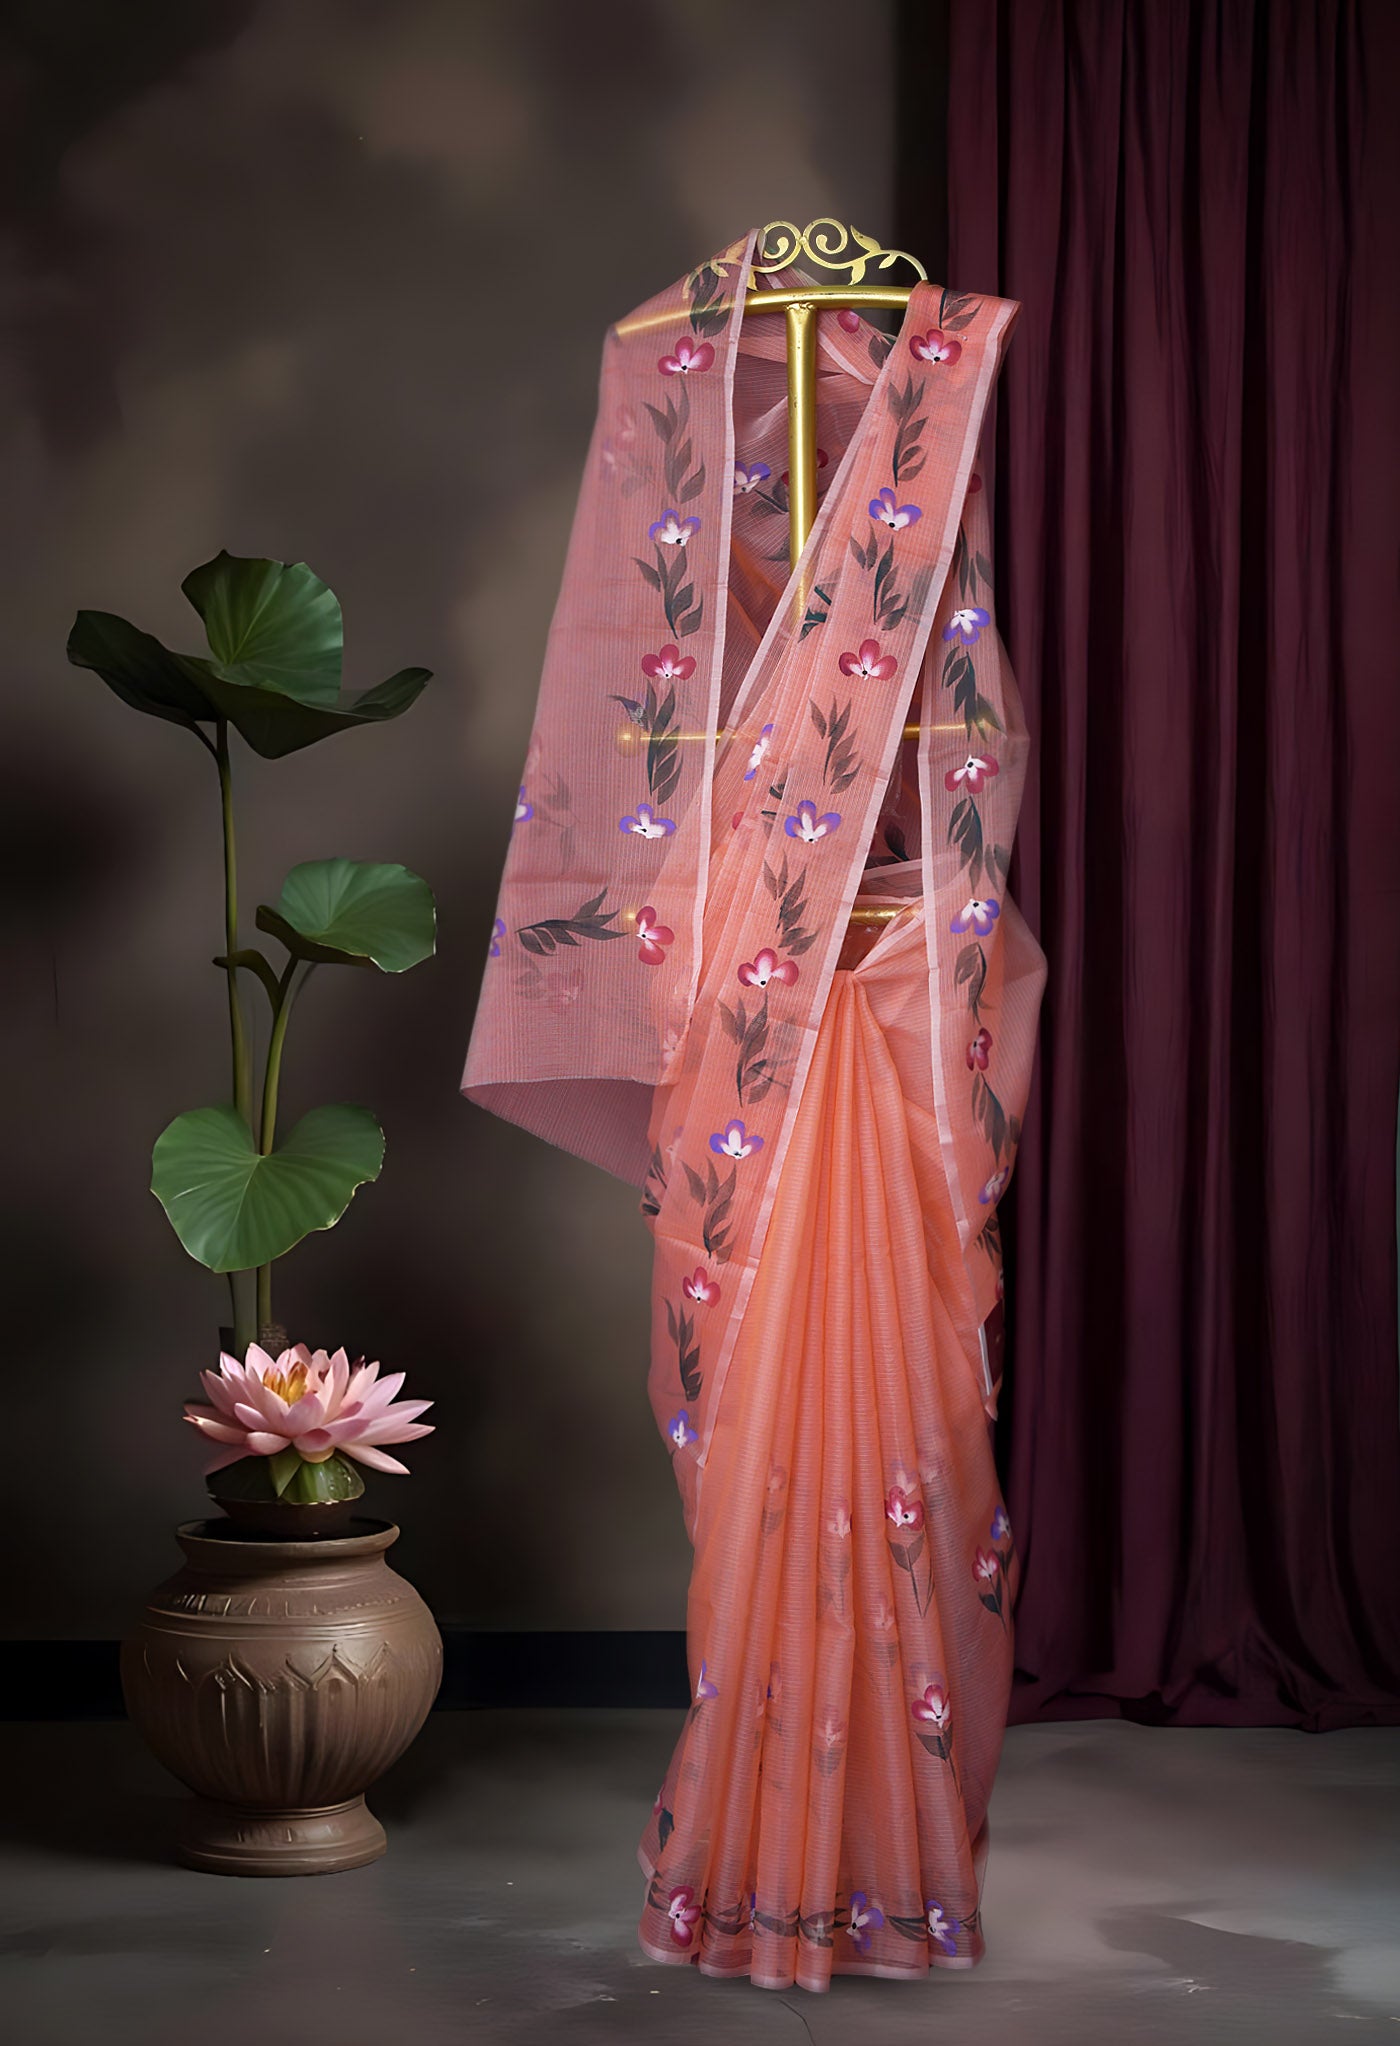
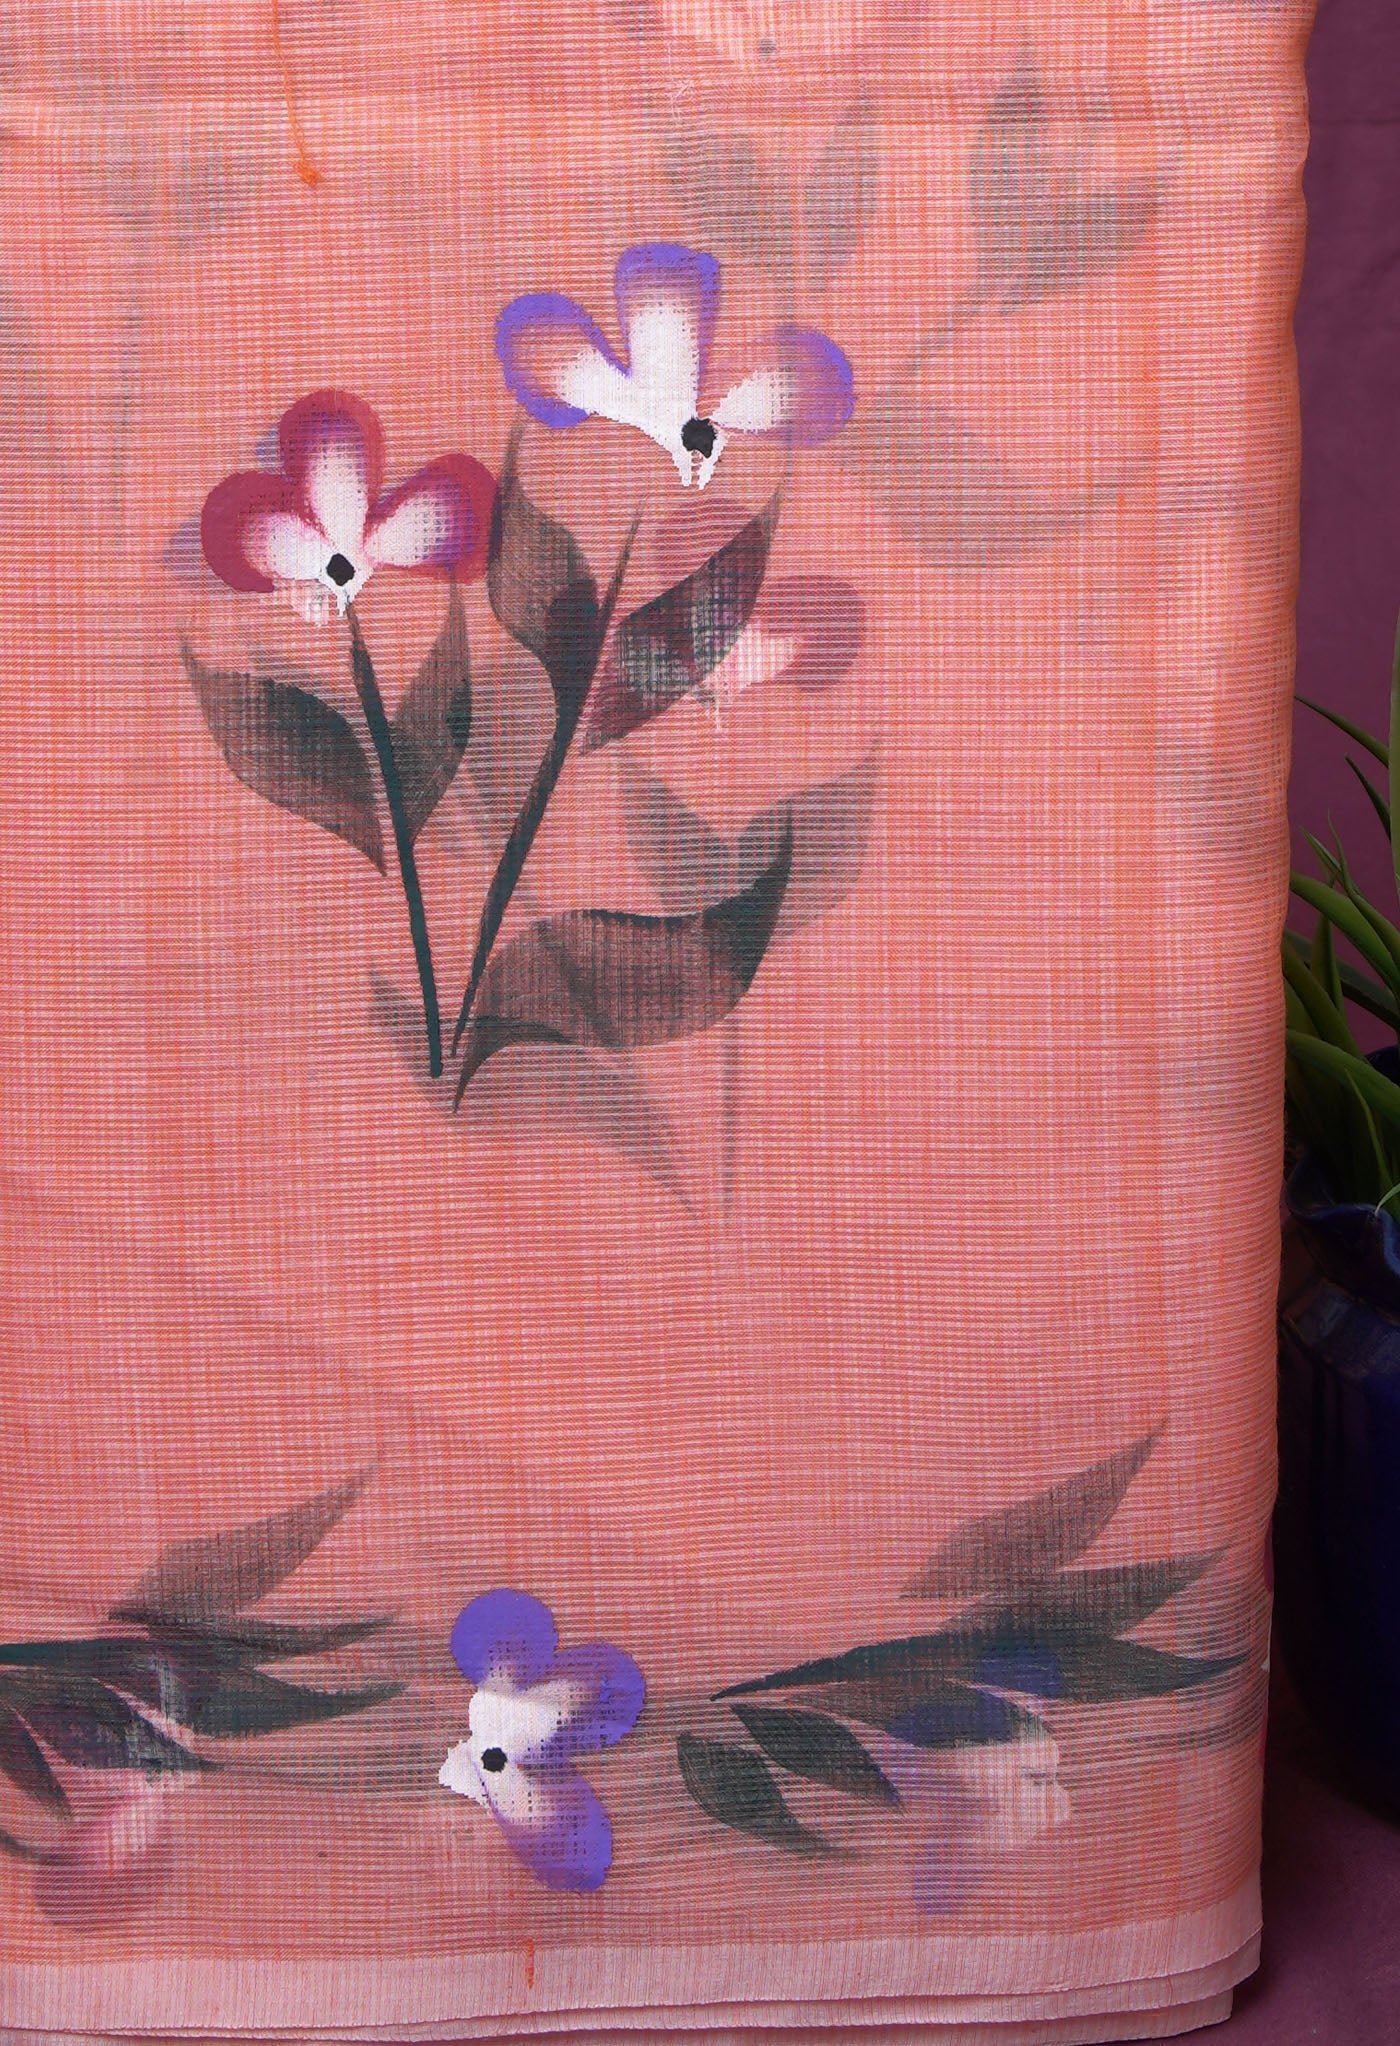
Fabric – Like I said, the fabric to be tried out on has to be old and yet wear-worthy. You could also try out first on a small rectangular piece to see how the prints appear on it, before you try out on the clothing. Cotton would be best, but why not have pieces of different fabric materials like nylon cloth , chiffon, Silk saree just to check.

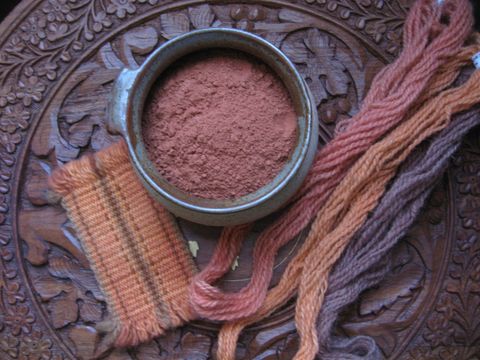
Fabric block-printing ink – There are some clothes stores or stationery shops who could give an idea on the type of ink that is used for block printing. Alternatively you also have the paints used for painting on paper, cloth or other surfaces. The ink should preferably be water soluble making it easy to clean up, that sinks into the fabric and wont crack or peel and would not require heat-setting. These could be available at a local craft store as well. An inking plate and a brayer (roller used in professional printing, would be best, but one could always do with a medium sized paint brush and a sponge.

Rug backing, carpet square, or some other flat, seamless mat – The fabric needs a flat even surface to lay out on when doing the job. Any of the suggestions could do since they would not move on pressing while printing. If large tiles are available they would be very nice as a base to spread out on.
Lastly the objects to be used for the prints have to be collected from around the house – It is best have the things you would like to try out kept in readiness before you start. Make a trip around the house. These would serve as stamps and printing blocks. Make sure that others in the house are OK with the objects being taken since they would be permanently stained with ink.
What are the objects you could assemble? Anything that catches your fancy! Here are some suggestions to start you off:
- You could cut a lovely round medium sized potato, and cut out a shape in the centre. Each half could have a different shape.
- A fork
- A large cork or eraser could also have shapes cut out
- Simple objects like a straw, a PVC pipe, bottles – with small and big mouths, different sized and shaped bases
- Rope, simple cord, twine
Anything to get a shape – distinct and familiar onto the fabric! The only thing that can limit you is your own imagination.
The Way to do it
- A washed dried and ironed fabric gives extremely good results when printed upon. Keep the fabric stretched and spread out on the rug or hard surface, straight and smooth.
- Squeeze the color of your choice onto the inking tray. In case you are mixing a paint color or ink, do so in a disposable cup. Estimate the quantity you would be requiring for the entire project and keep it in readiness. Running short midway could lead to mixing more but not getting the same shade as the first one.
- Once the paint or ink is mixed, load three small dollops of paint onto the inking tray.
- There are one of two ways – roll the brayer onto the dollops of paint getting just enough across its entire circular surface. If falling short you could use the paint brush to gently dab on the surfaces with less paint on them till the entire surface seems even.
- Take the object to be used as your print. Roll the brayer evenly on the stamp so that it comes to be the image to perfection with evenly spread ink or paint. A better method could be using a sponge for the color and pressing the stamp on the sponge. Press the stamp firmly without rocking or moving even slightly. Count up to 20 slowly. Gently lift the stamp (object to print) and press firmly on the pencil marked spot on the fabric in the position you want.

- Satisfied? Yes, then continue.
- Simply rinse the stamp and repeat. Whenever you are low on ink, simply use the brayer or sponge to re-ink or add more paint.
- Continue till you are finished.

- Three or more fabric pieces and when you have the confidence, strike out at the old fabrics.
- After you have finished printing, use warm water and soap to clean up your hands thoroughly.
- Allow your printed fabric to dry in a safe place for 24-48 hours. The ink is permanent when you wait a week before you toss it into the wash.
- That's it!
- As you gain in confidence, go on to more and more levels of difficulty in designs. You could one day be making money out of it .
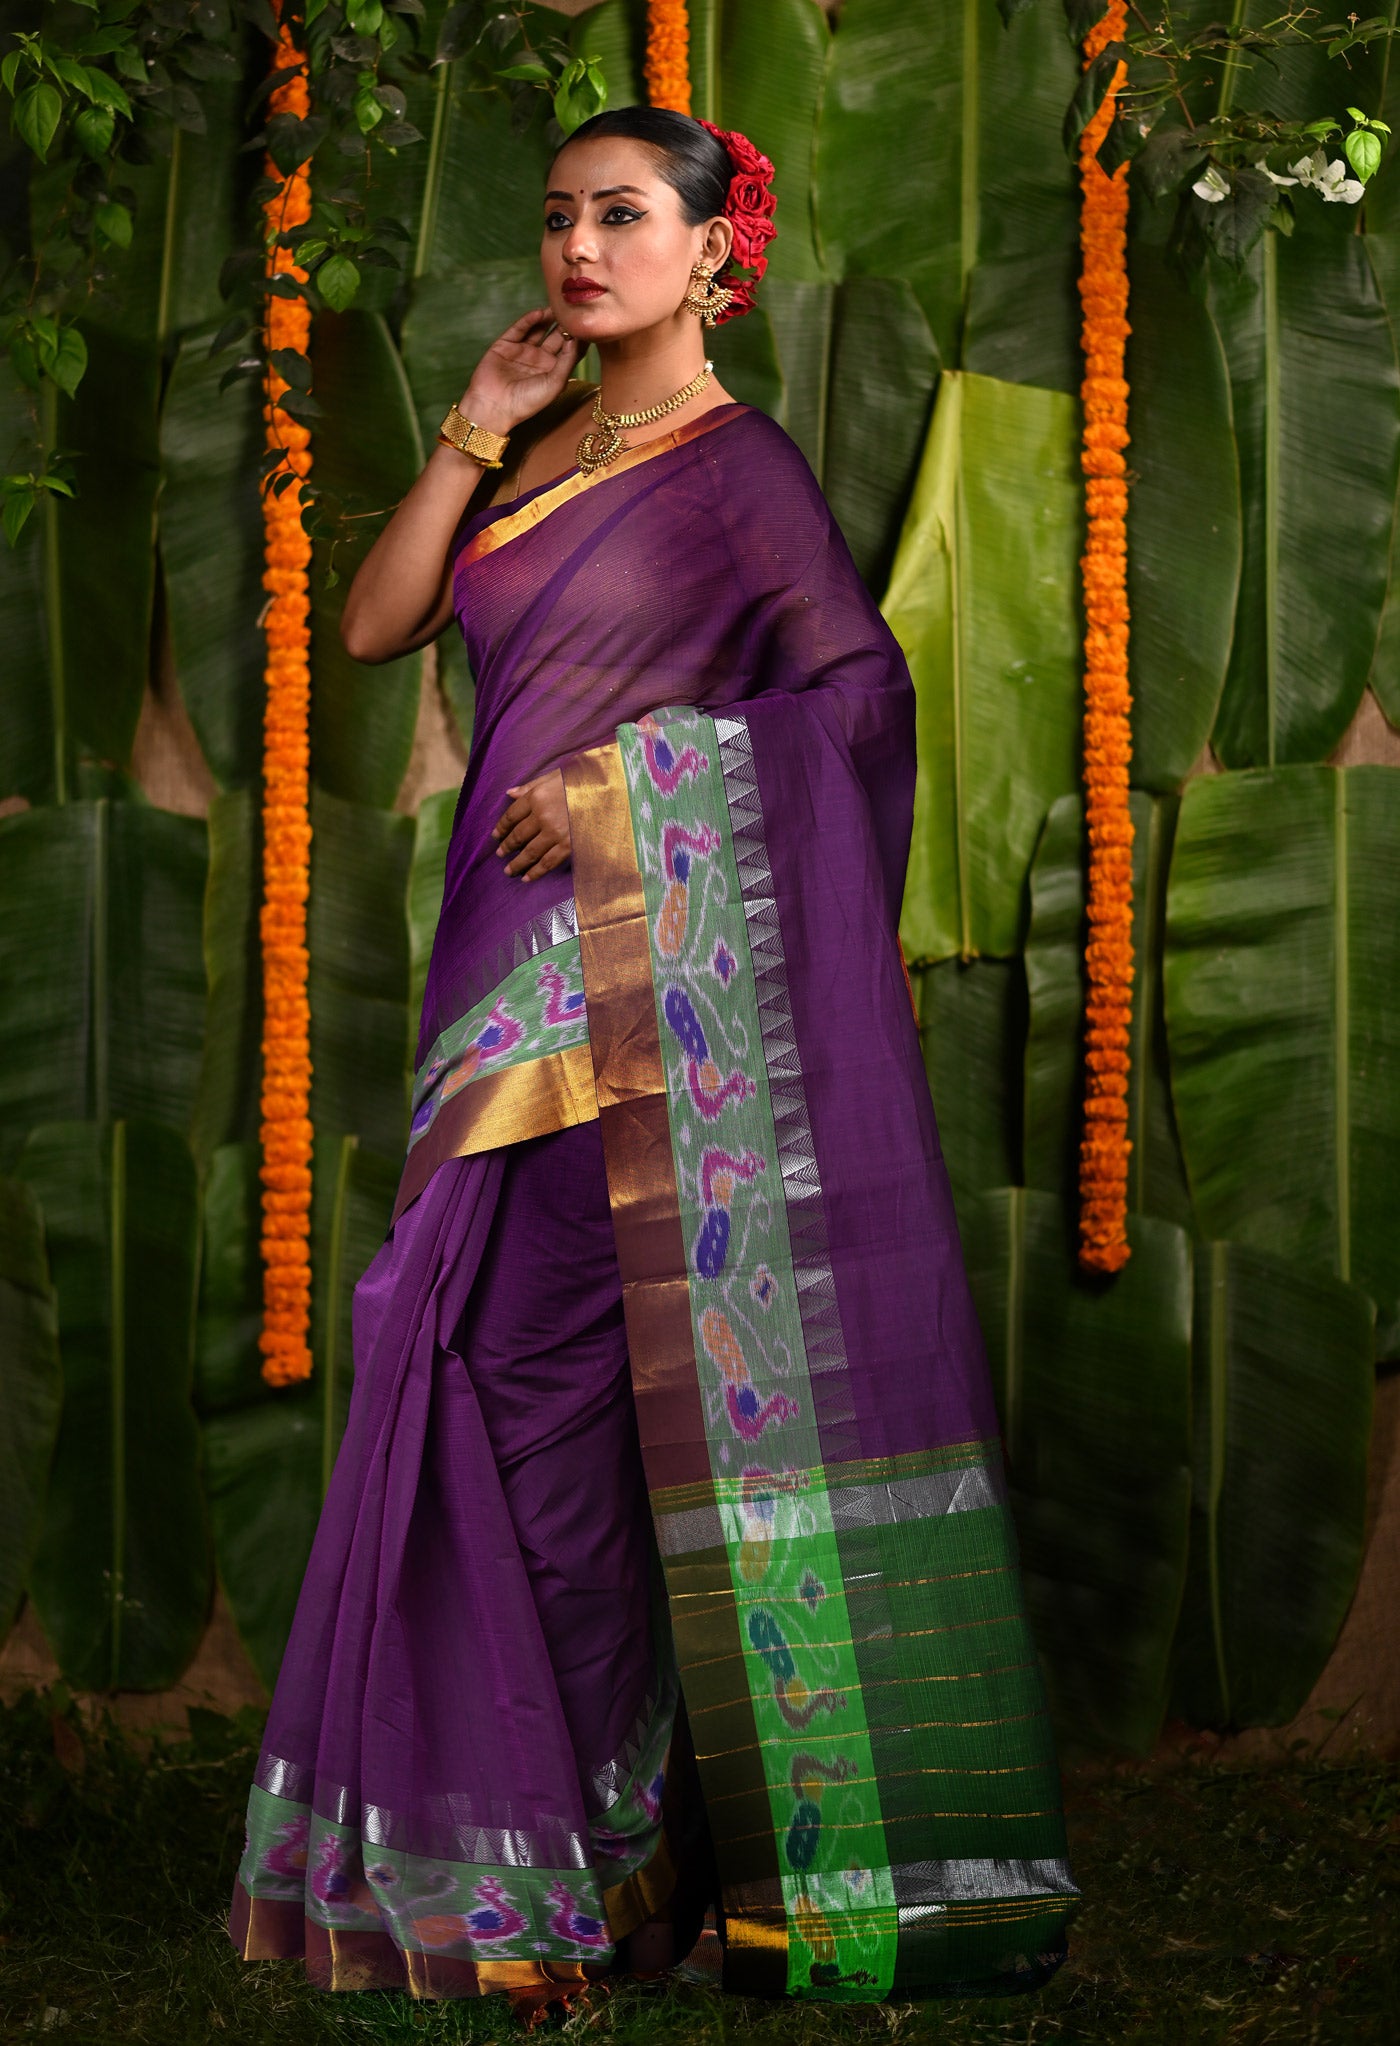
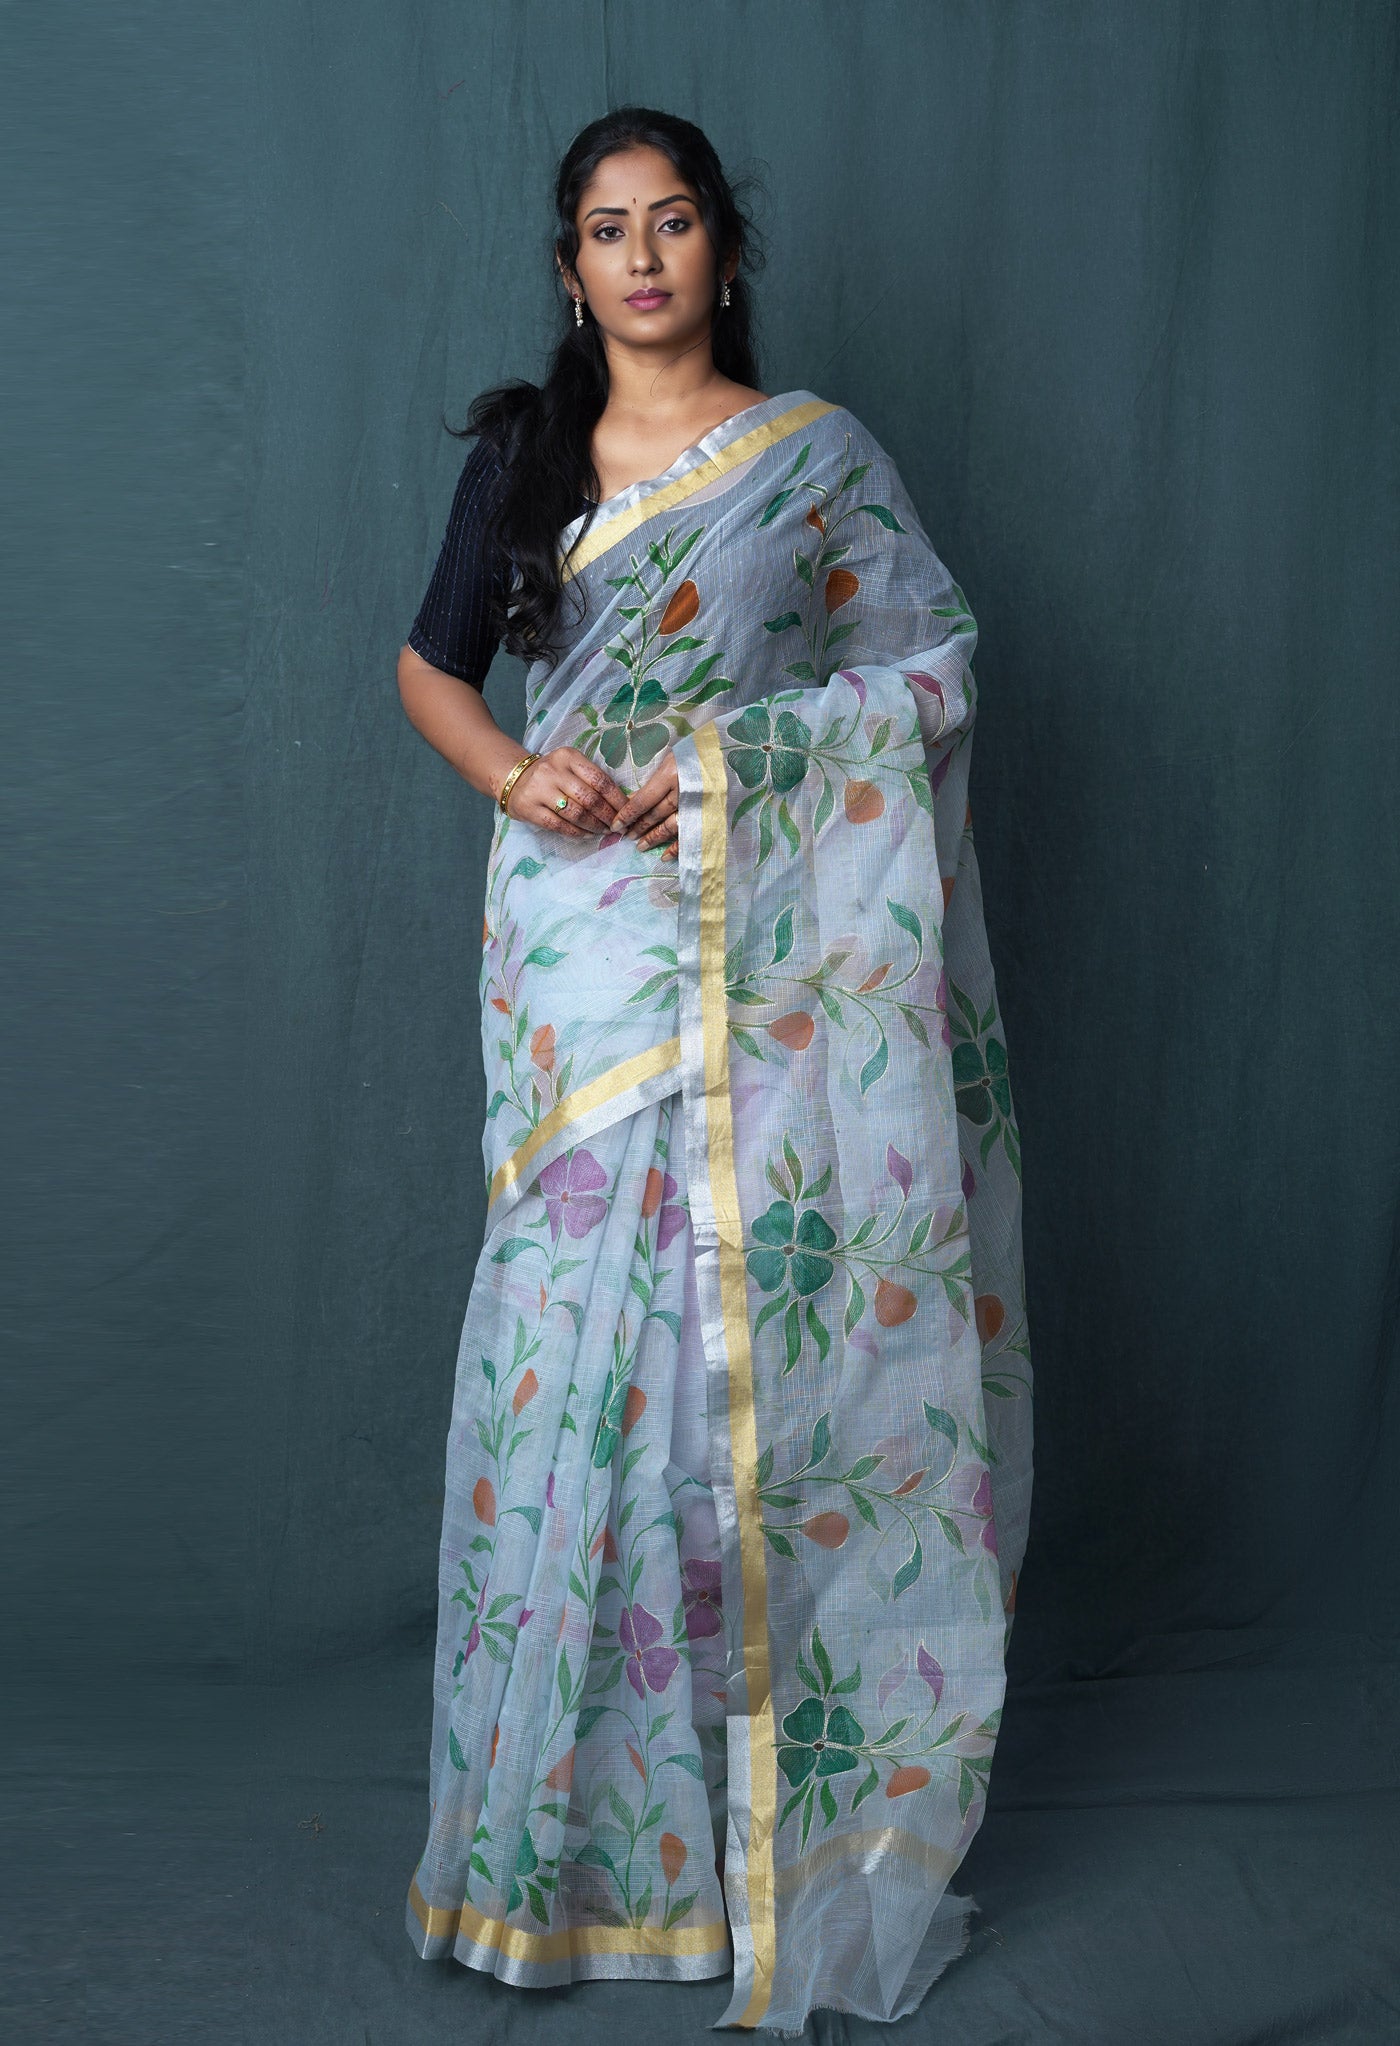
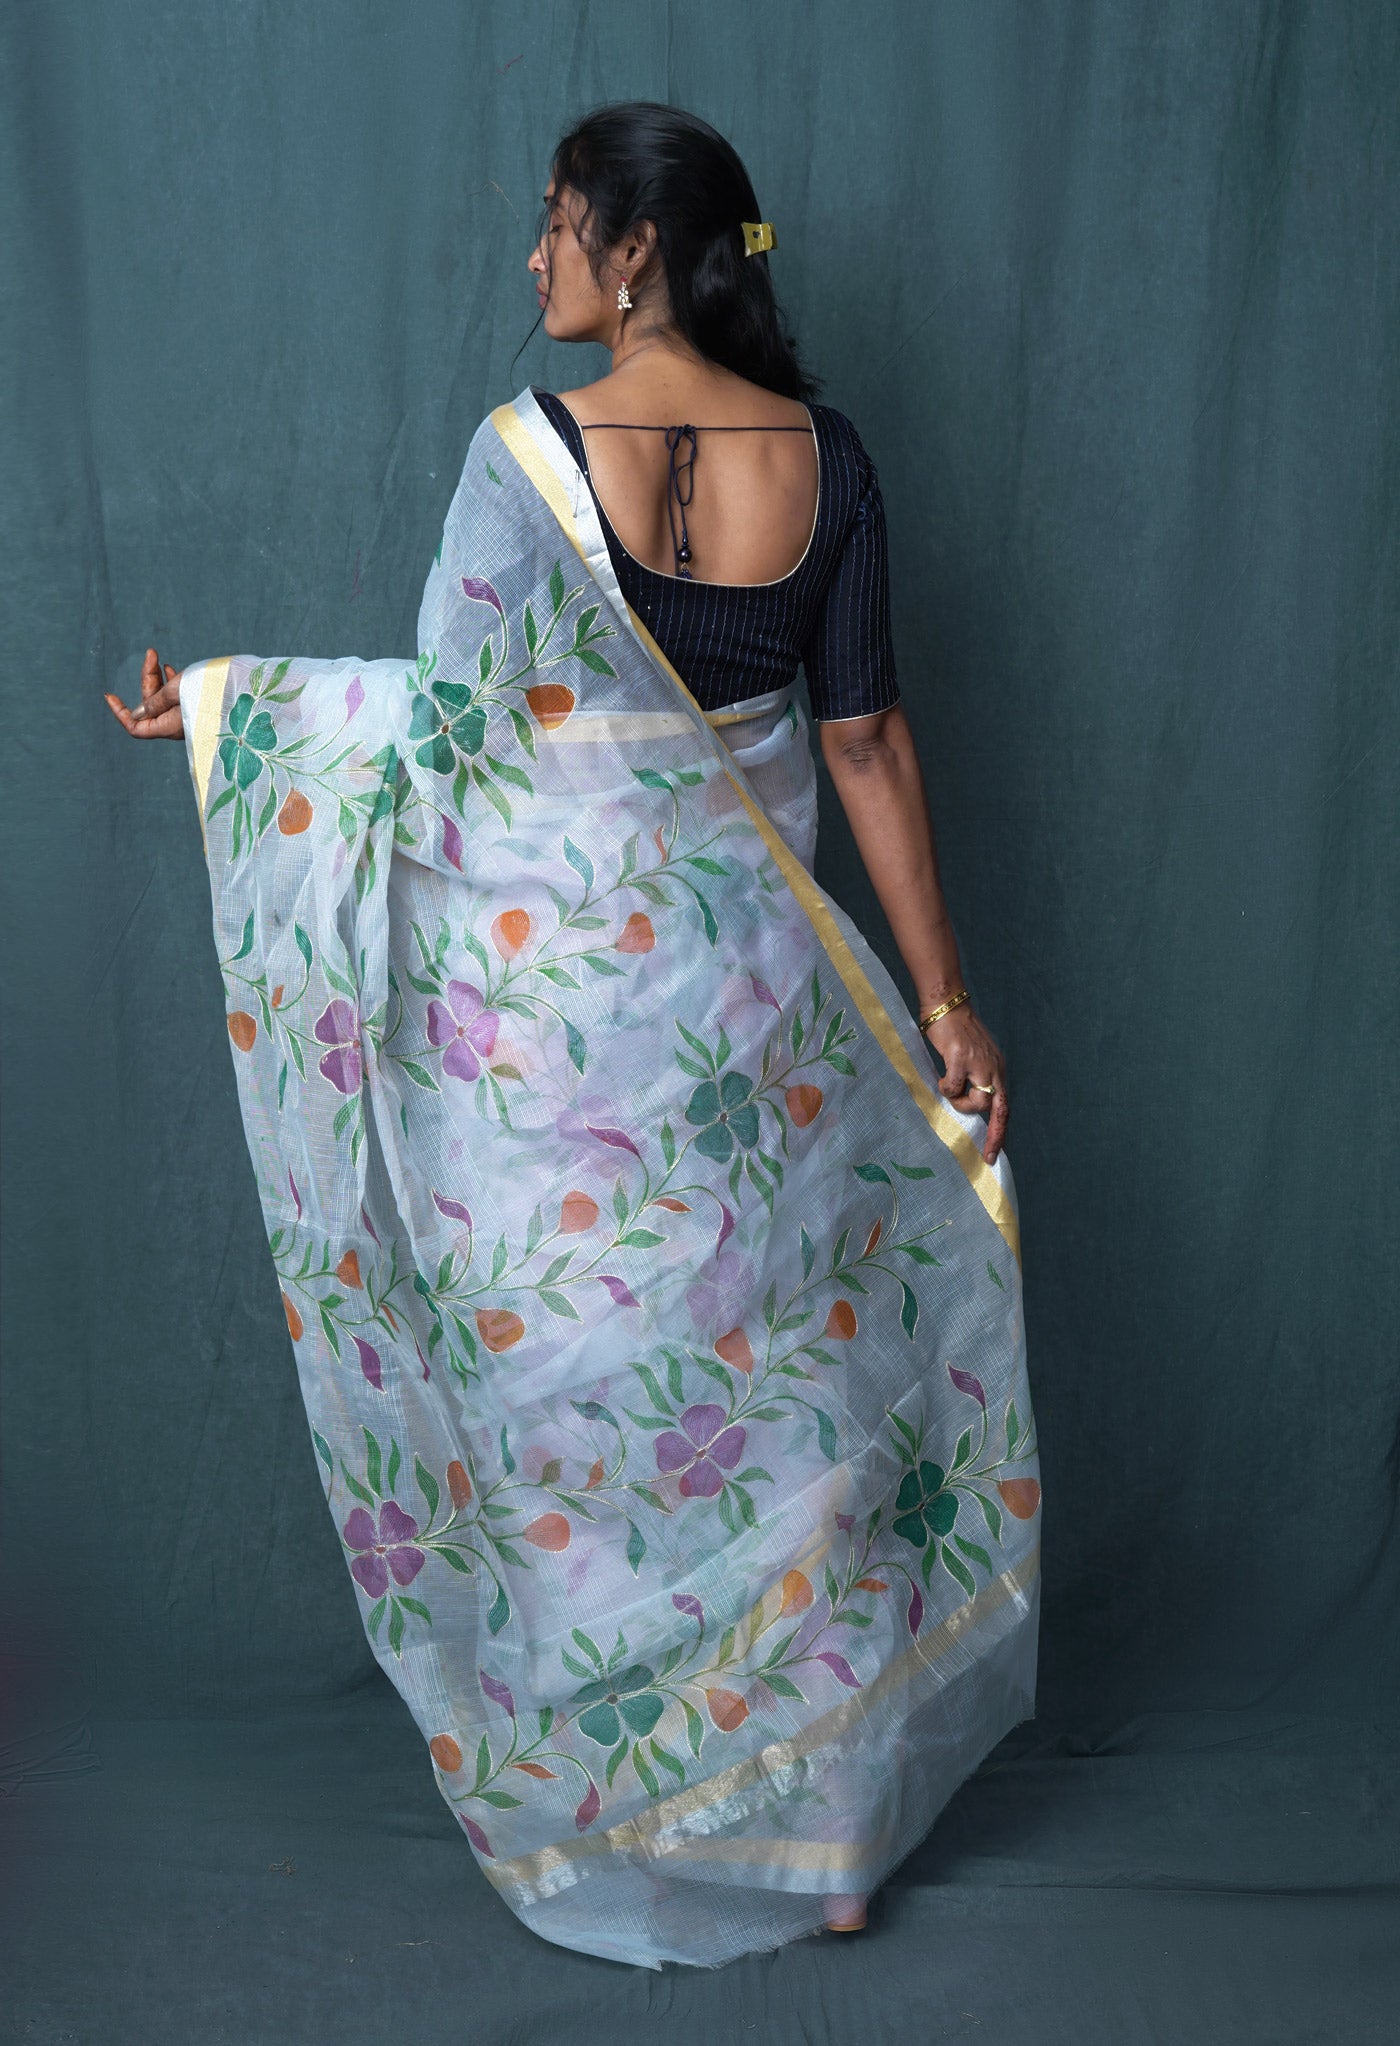
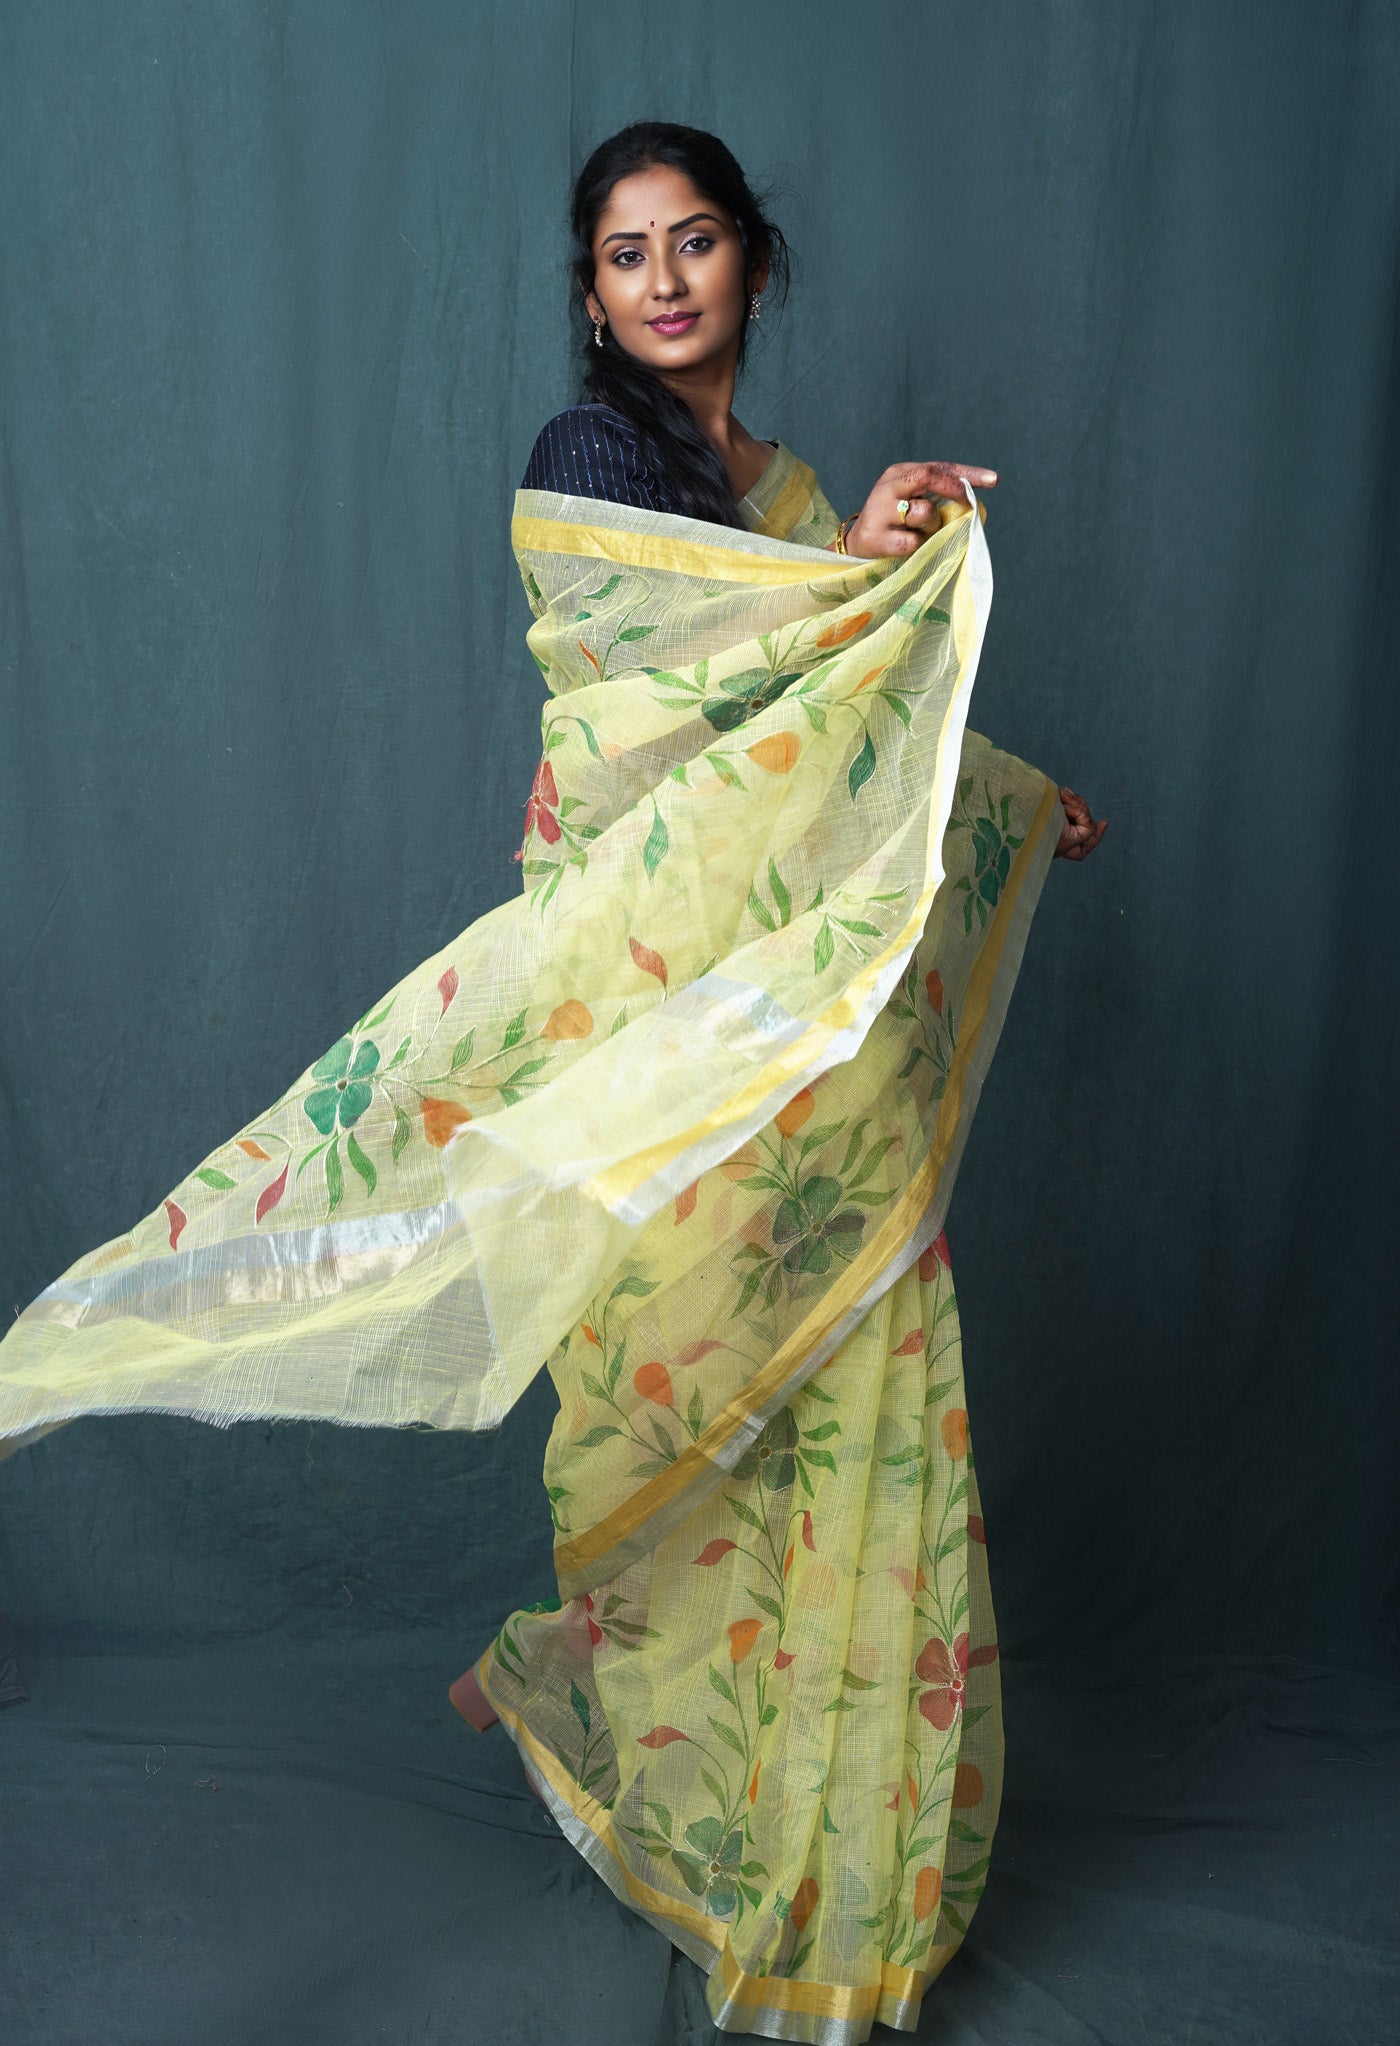
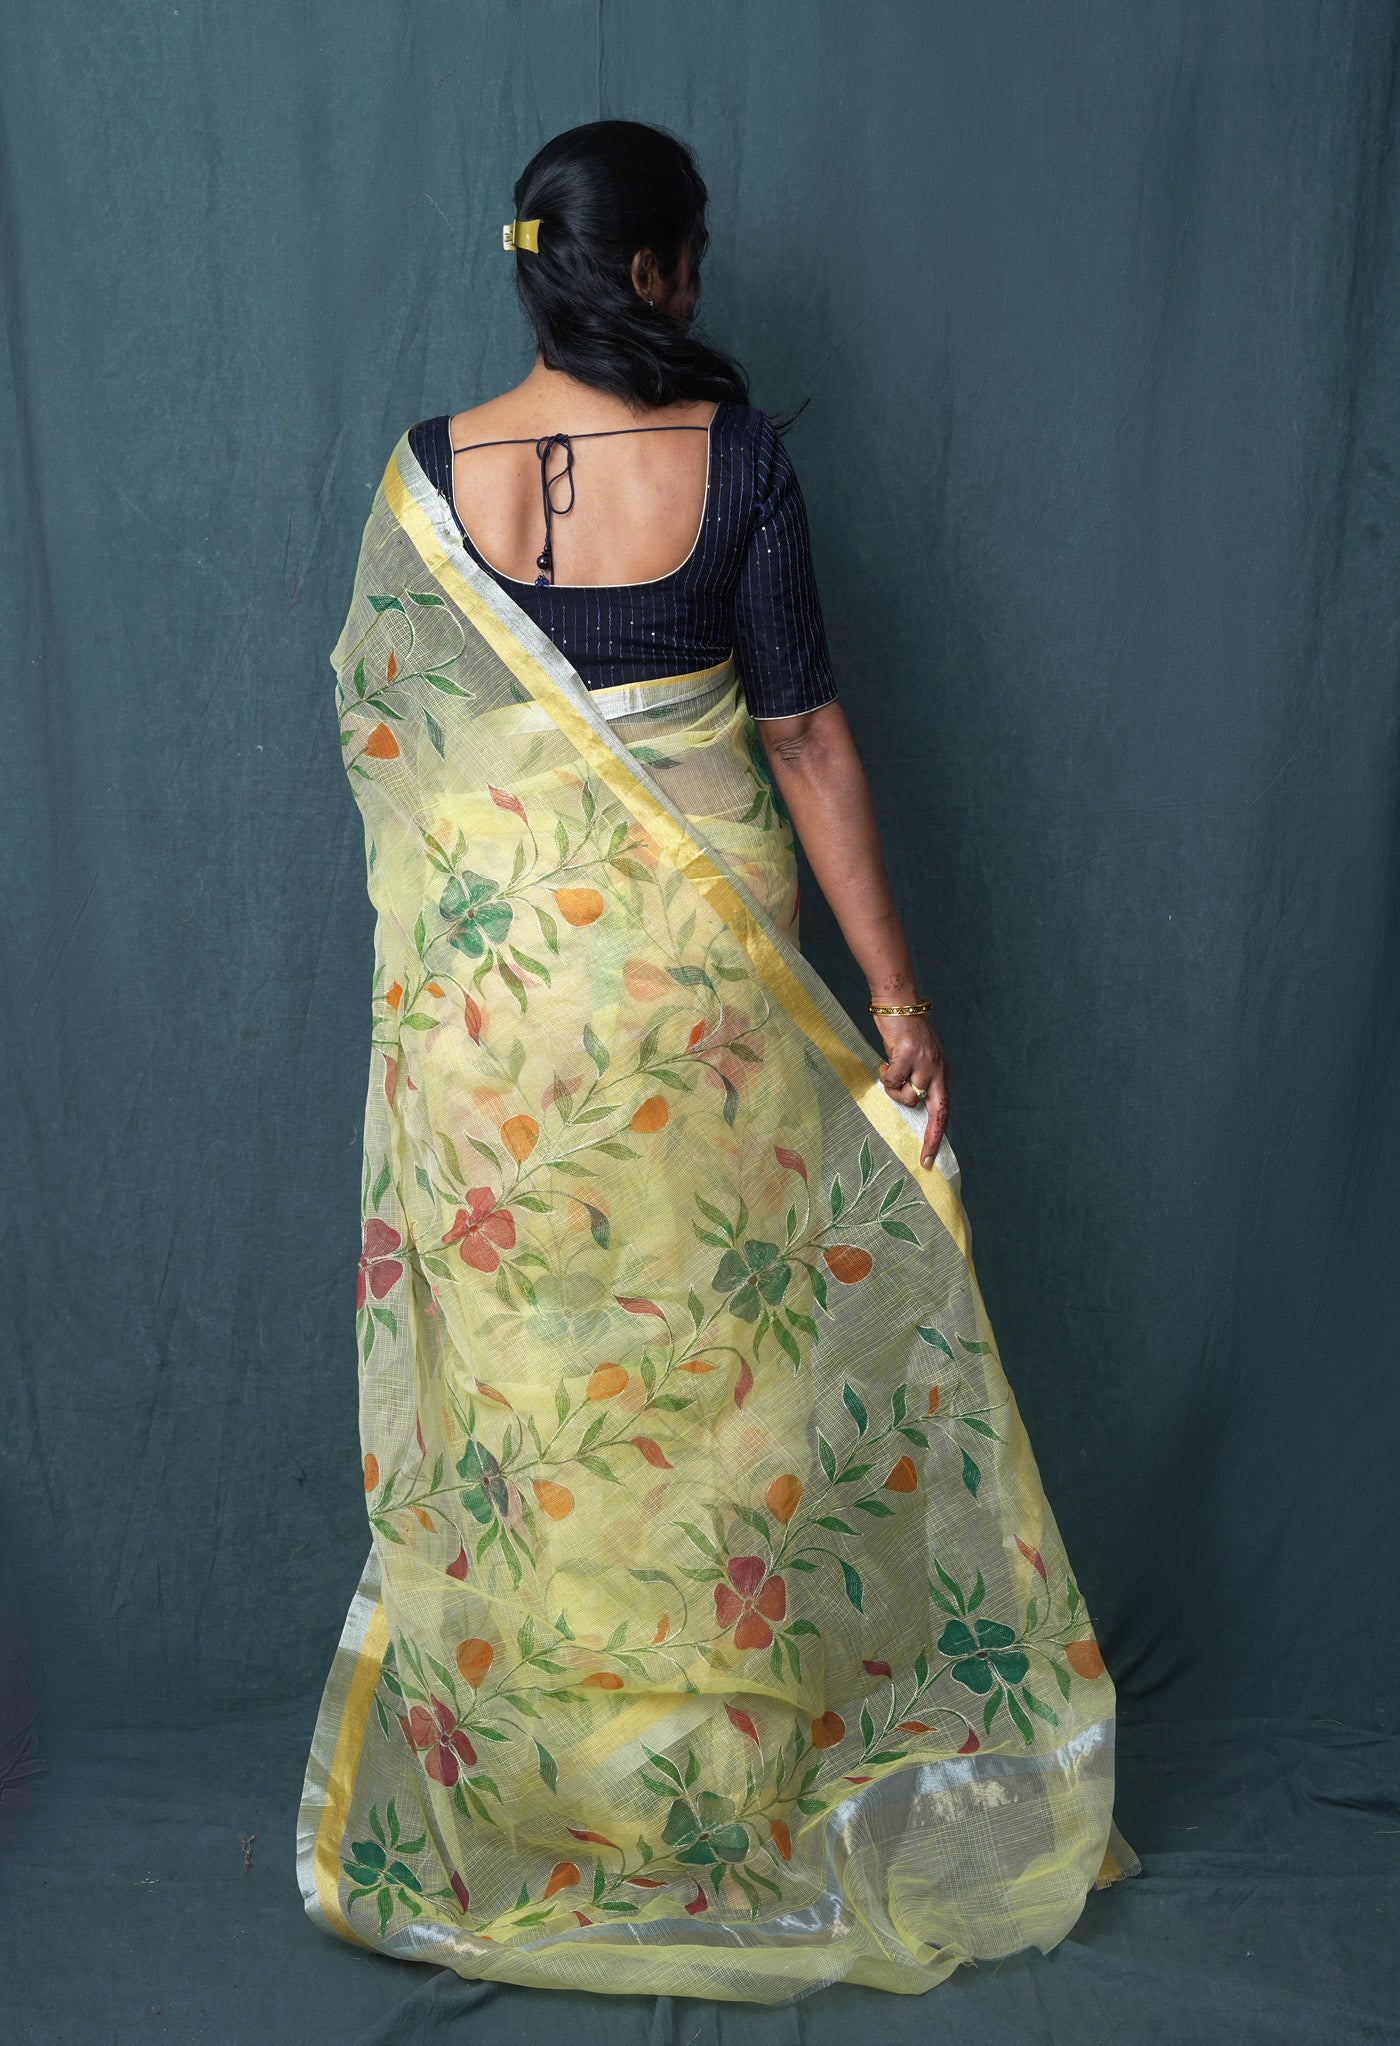
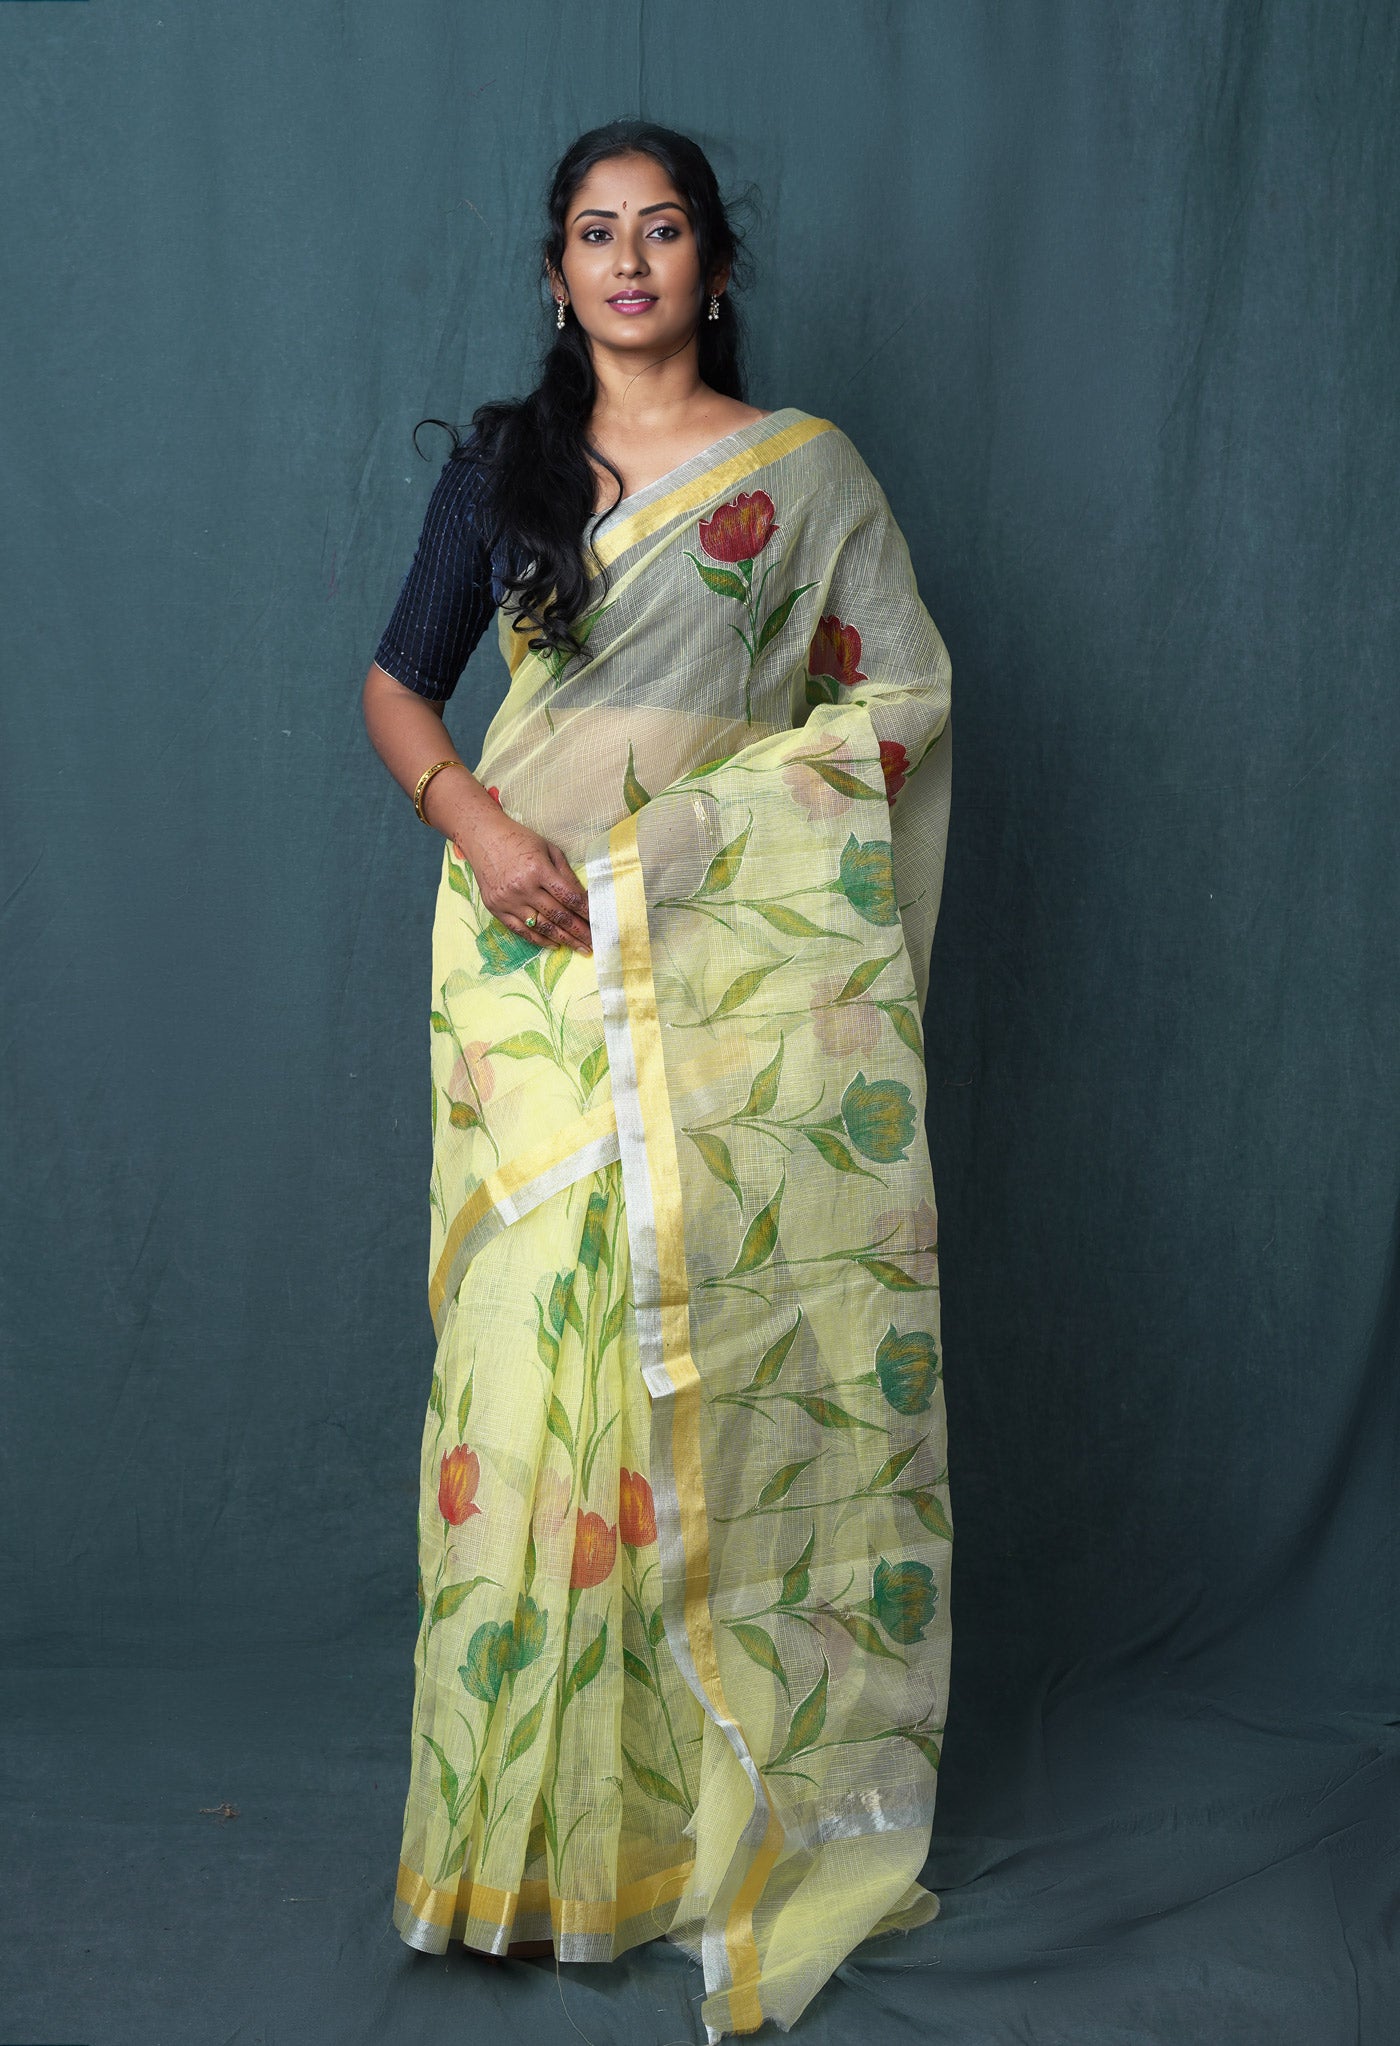
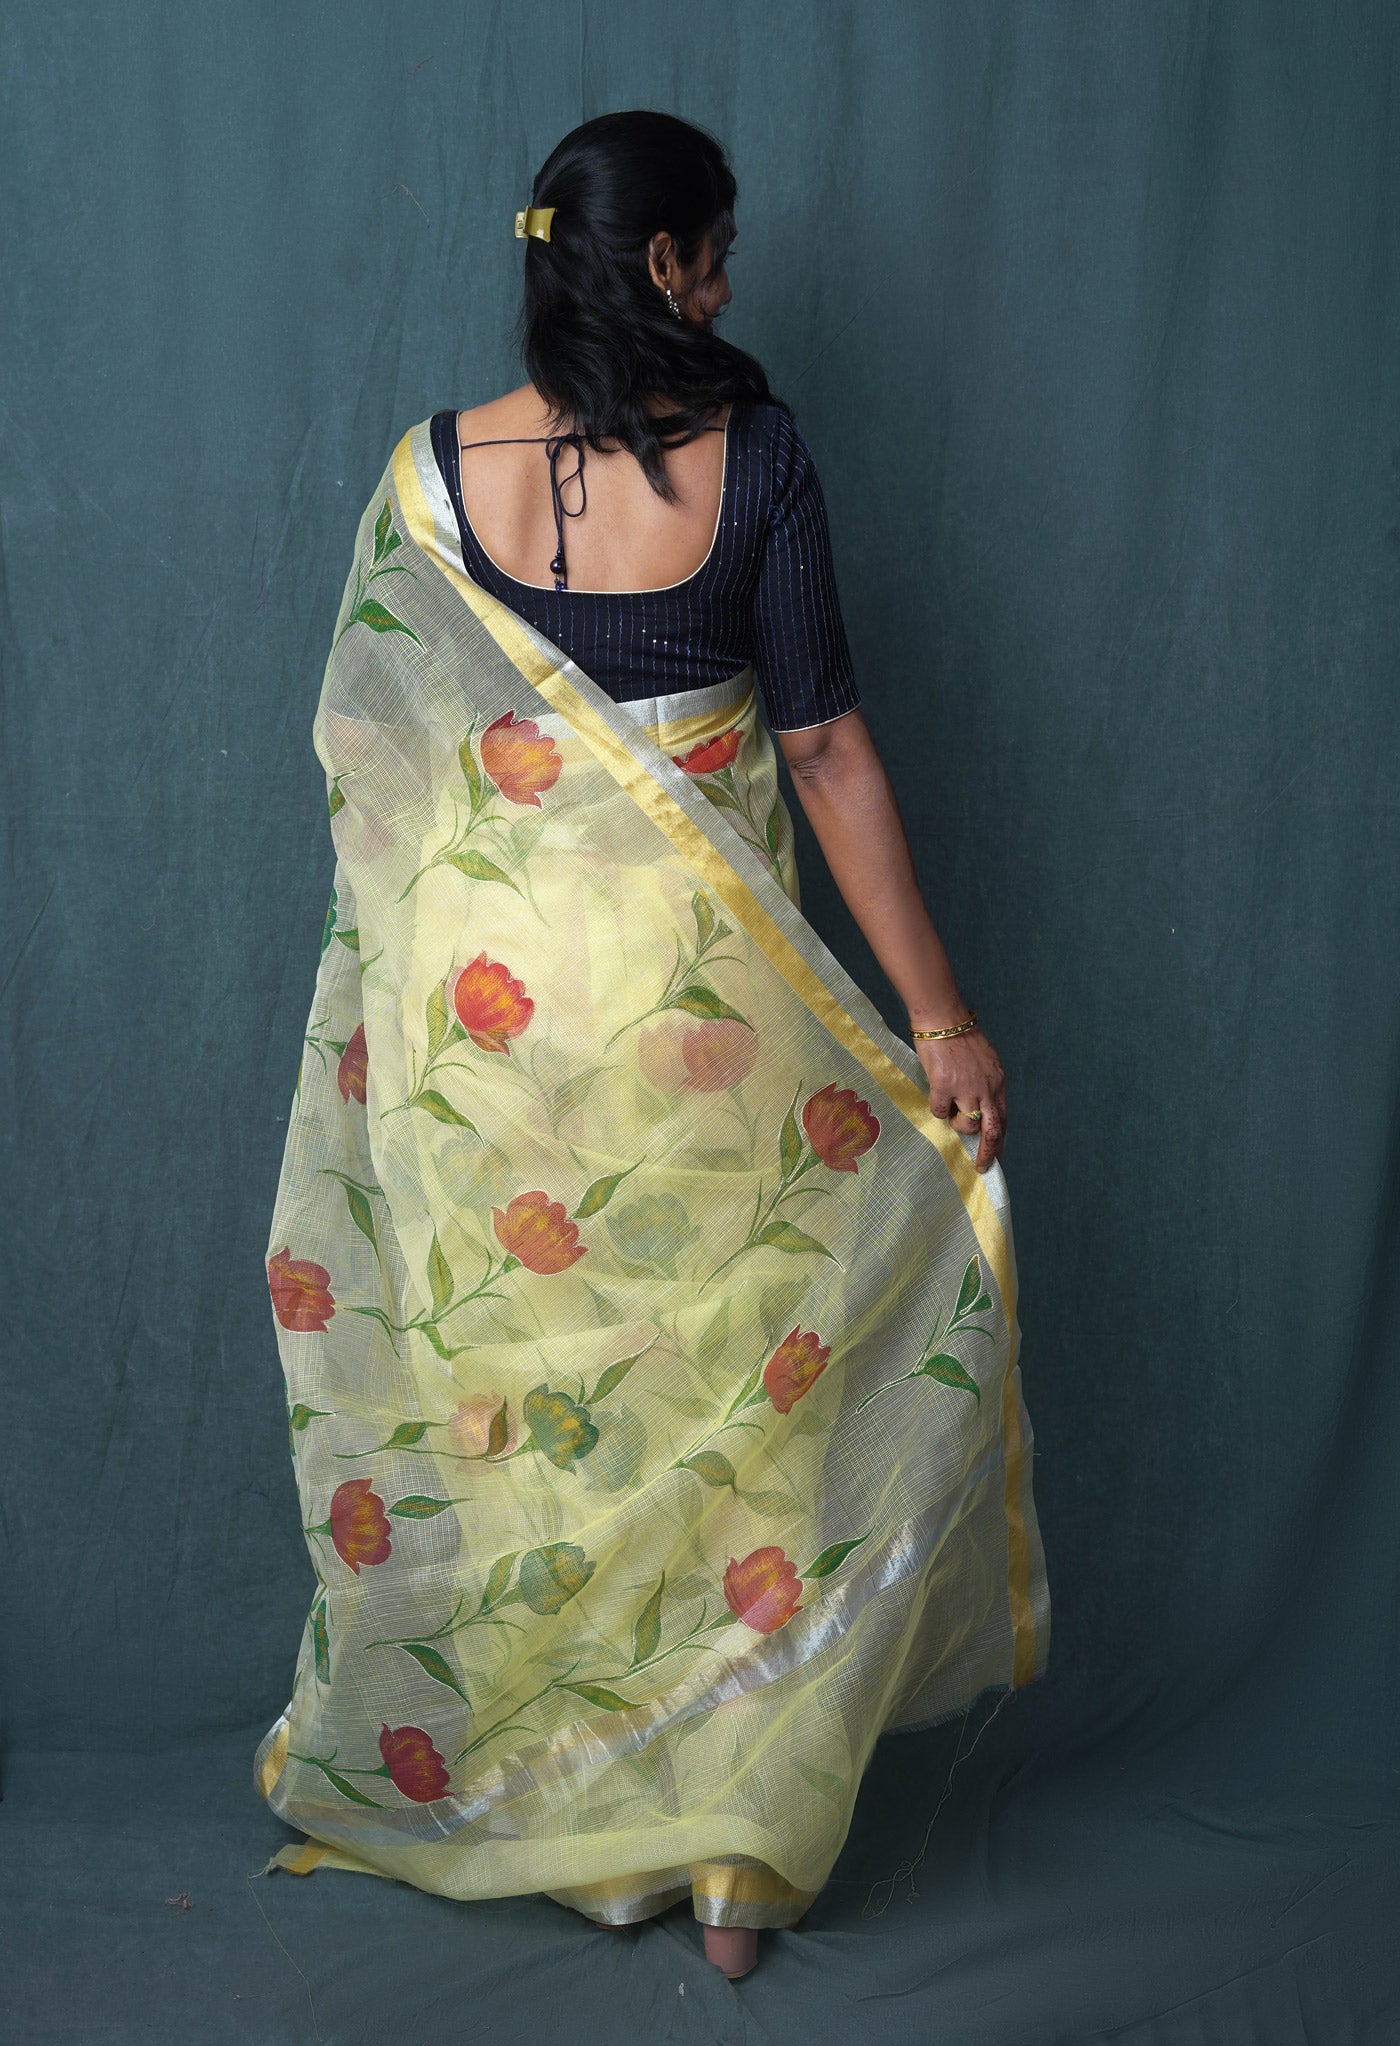
[vc_btn title="Shop Now Beautiful Hand Block Printed Sarees" color="warning" align="center" link="url:https%3A%2F%2Fwww.unnatisilks.com%2Fsarees-online%2Fby-work-sarees%2Fhand-block-prints-design-saree.html||target:%20_blank"]


