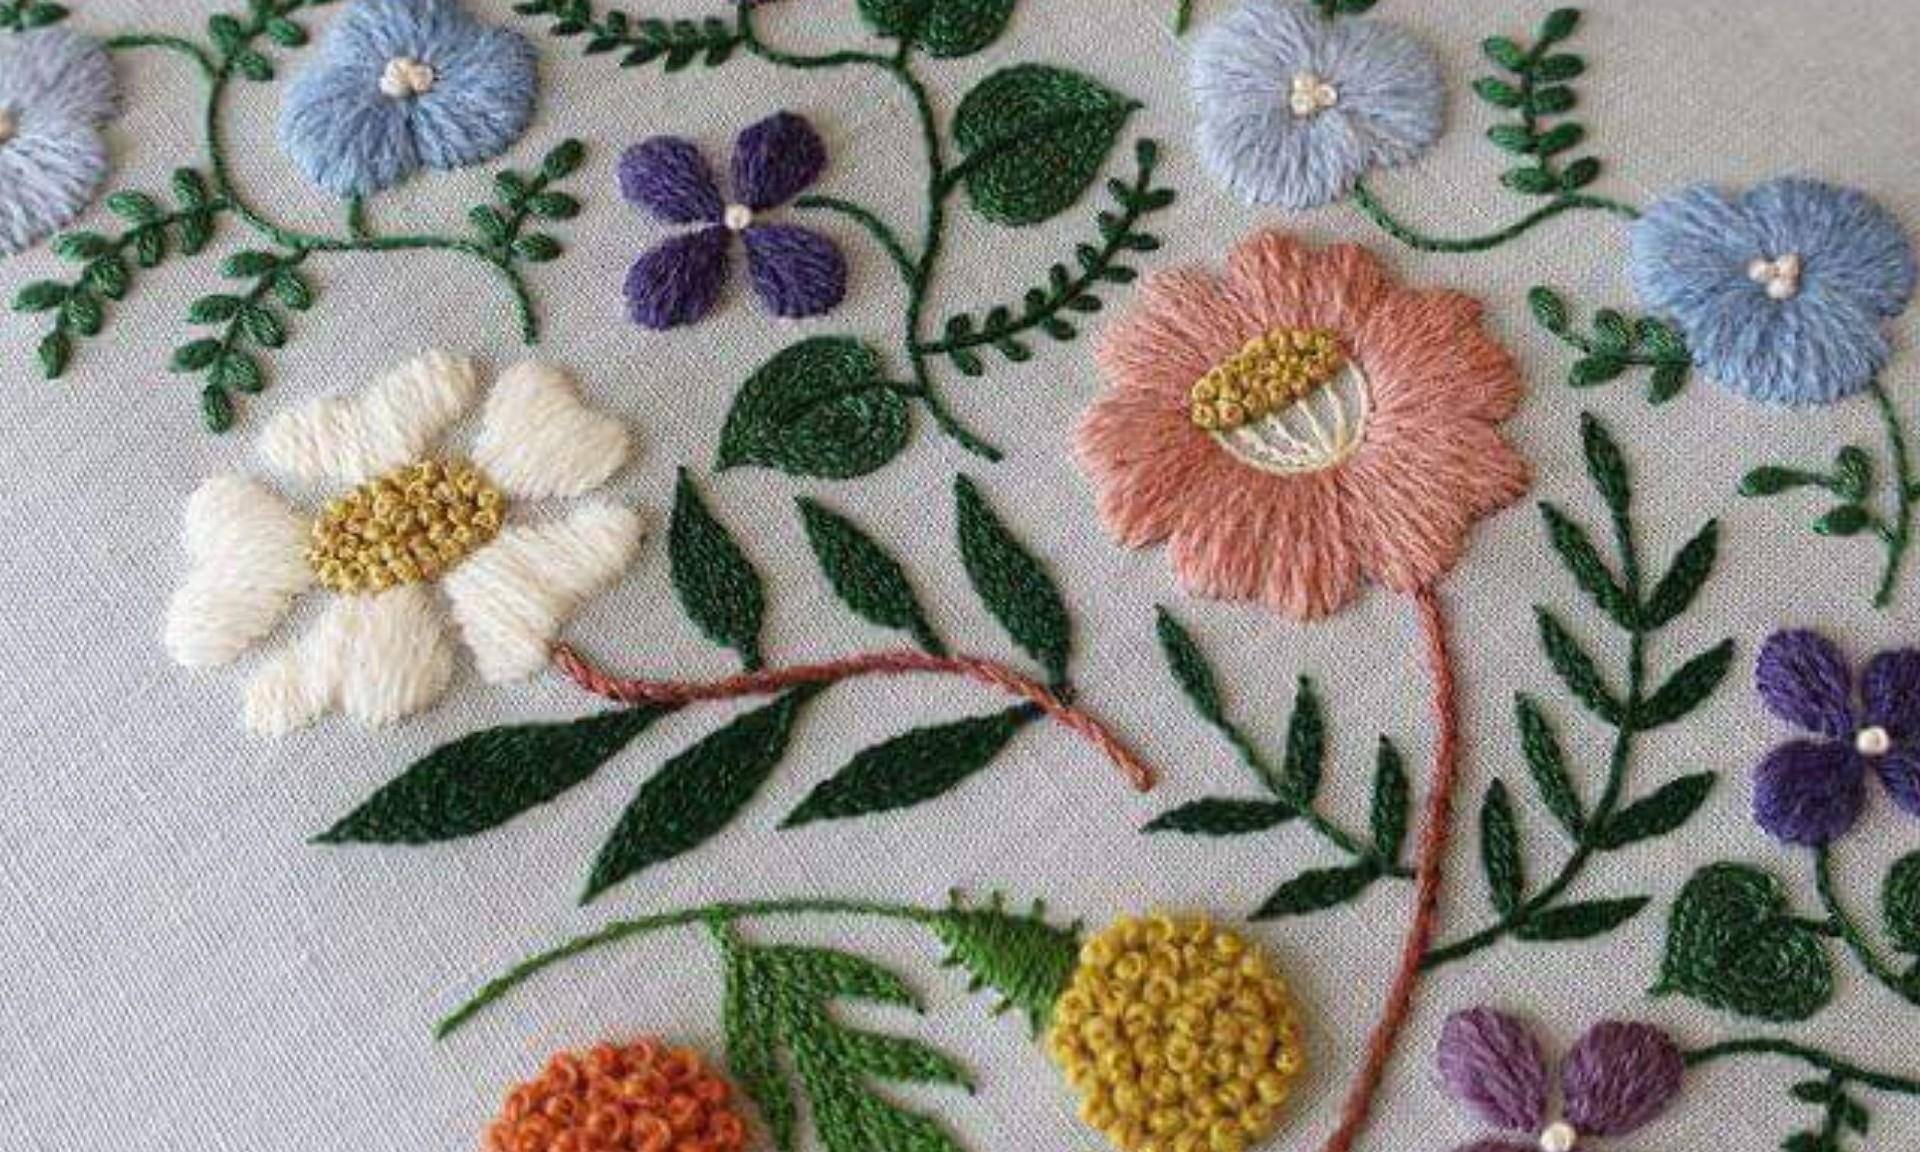
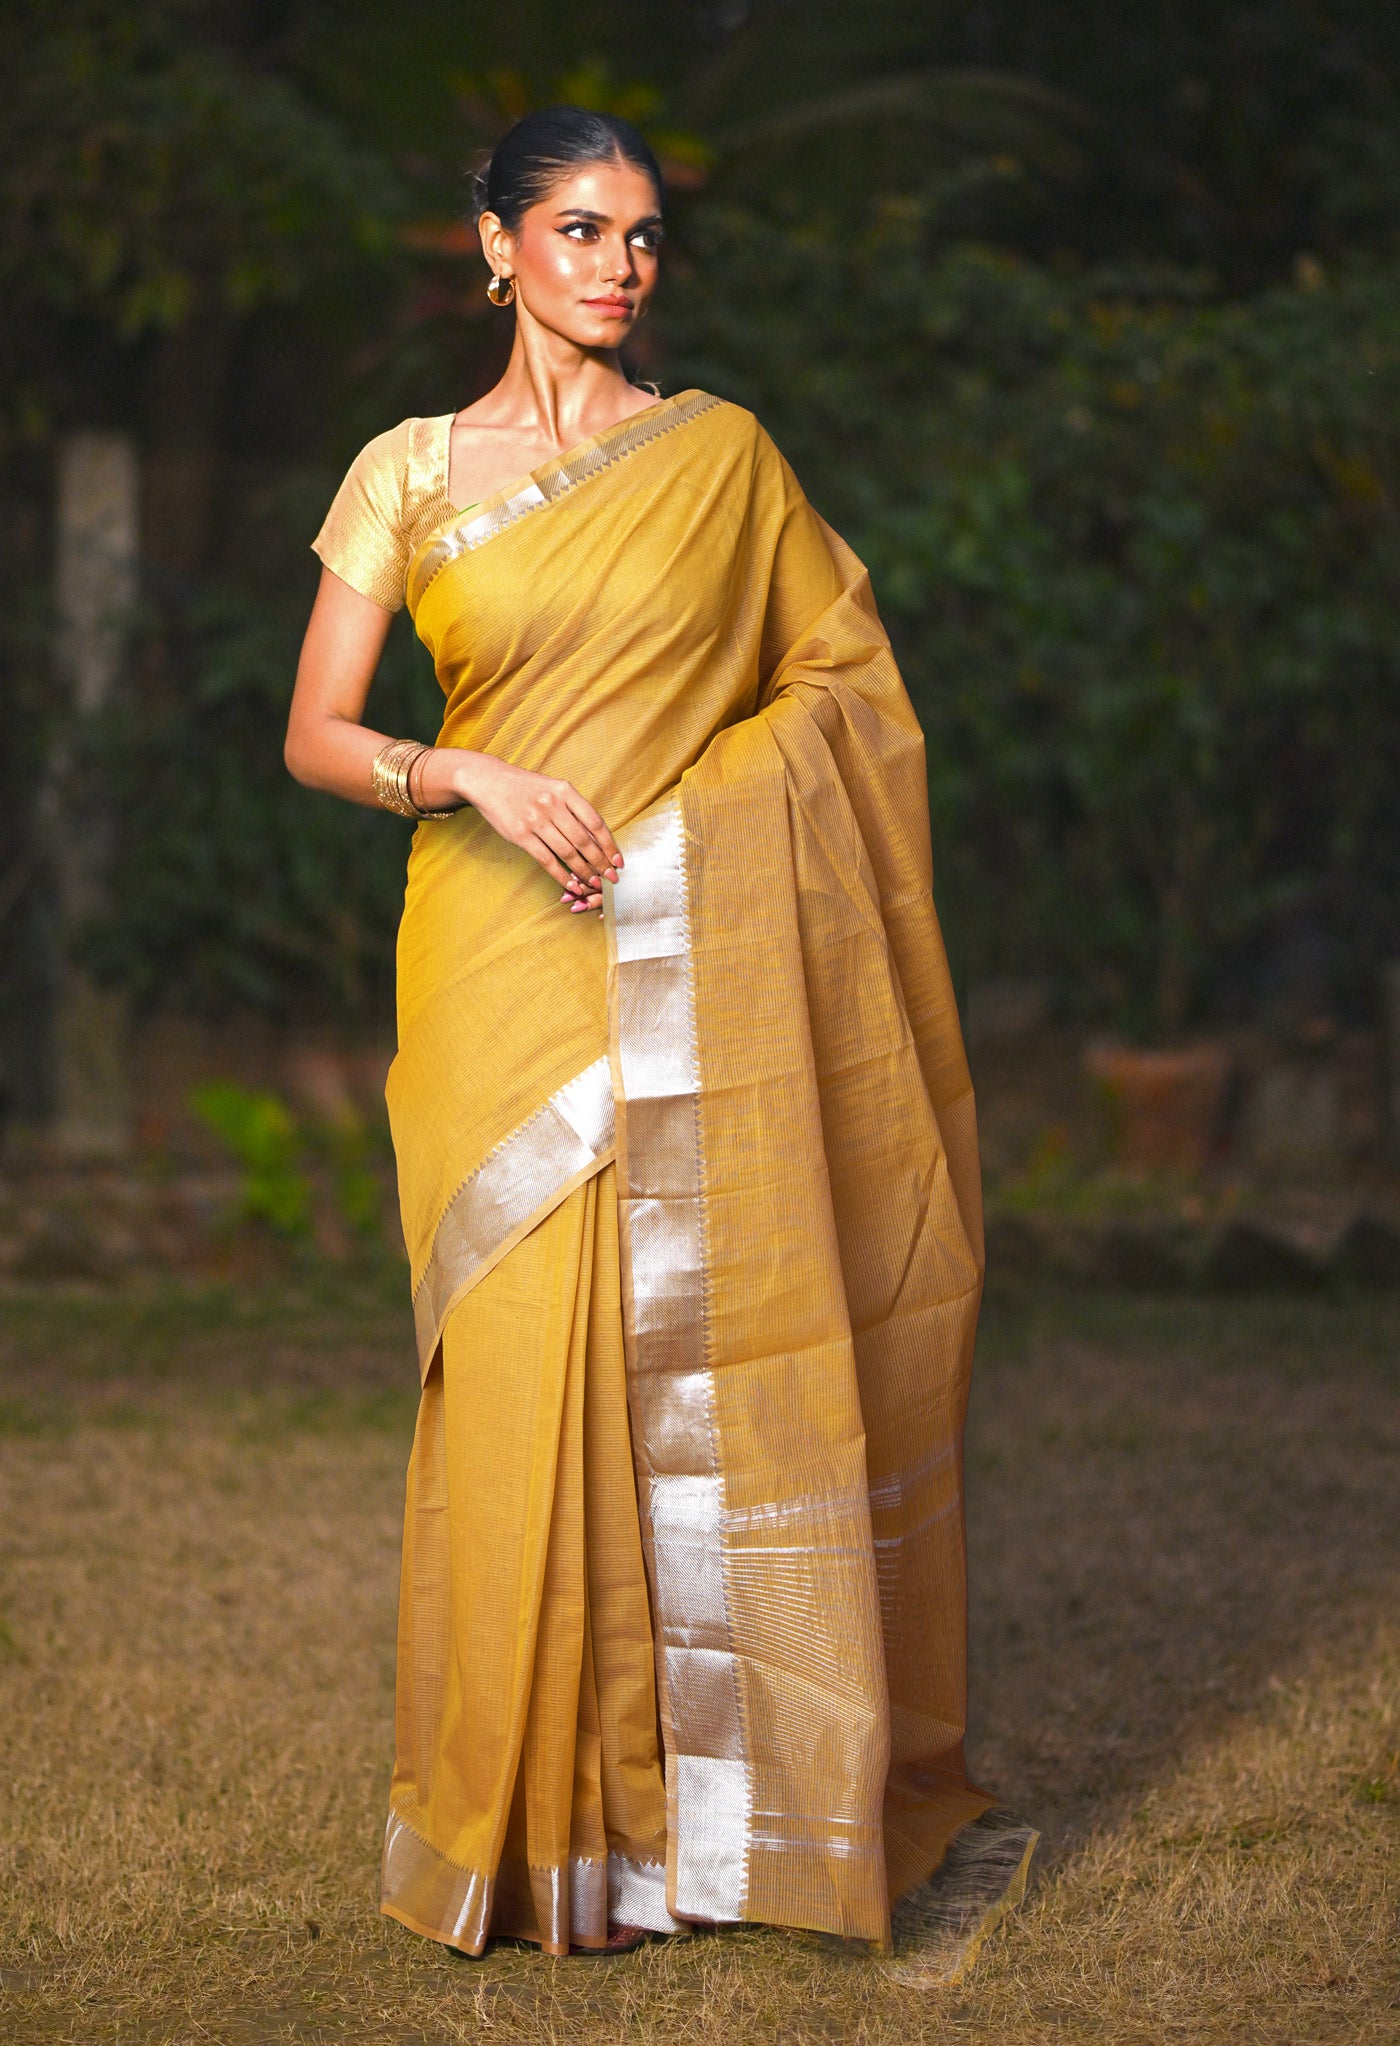
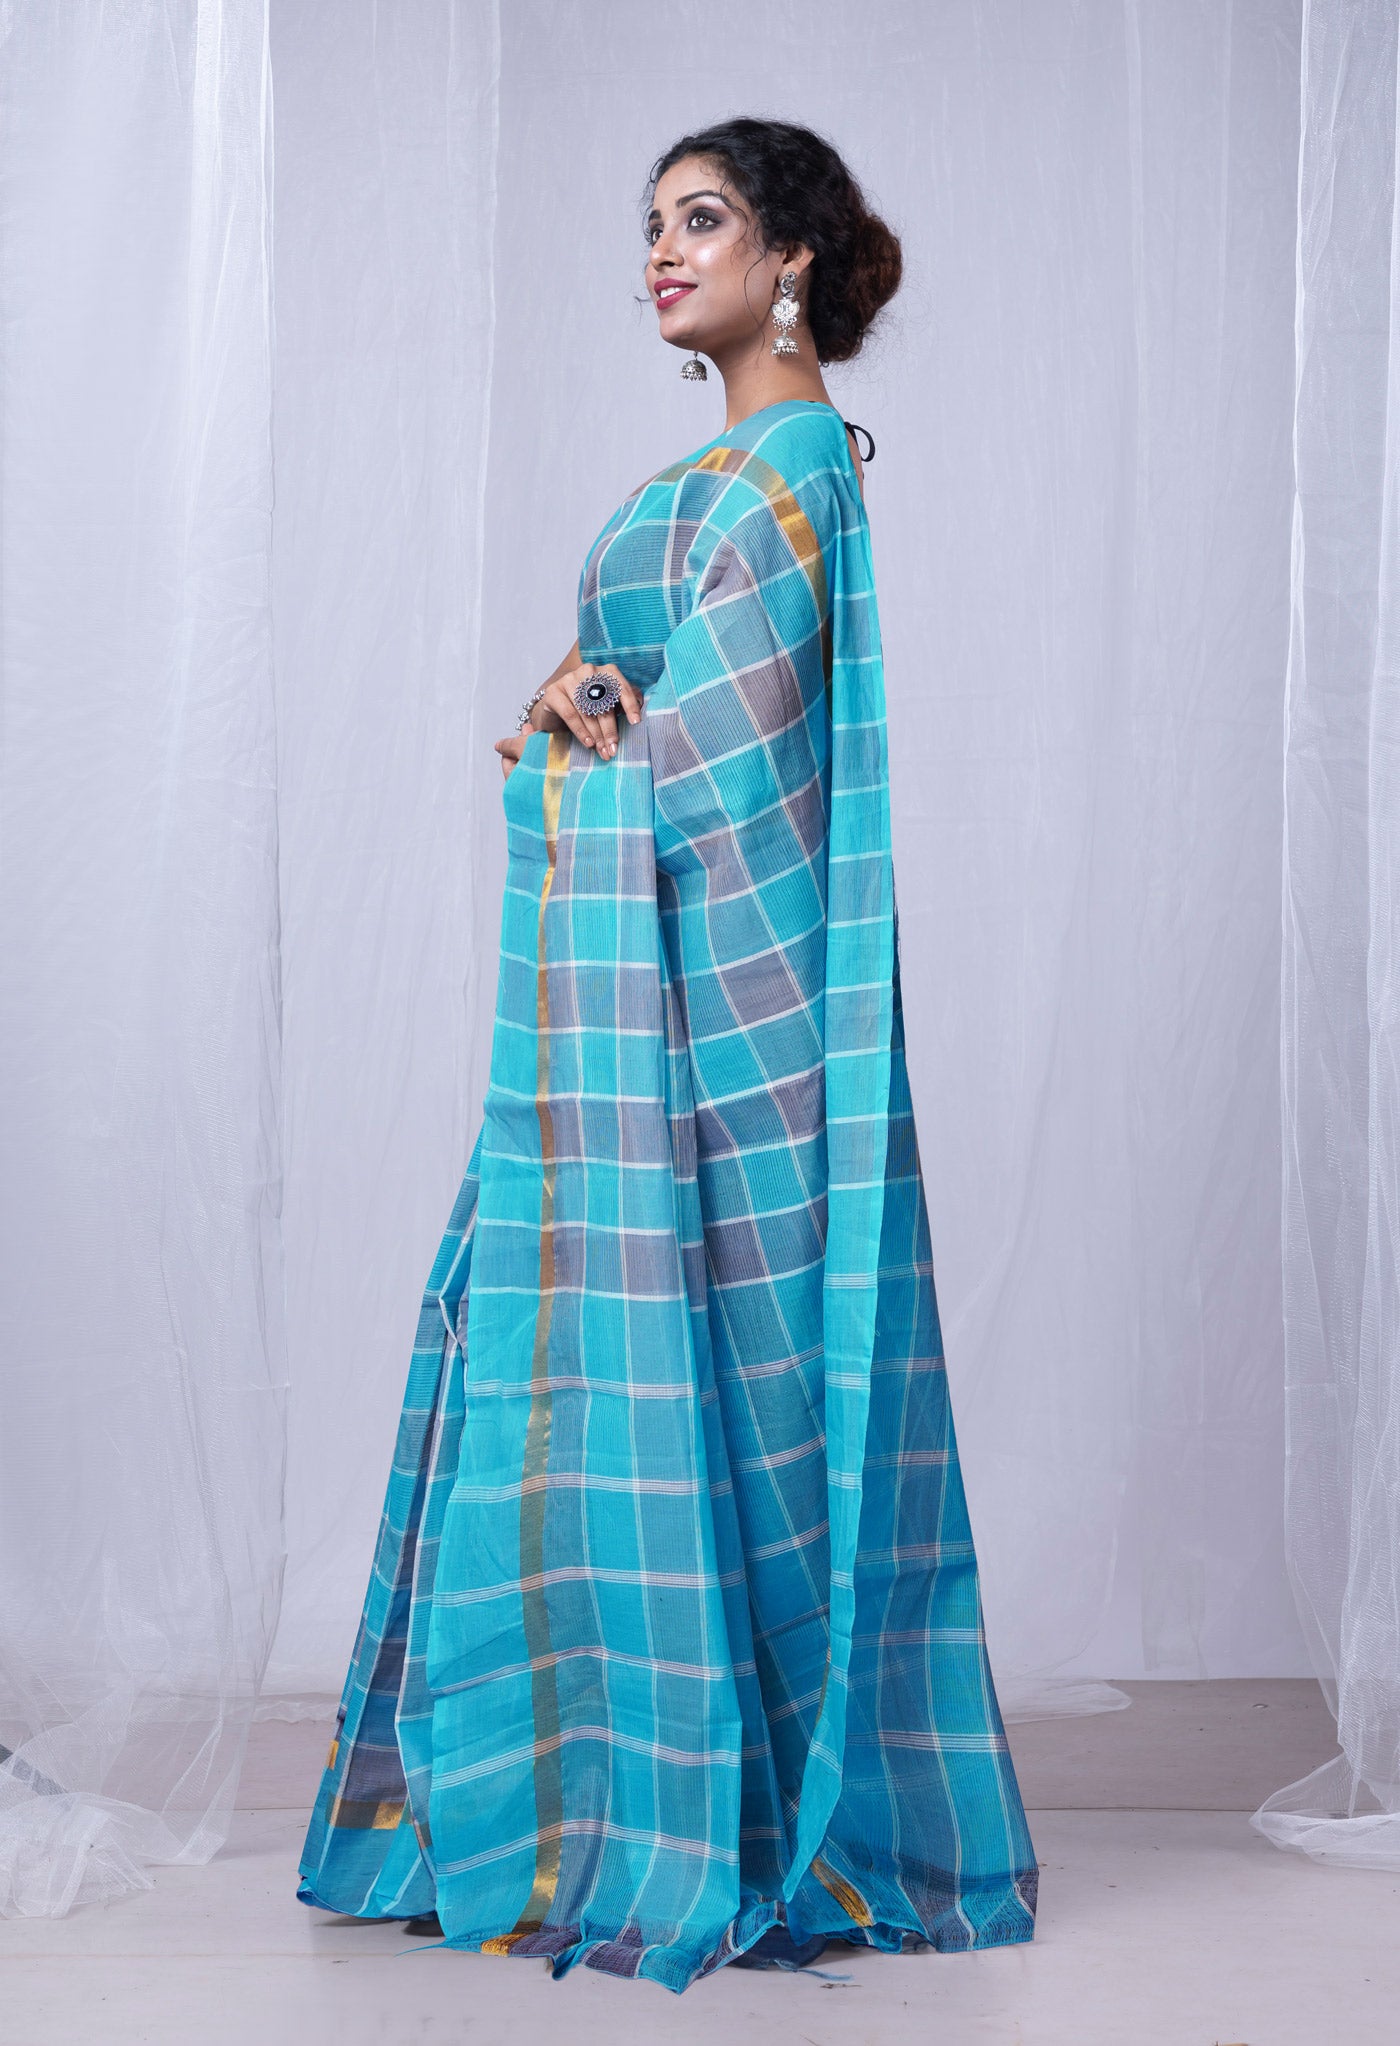
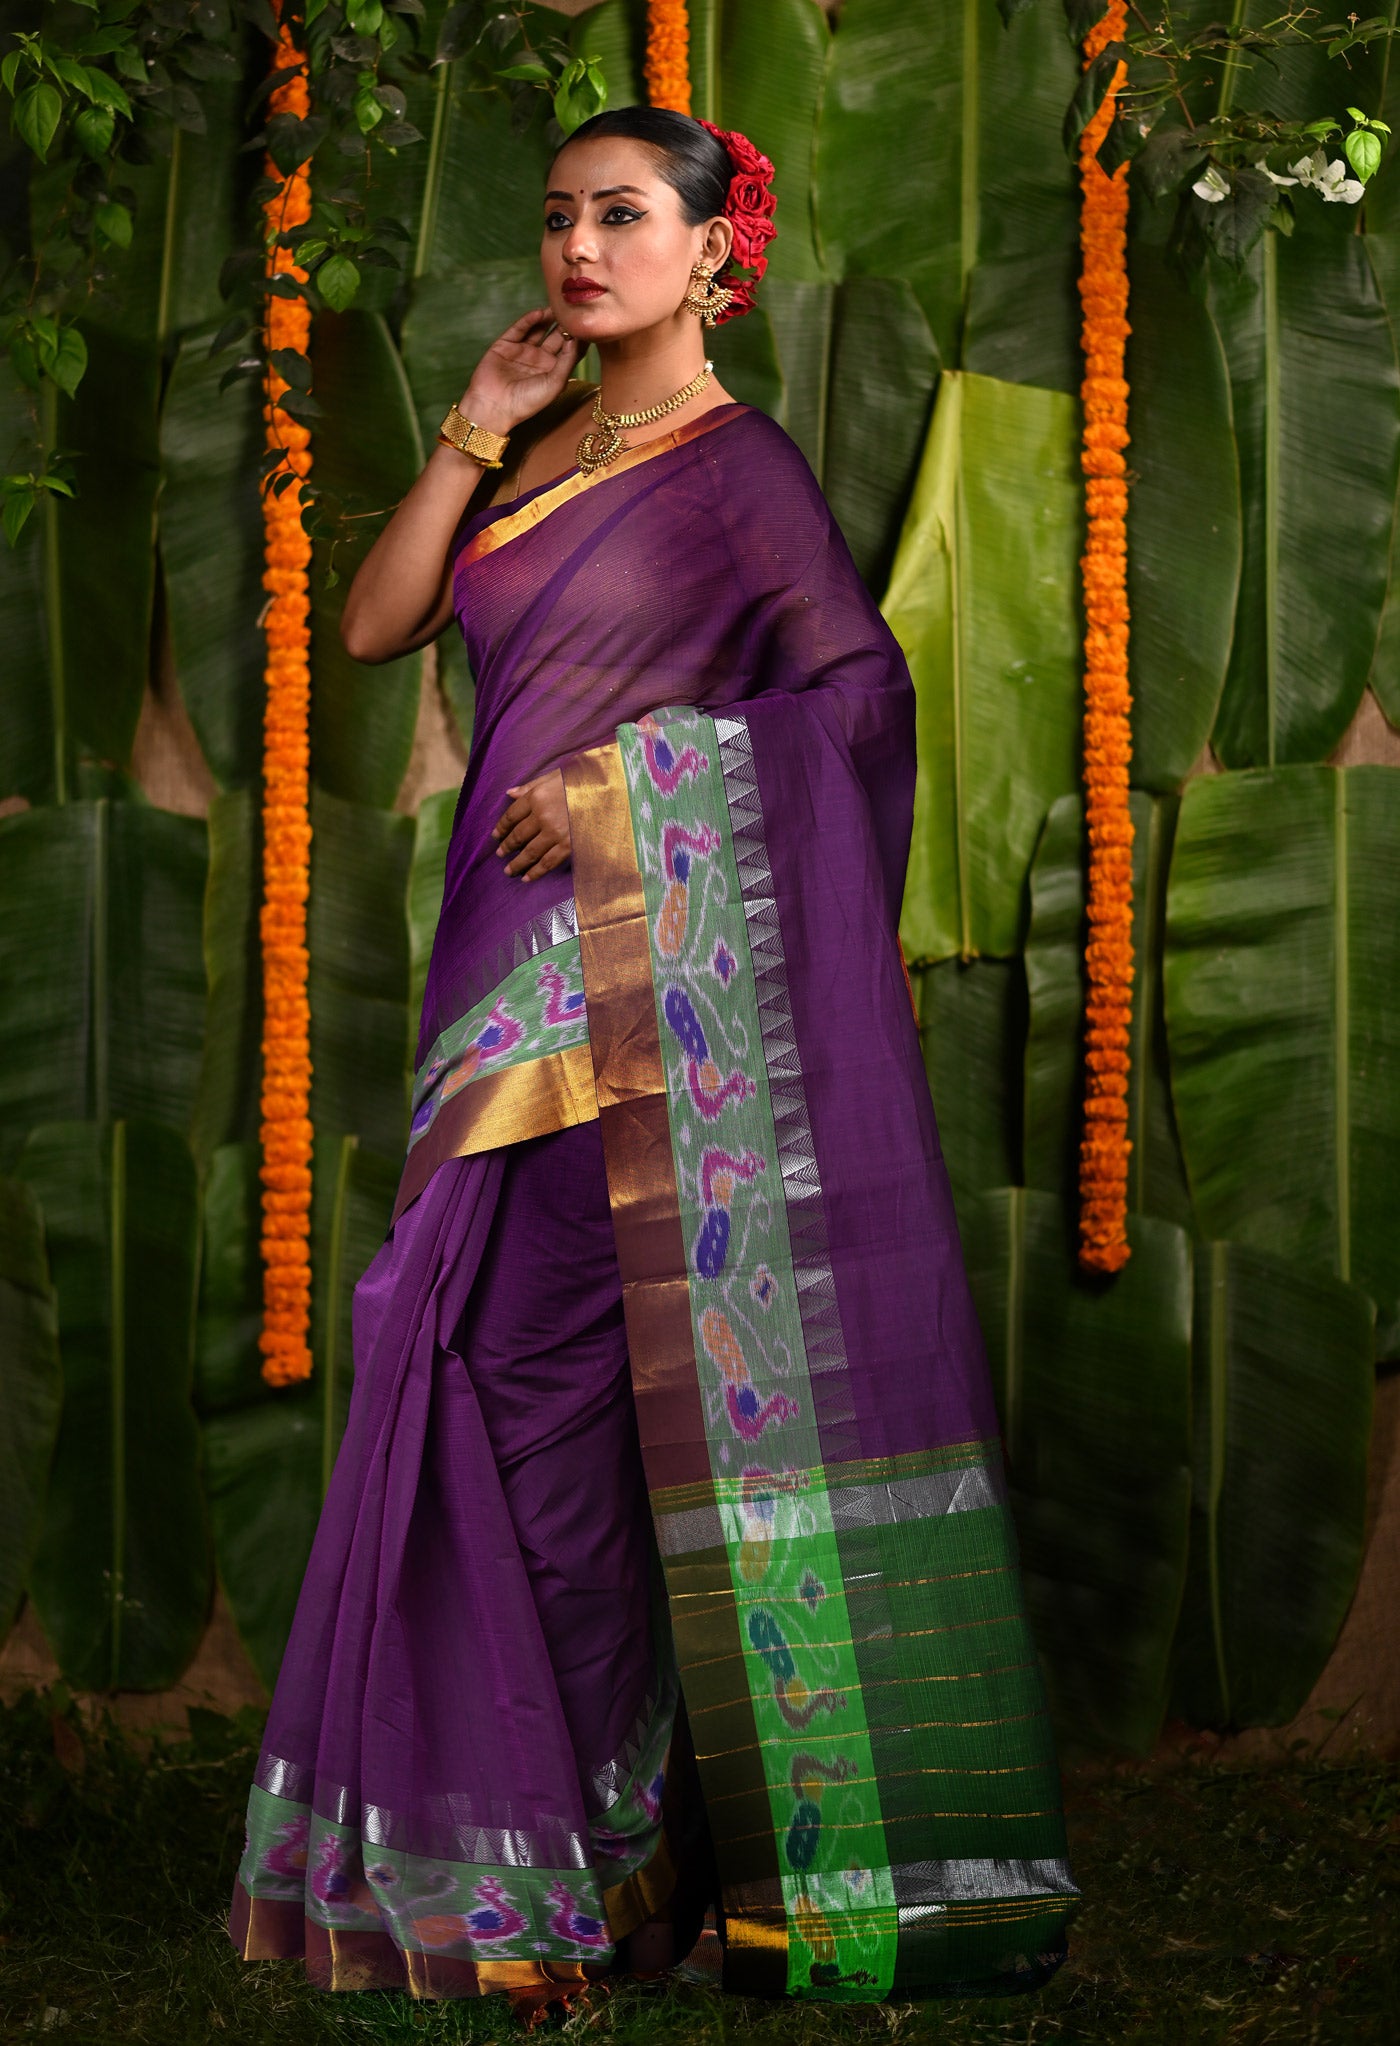
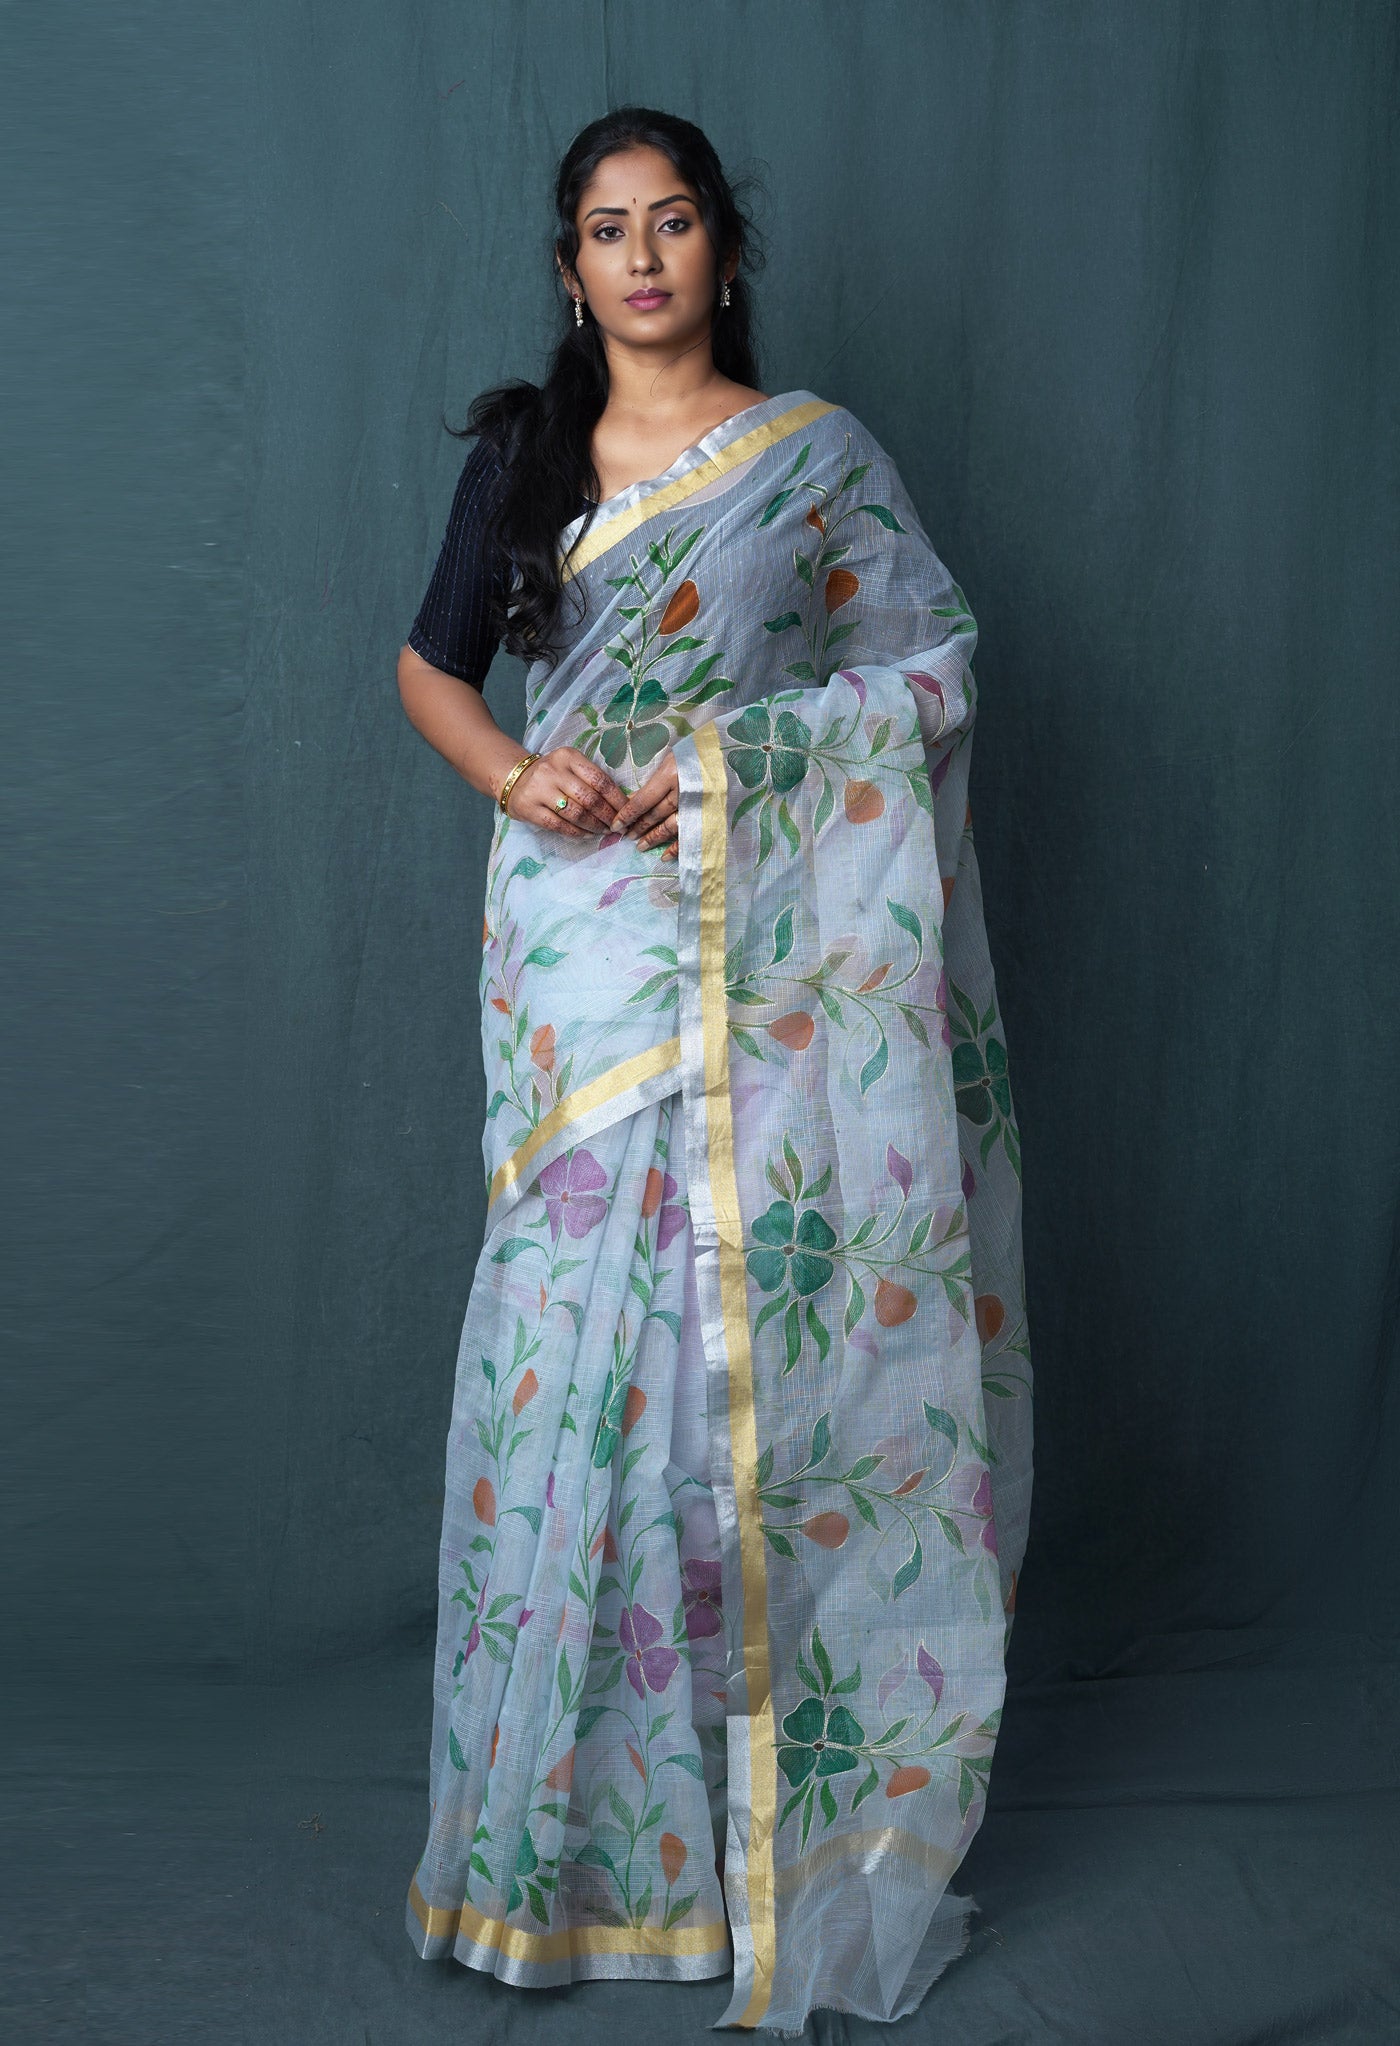
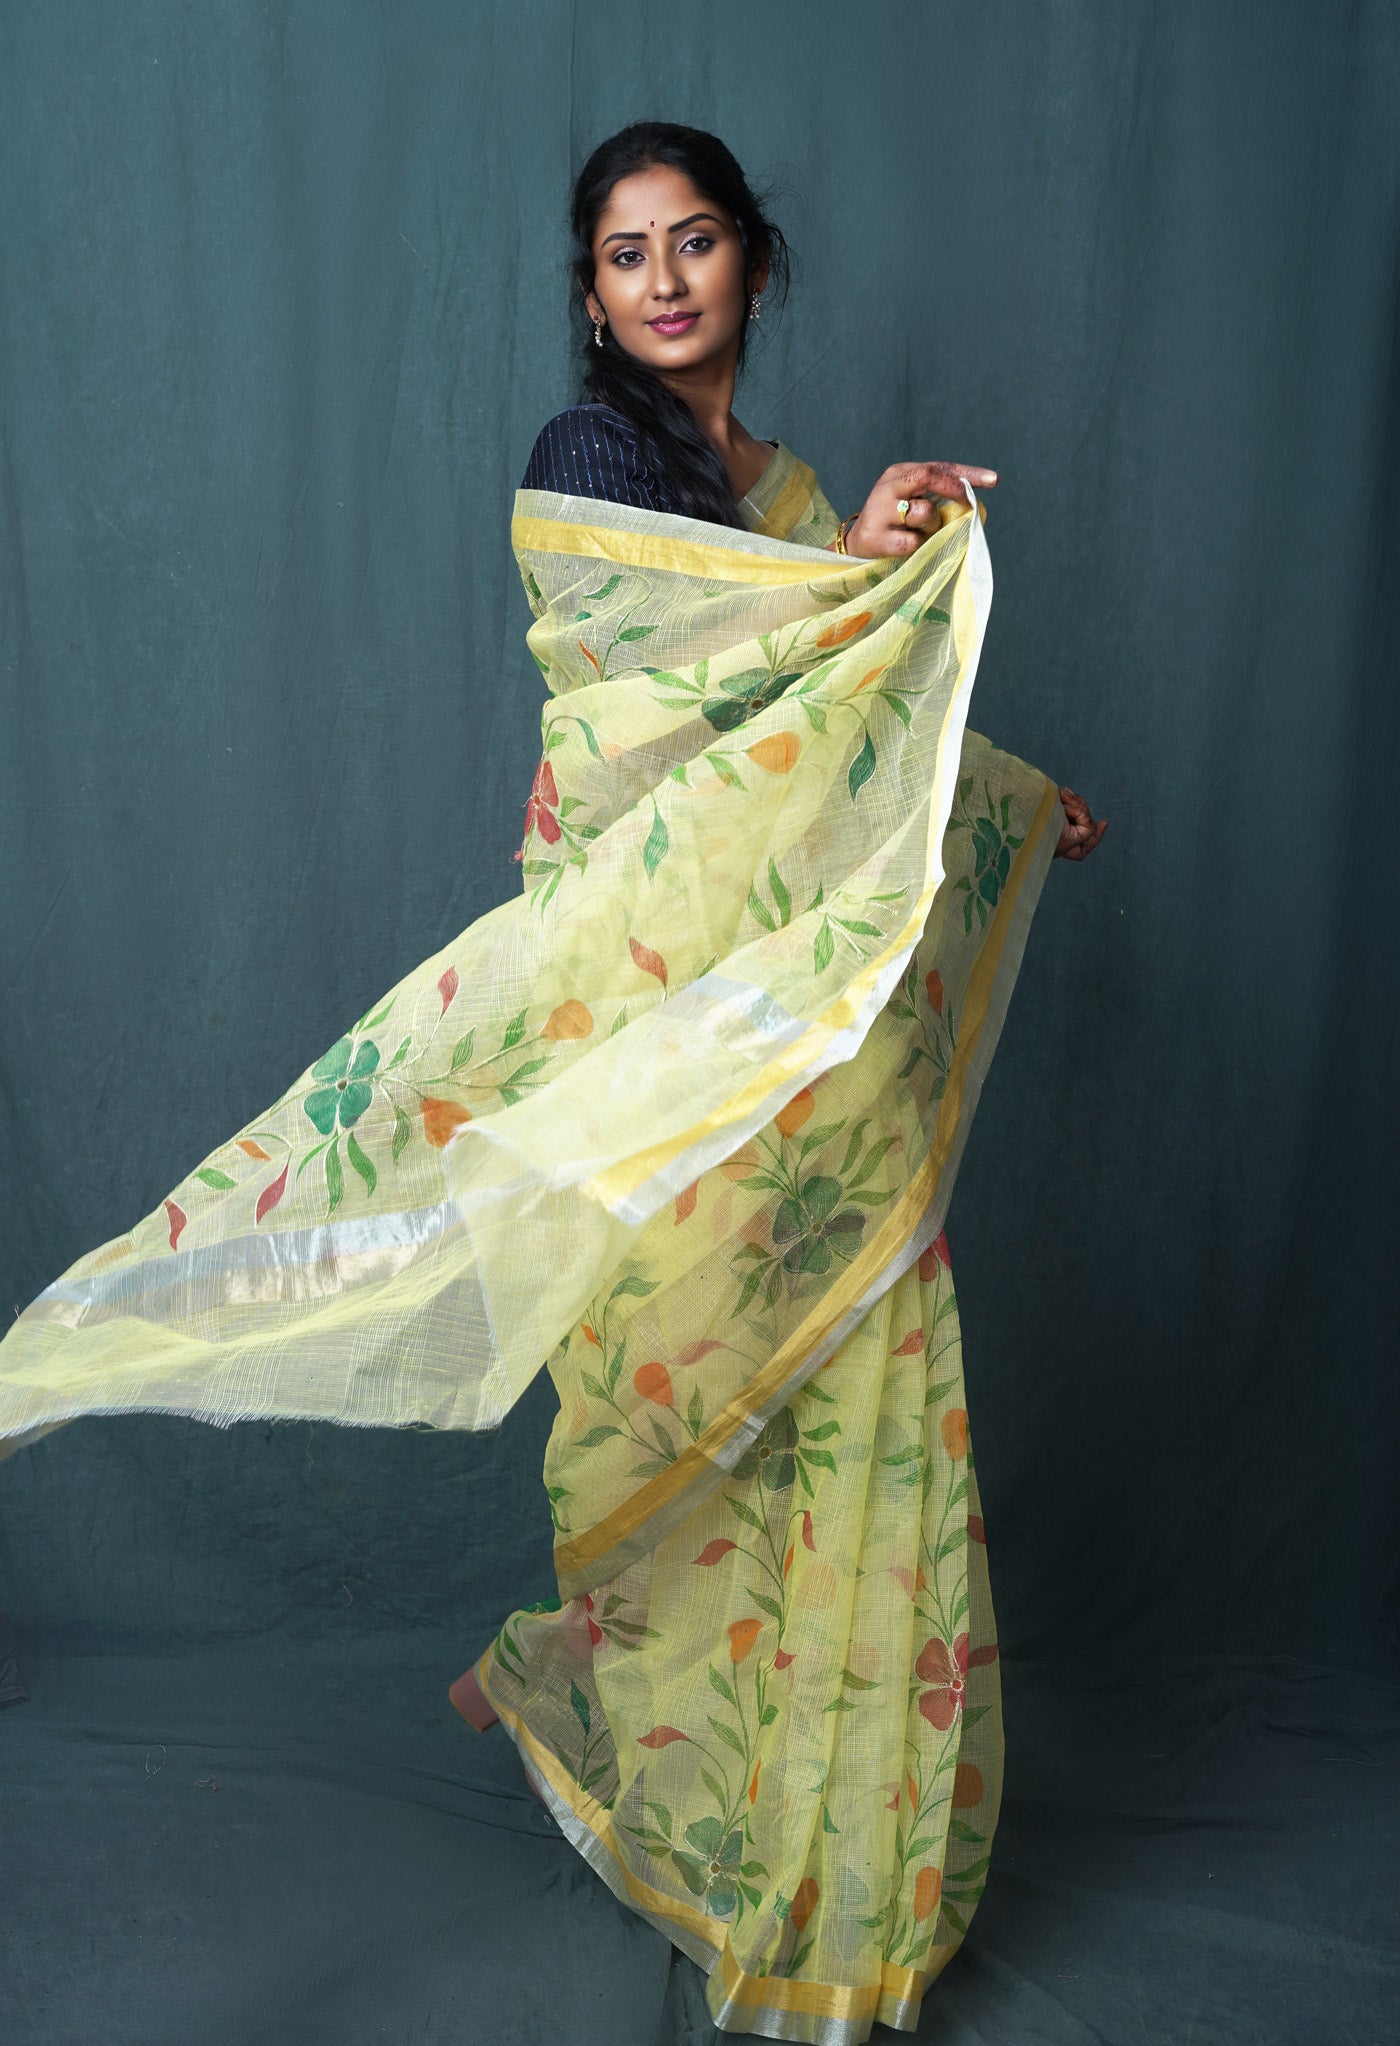
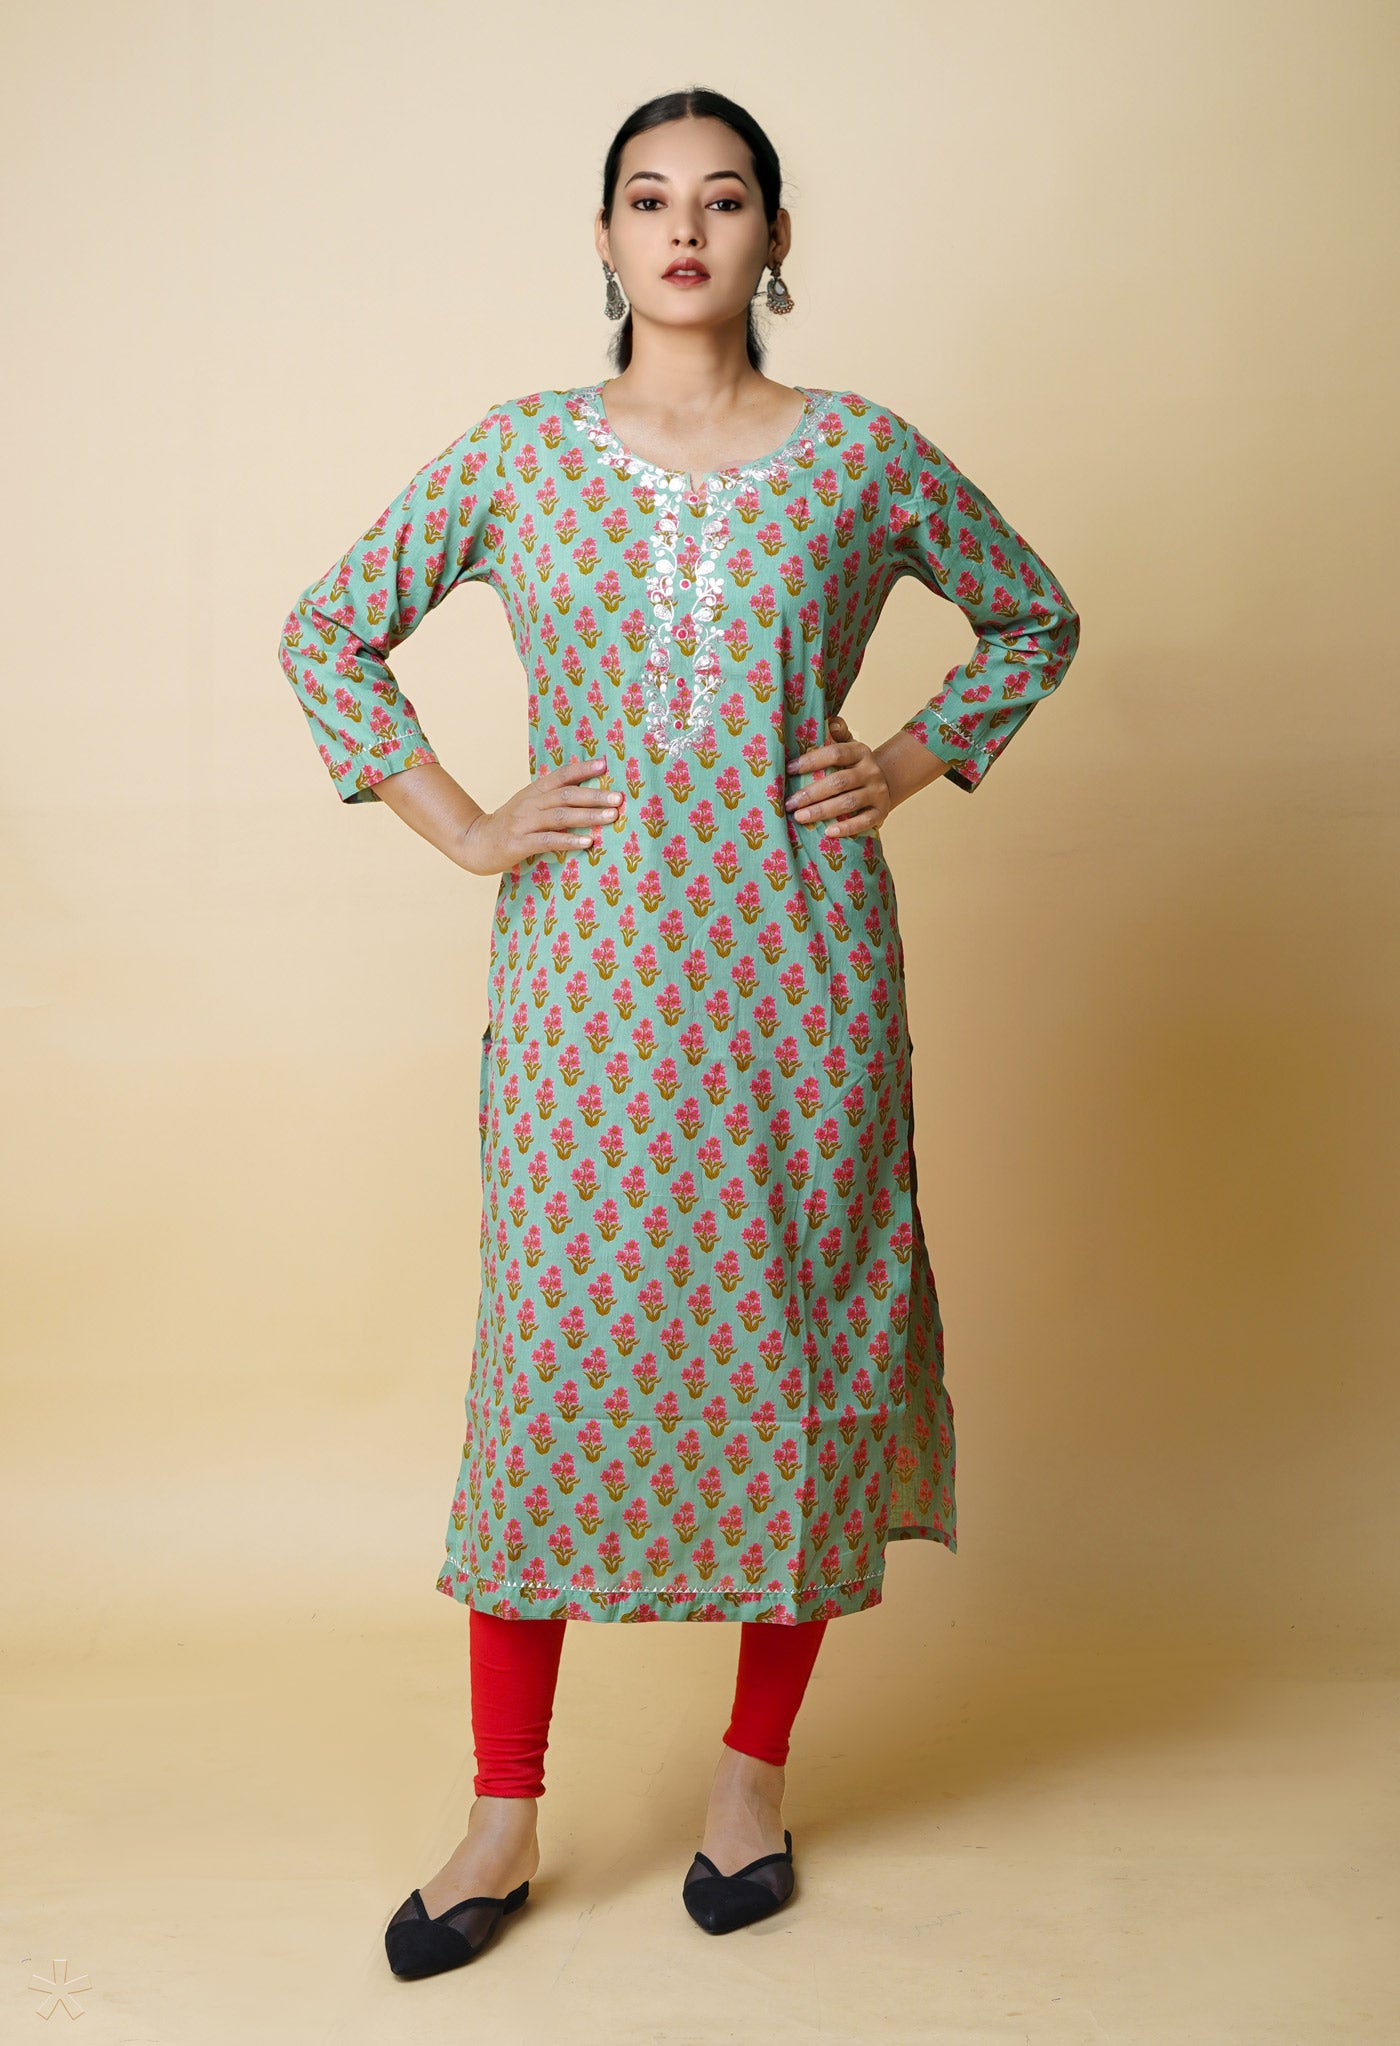
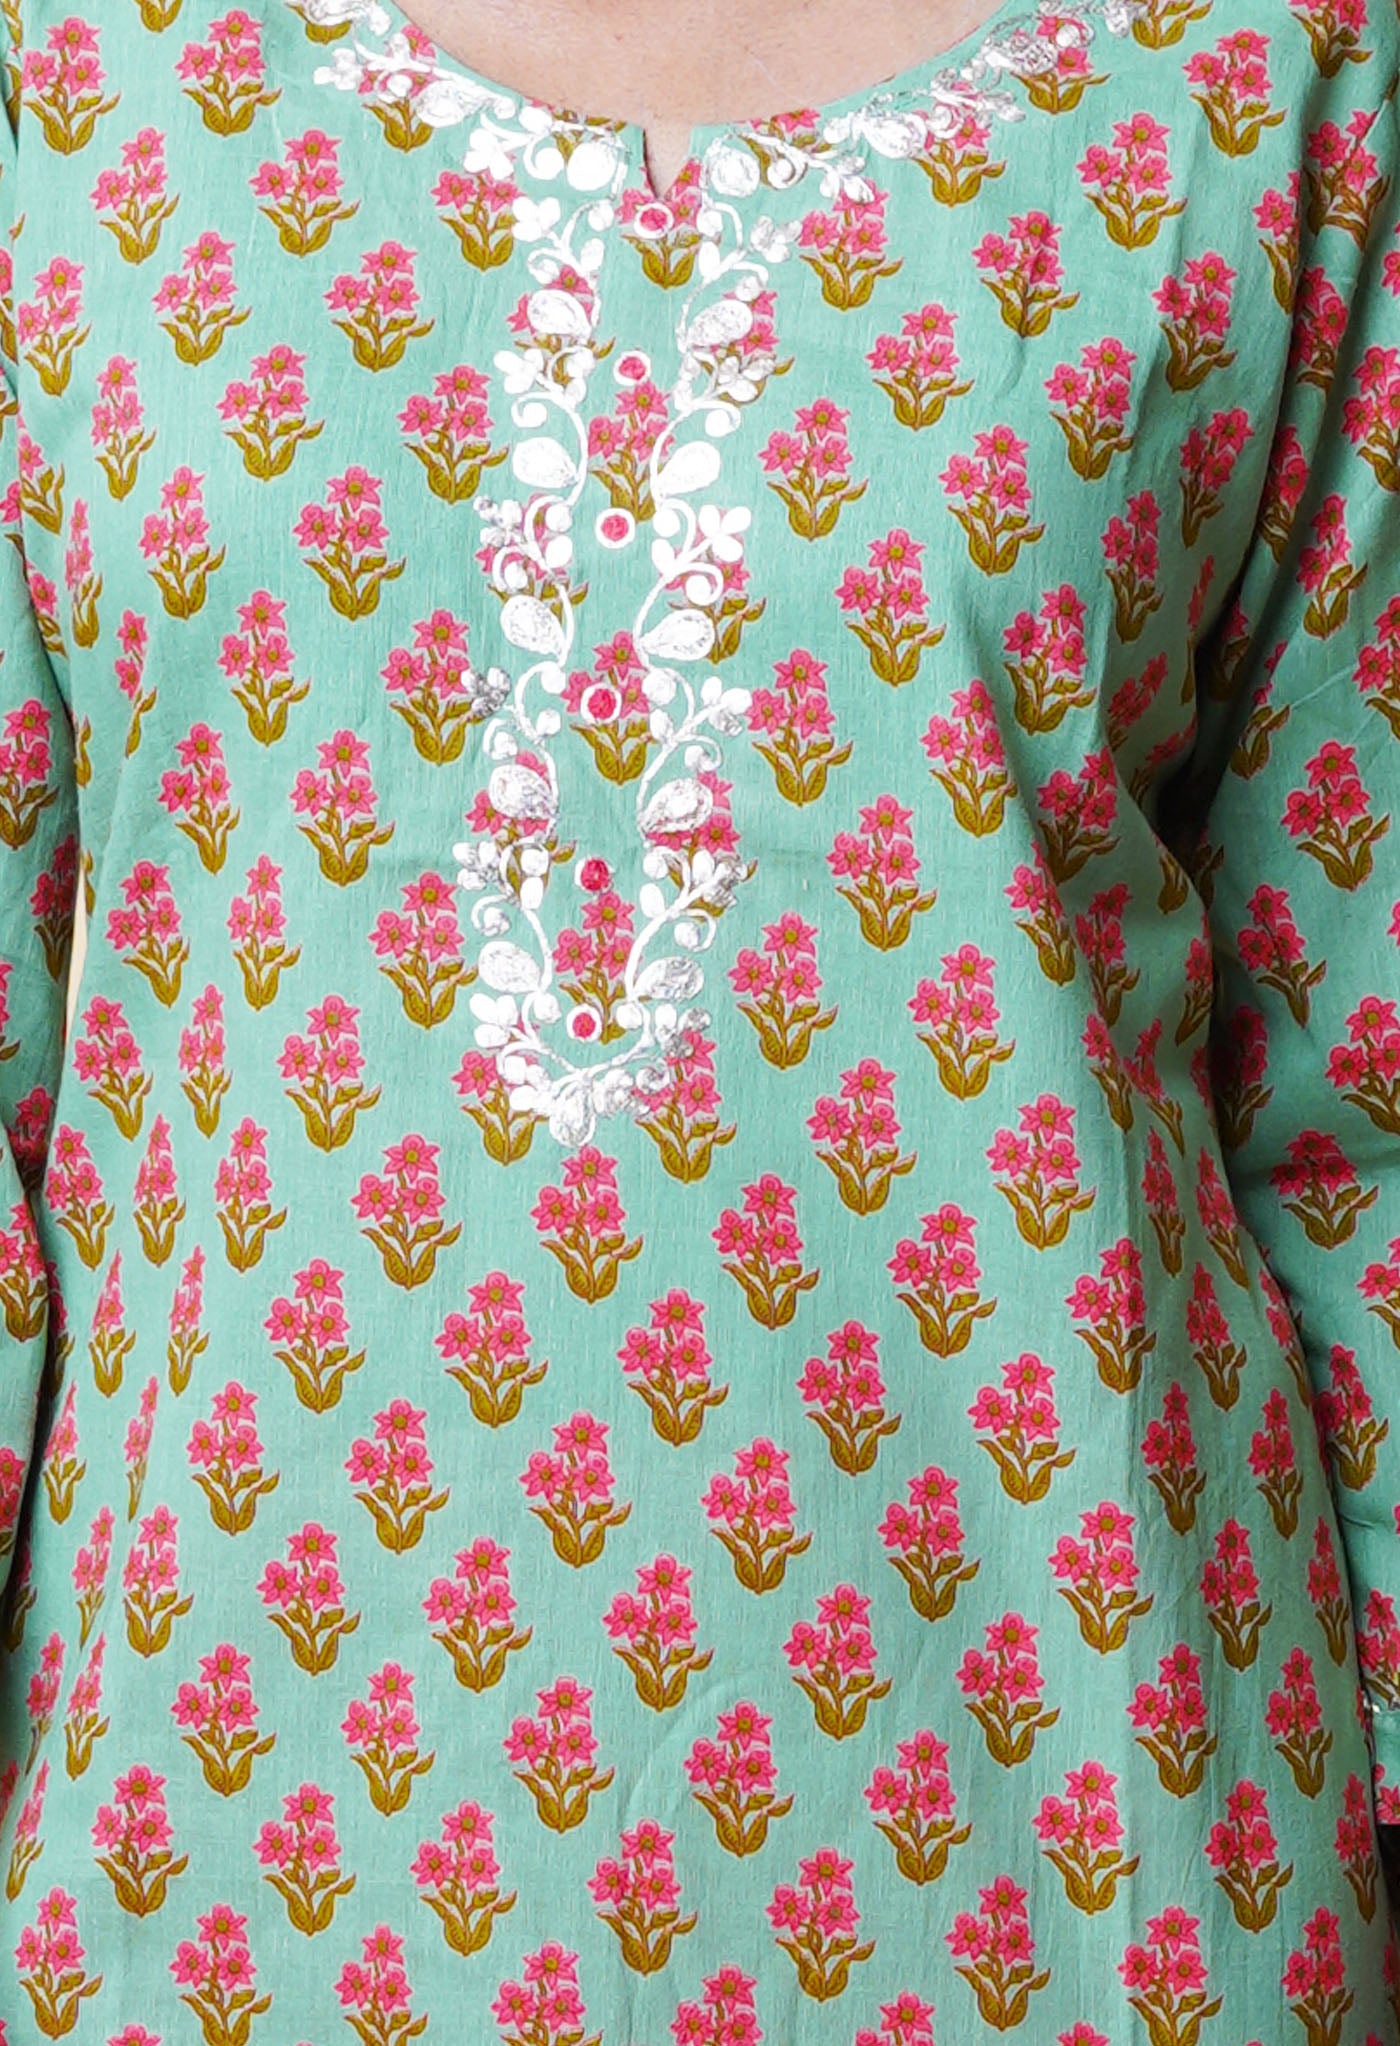
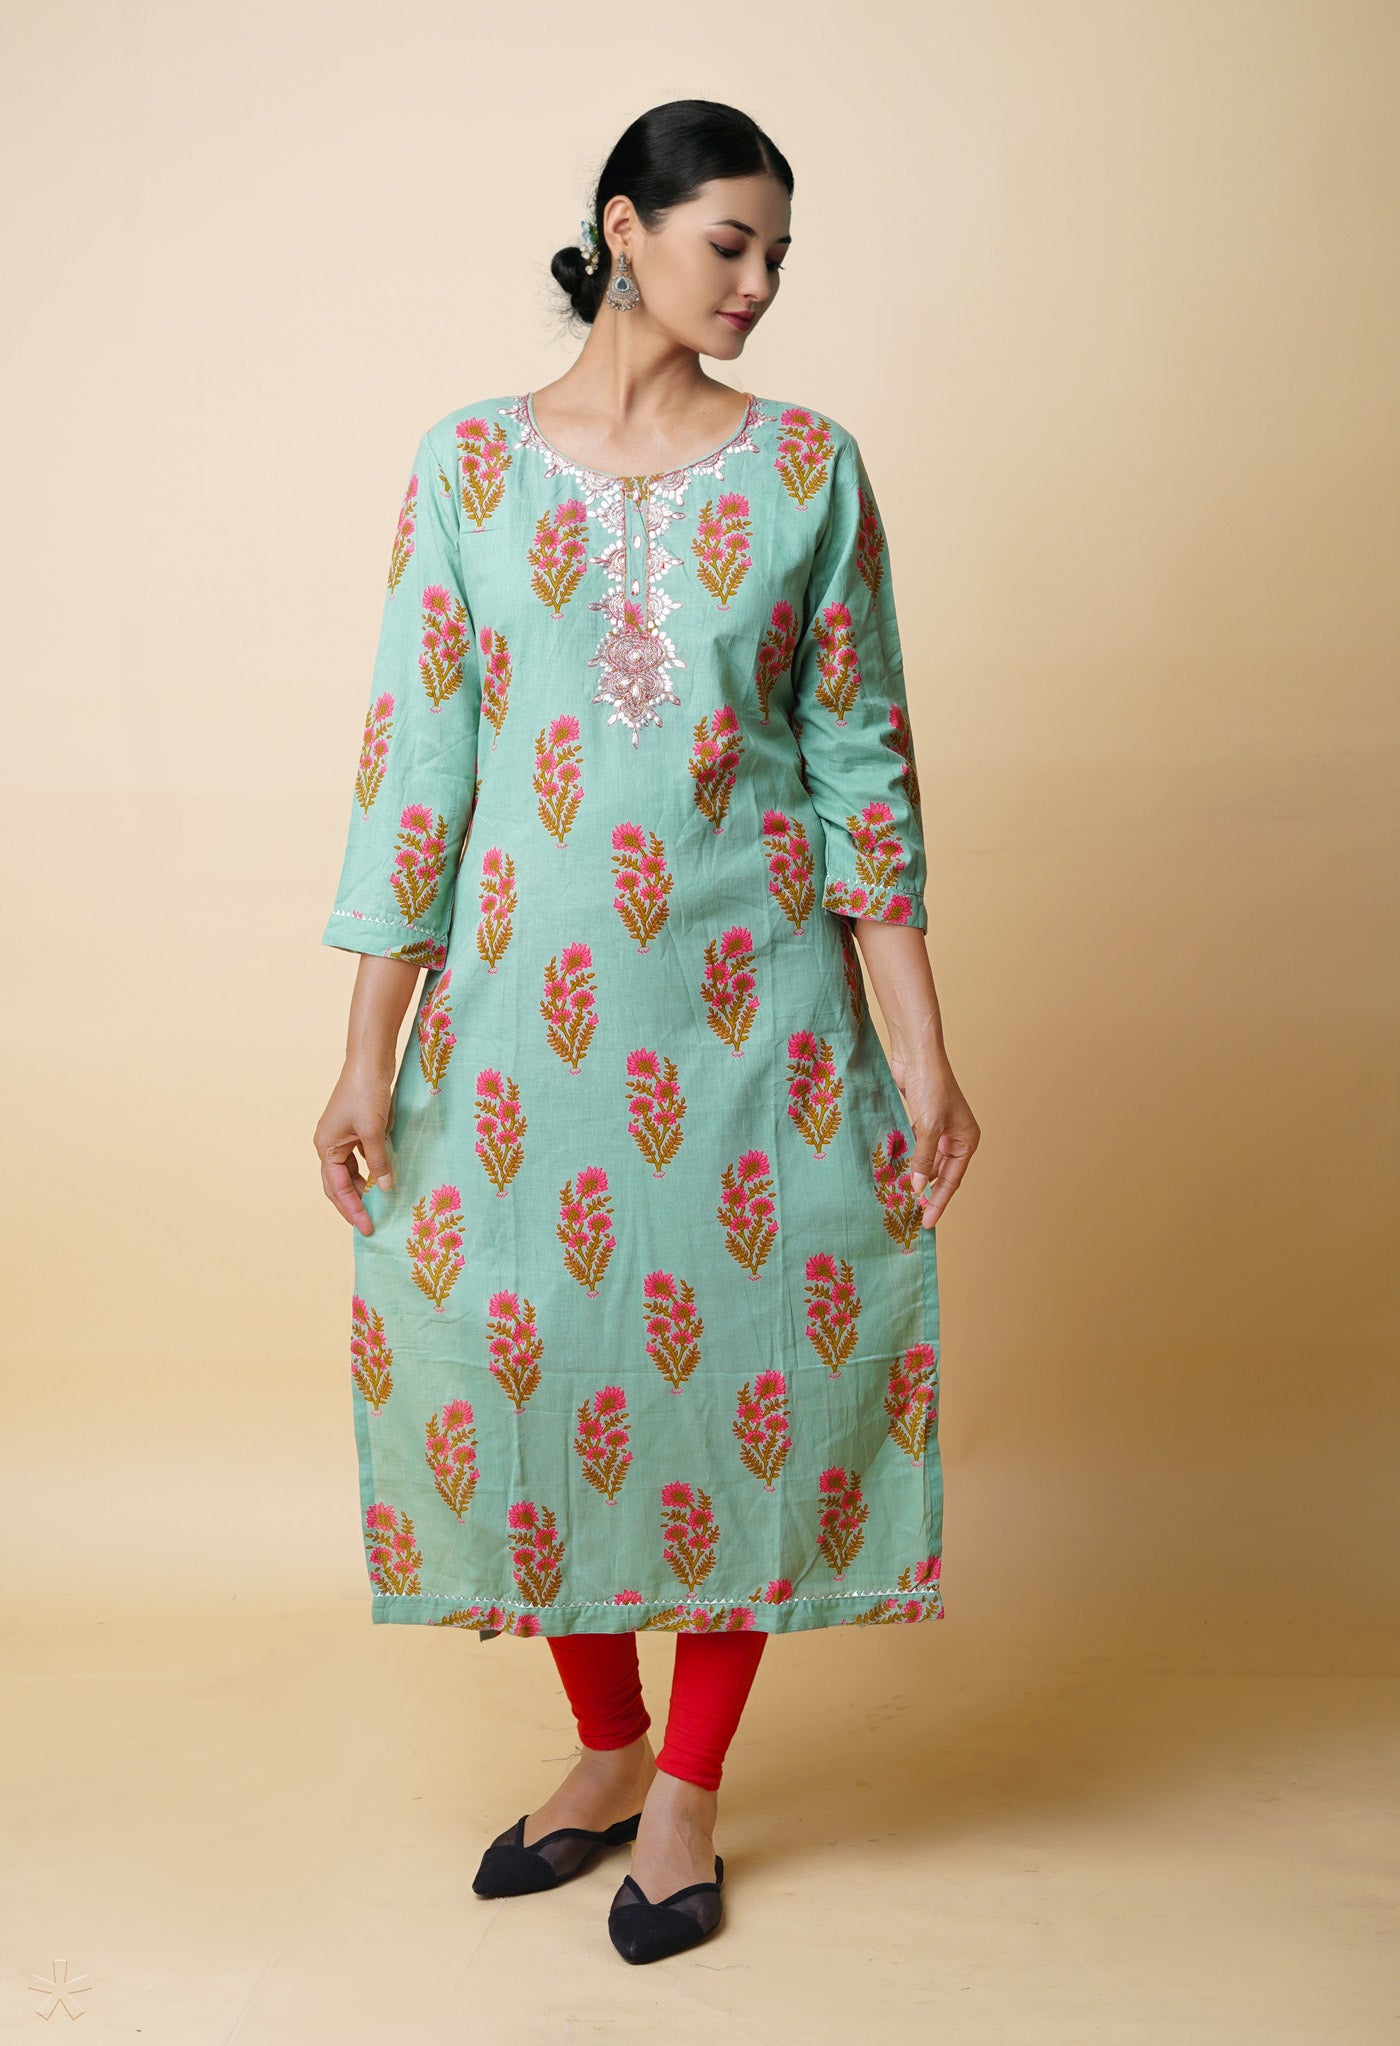
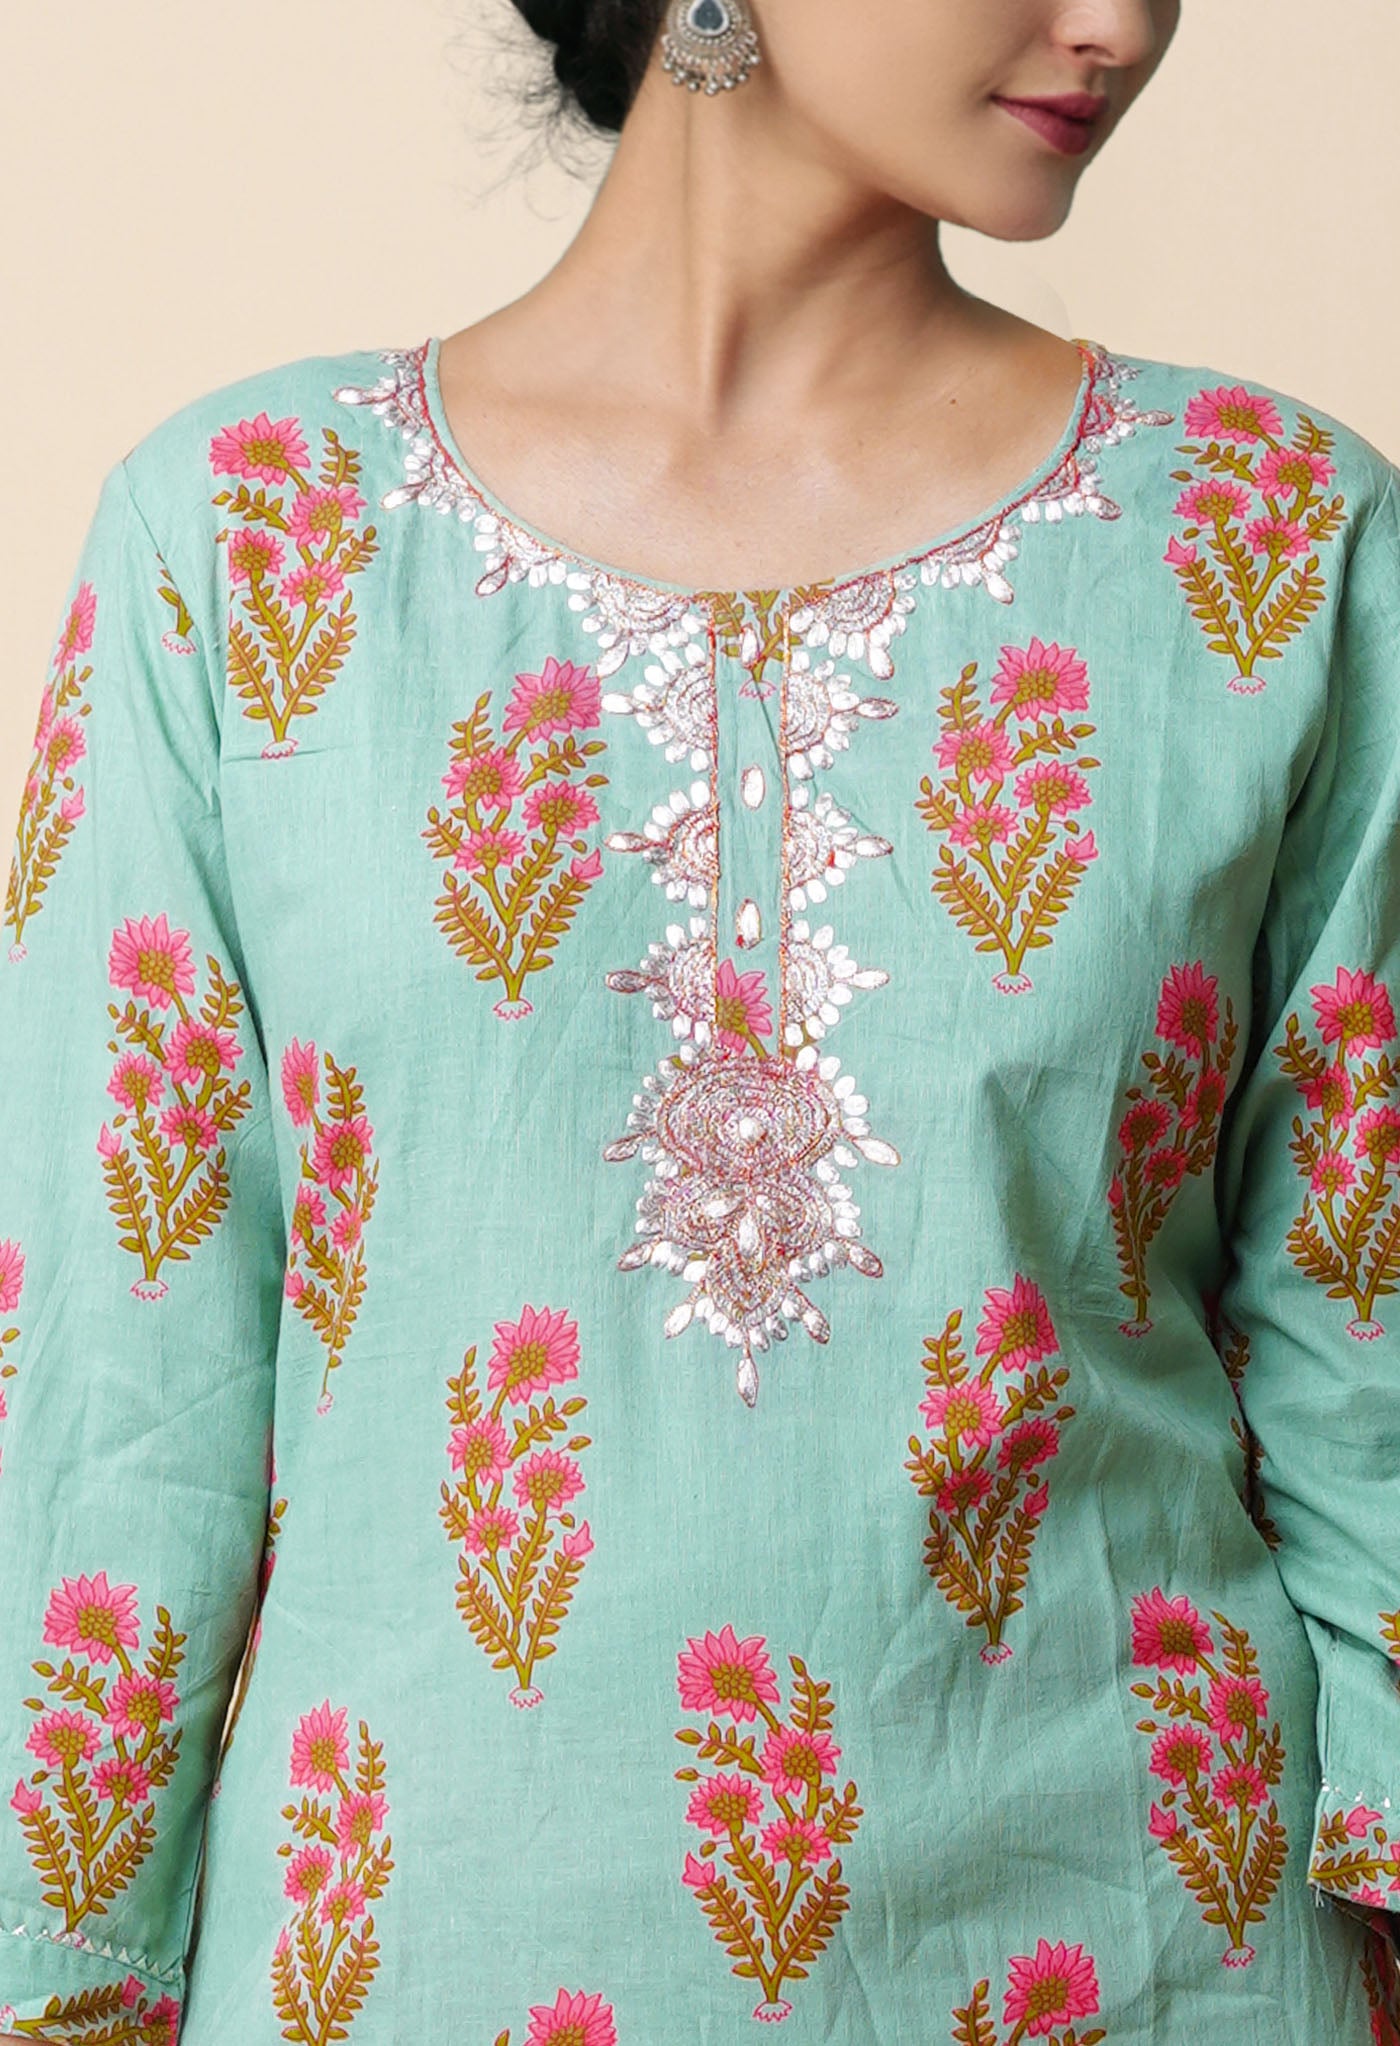
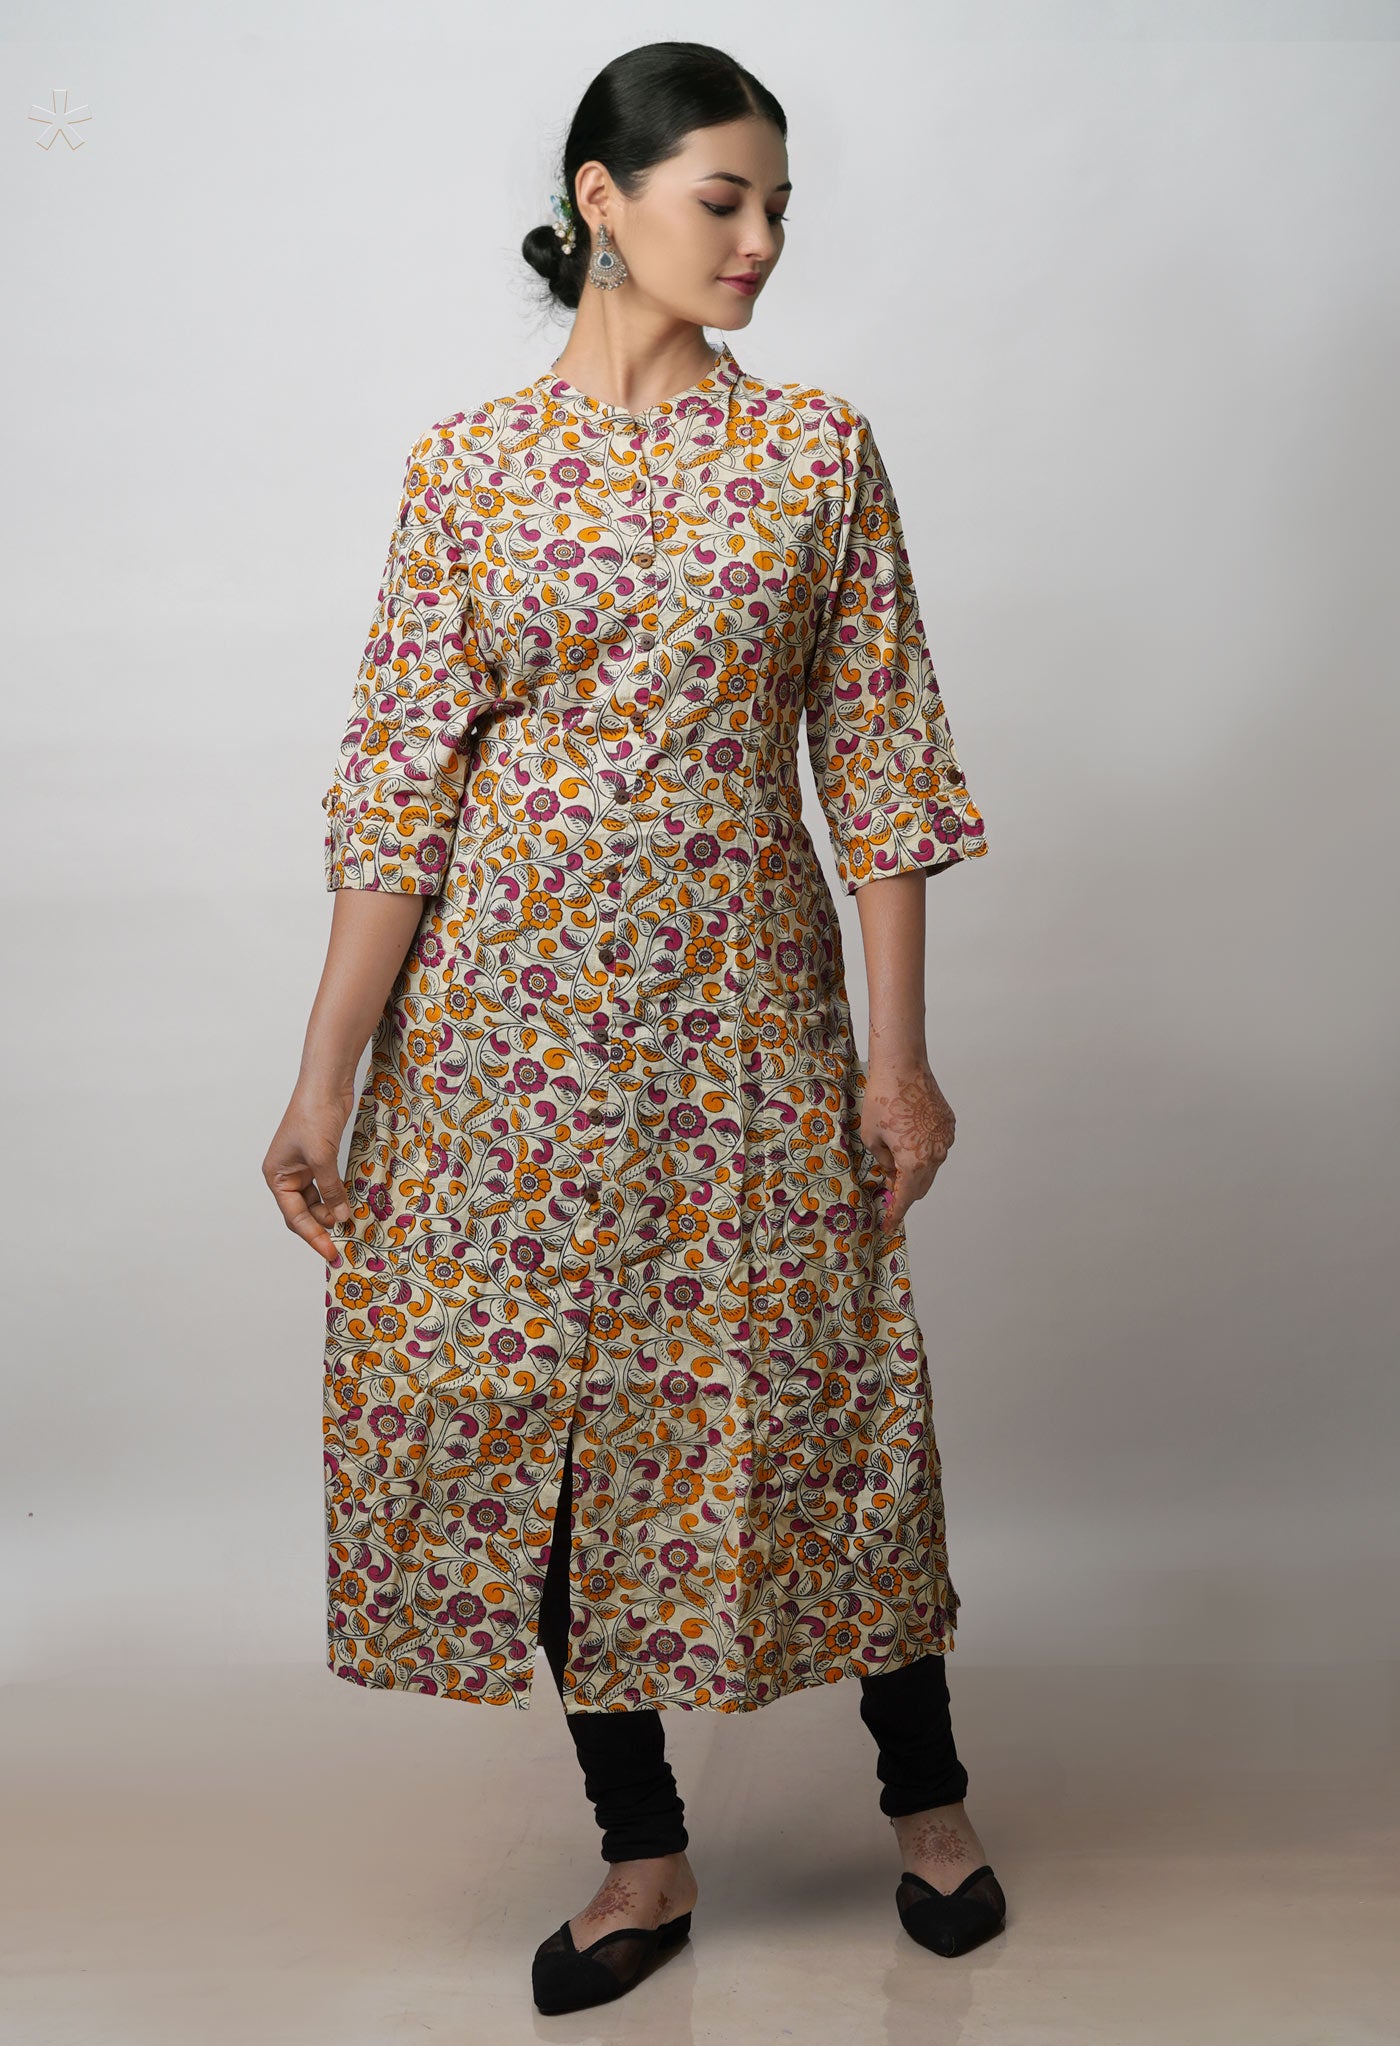
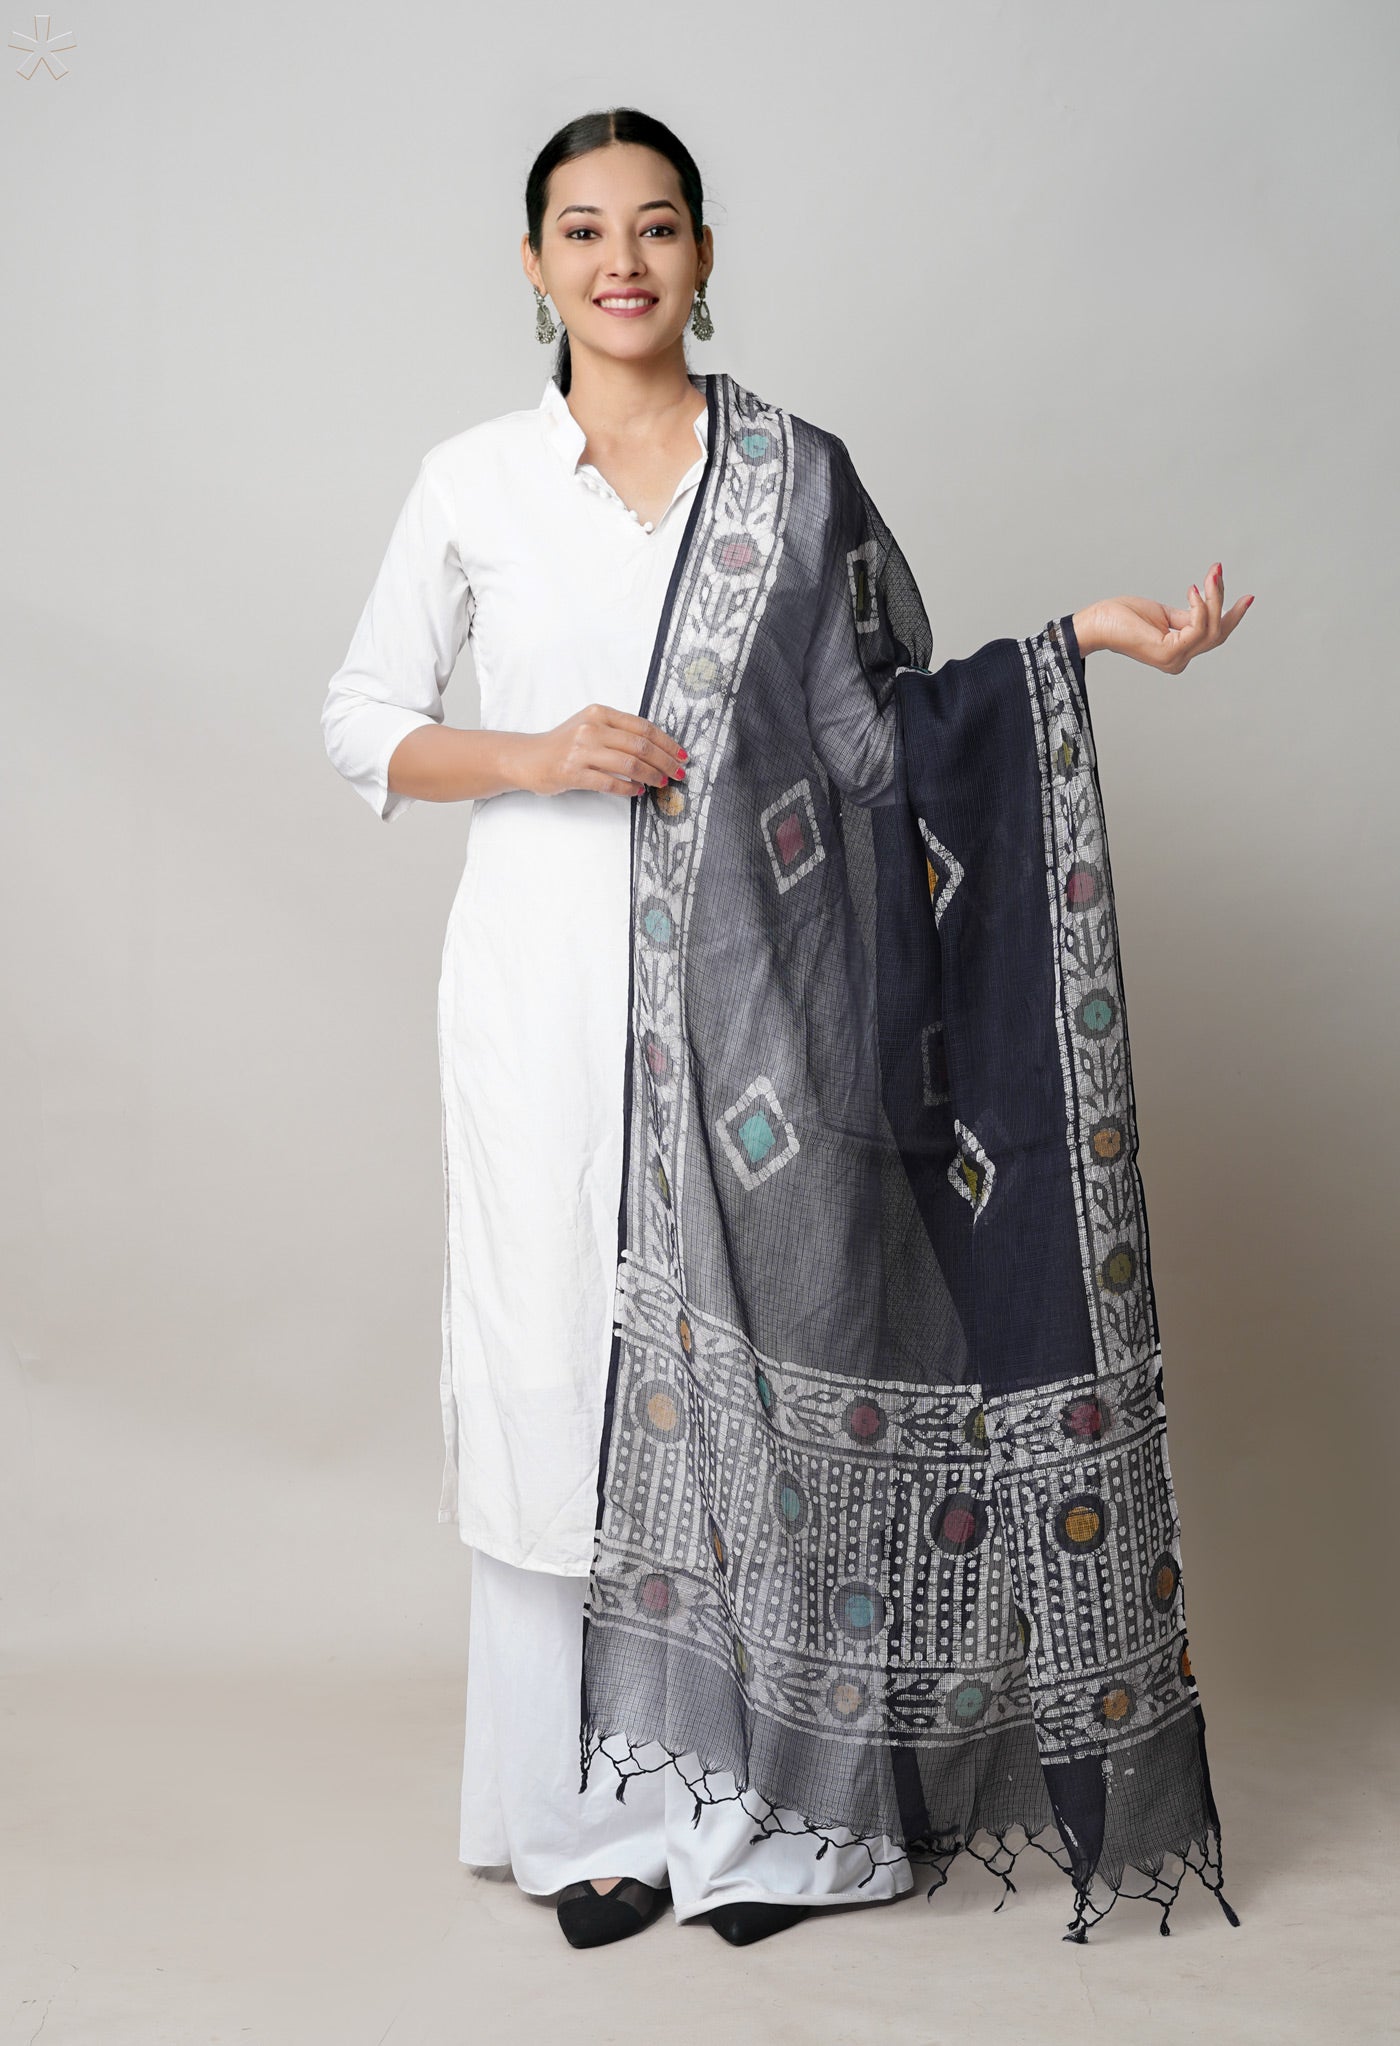
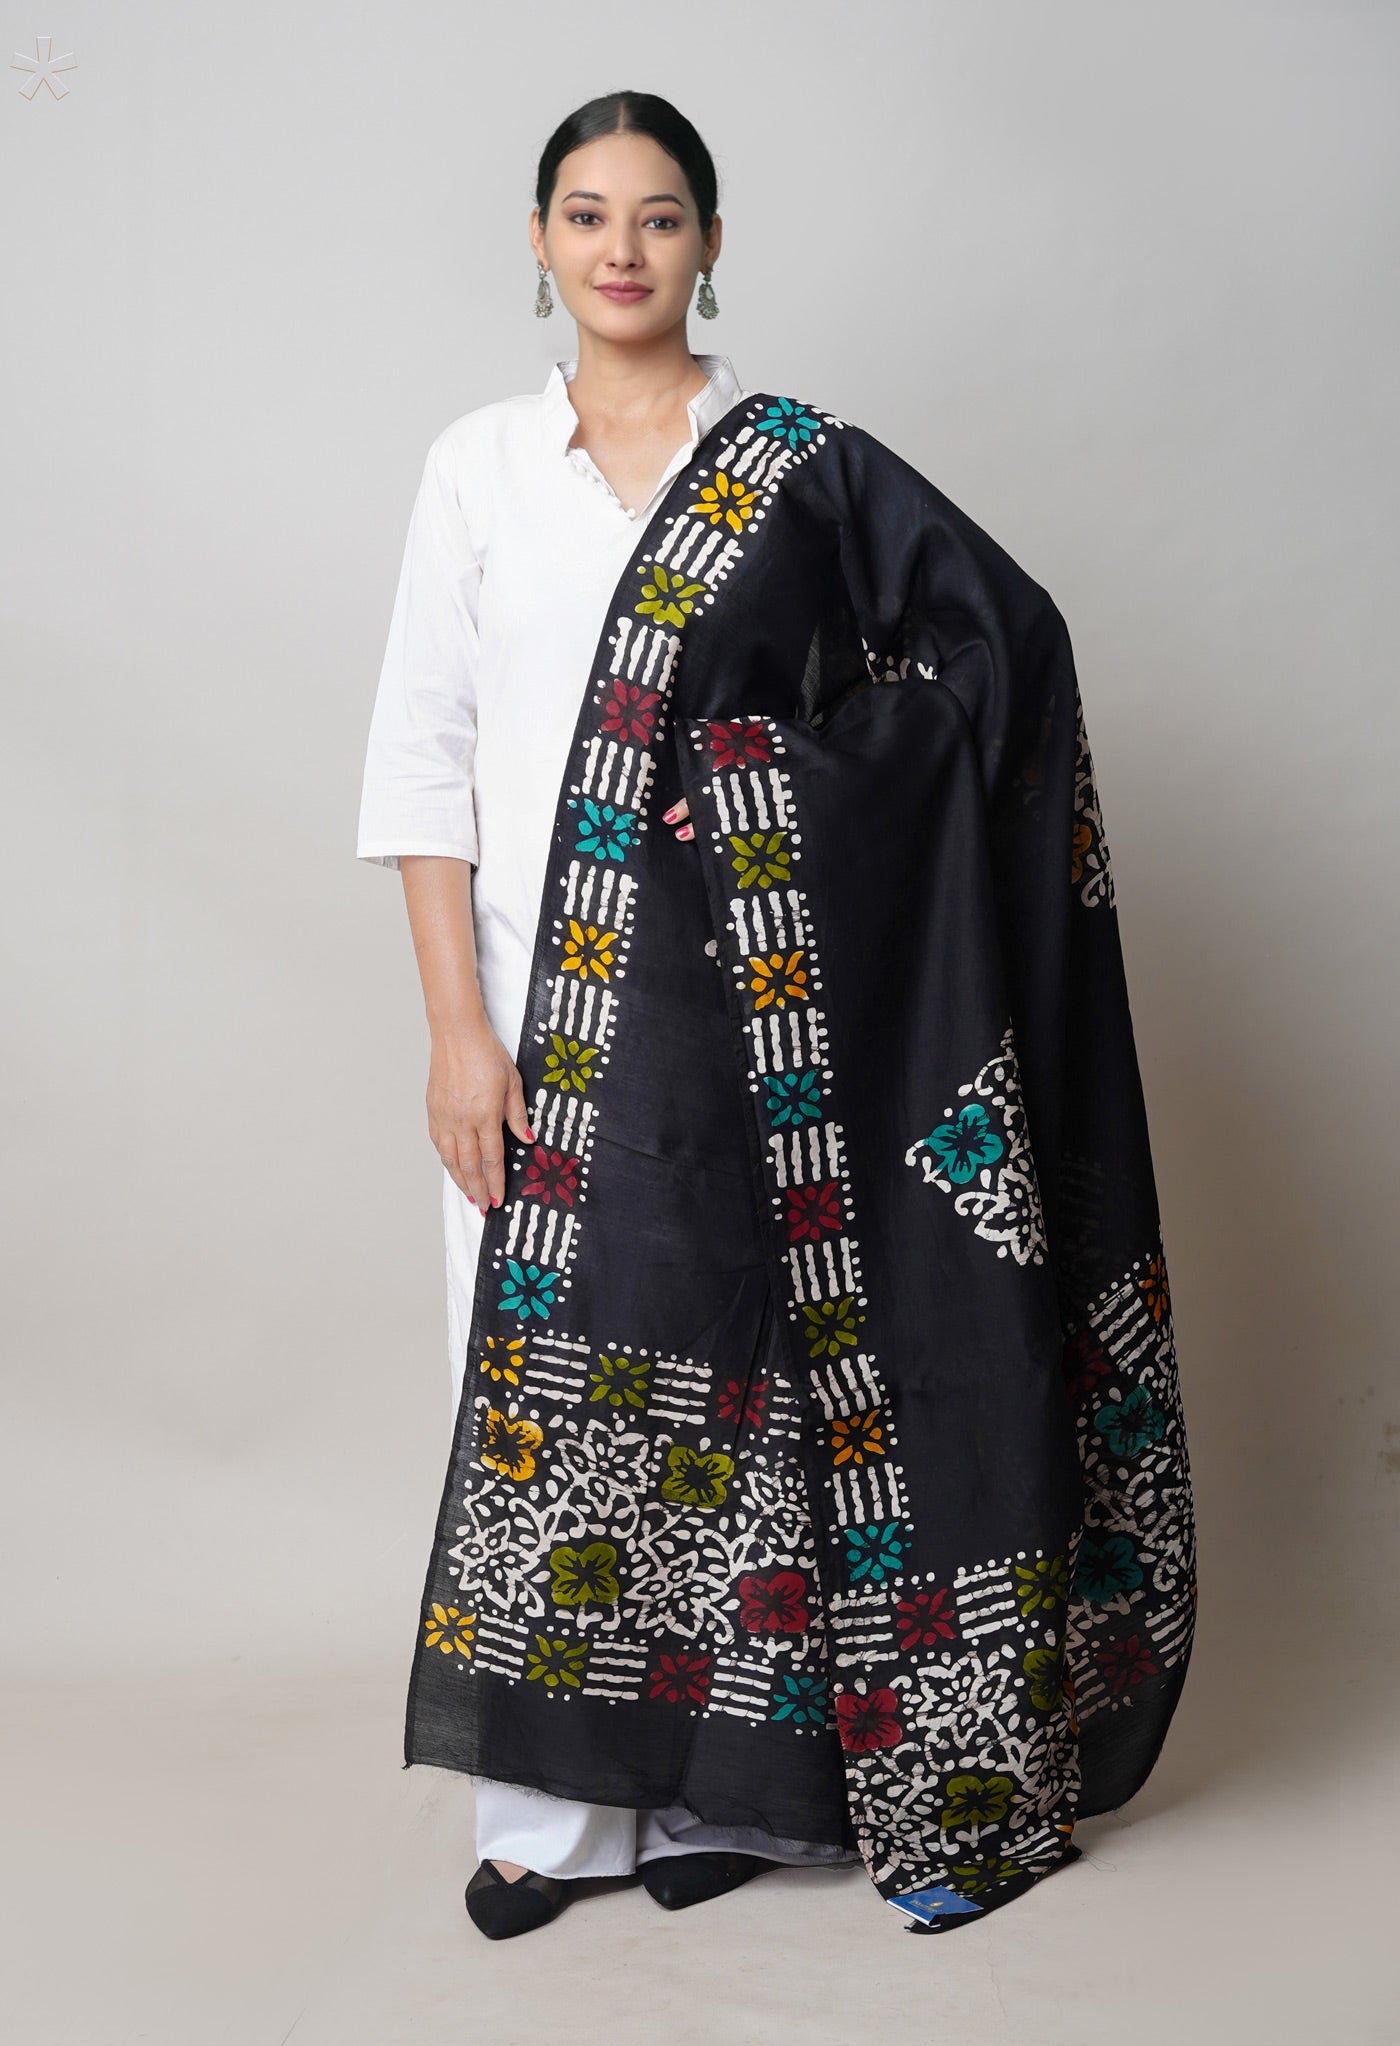
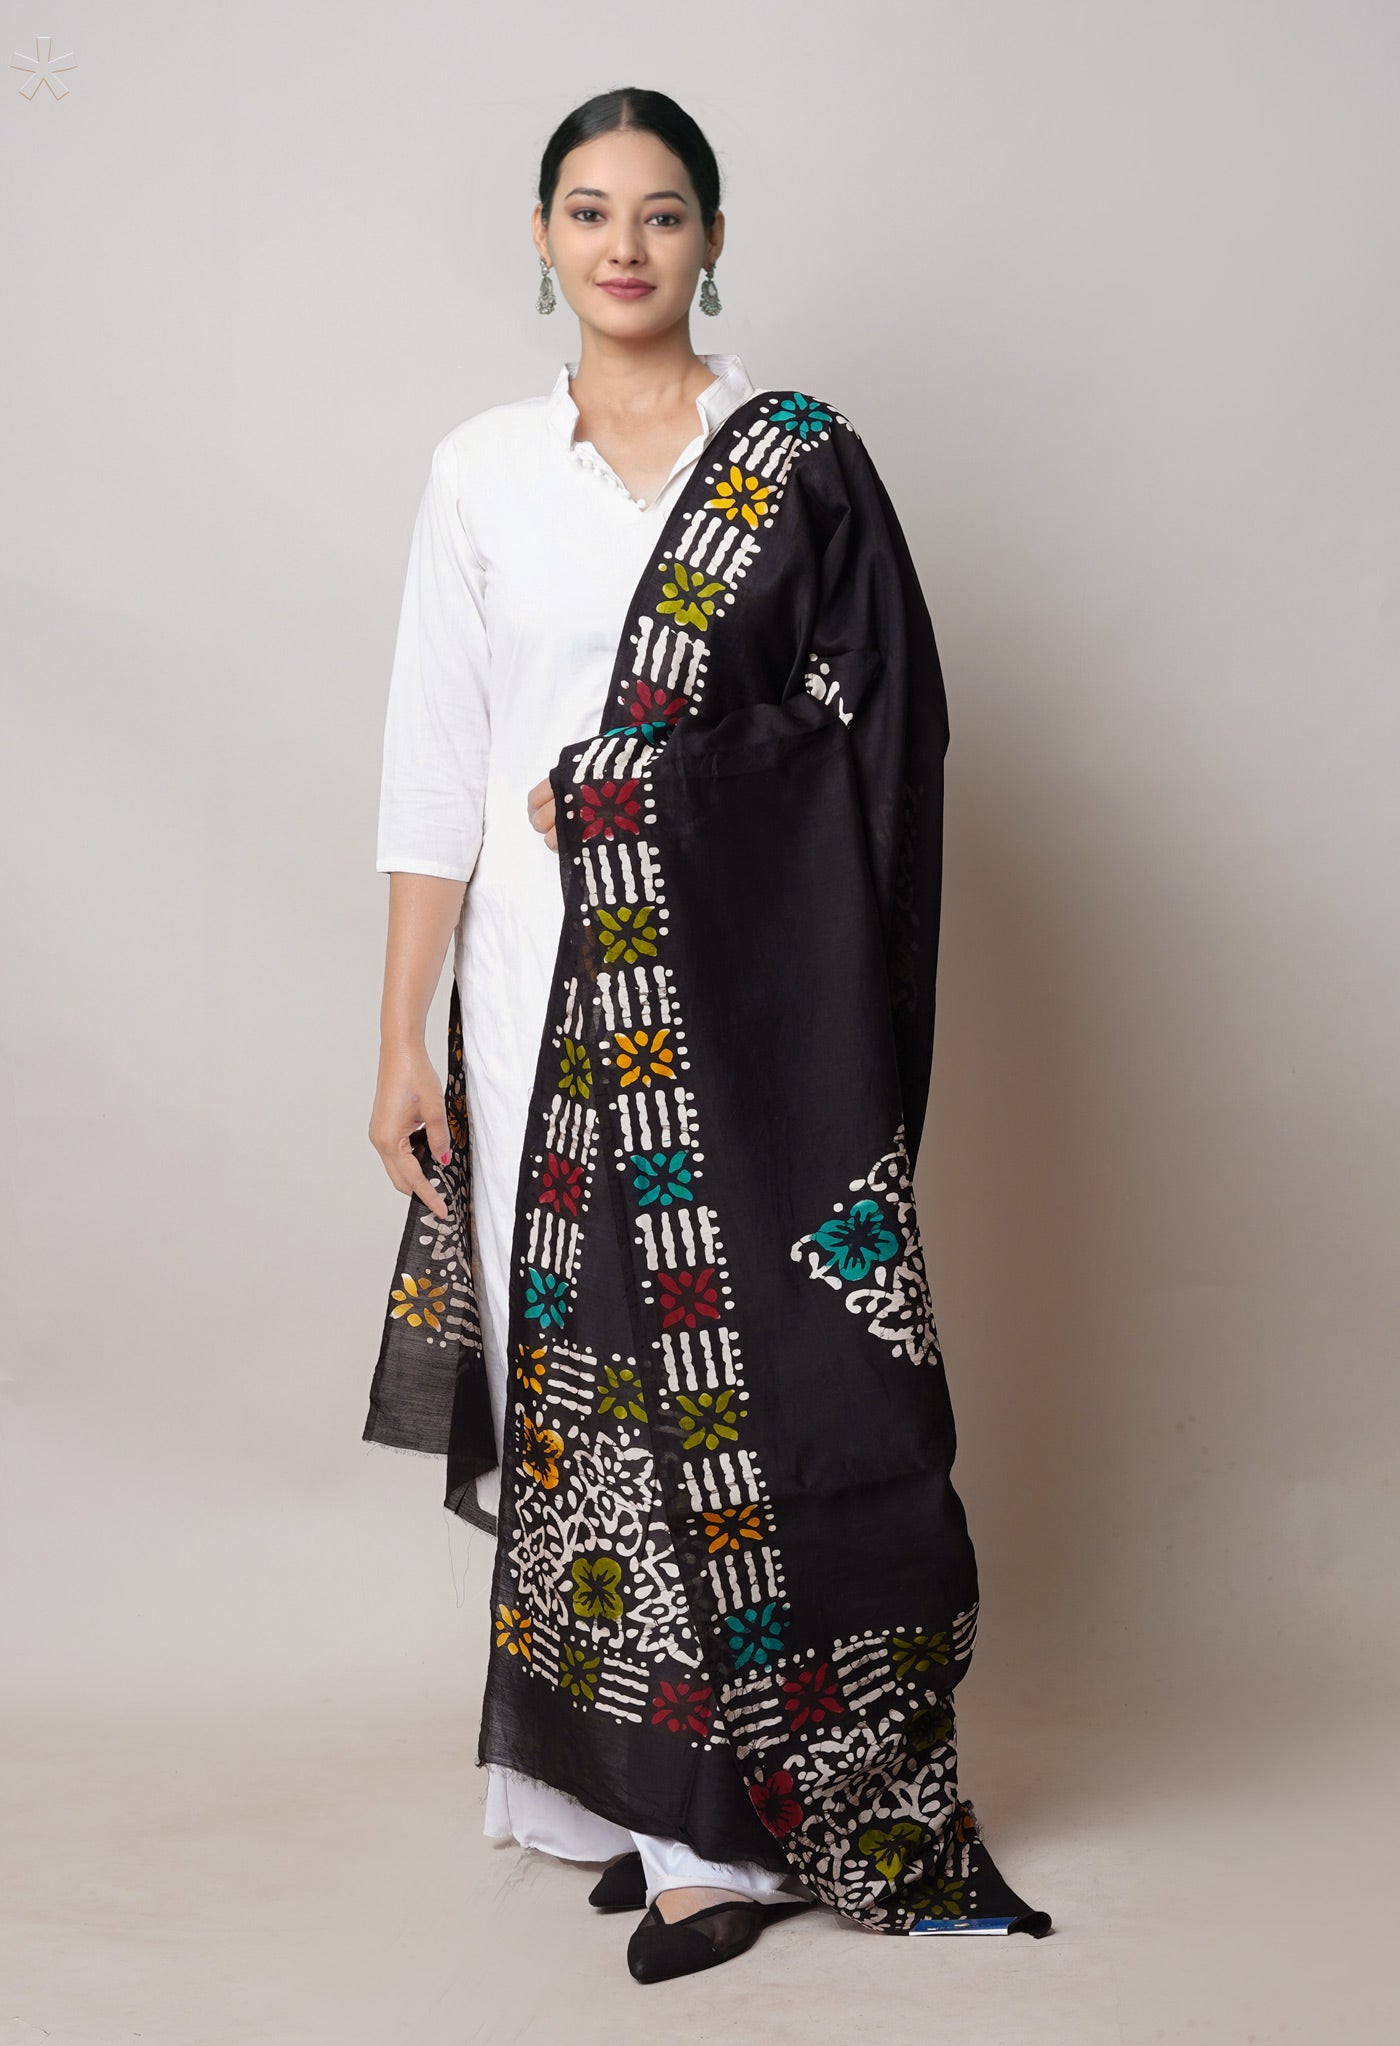
Some popular ways of embroidering flowers on fabrics
Who does not know what embroidery is? Lovely thread work, that enhances the look of the saree and the wearer as well. It has many forms from the ordinary to the miniature to the very exquisite. Embroidery or decorative needlework is popular the world over and is one of the best ways of transforming the look of an ordinary-looking fabric to extraordinary - one that begets the second or further looks from mere curiosity to awe to amazement.
 One of the most popular themes has always been flowers. Even a single flower motif evenly distributed across the wide plain area, would be sufficient to uplift the look. What if it is a floral spread involving several colors?
Handcrafted embroidery is exclusive and a treasured art since it is painstaking, time consuming, and a lot of care and dedication is put in by ethnic practitioners into the work. Machine worked embroidery does take care of immediate need and reduces effort, but the hand-executed craft has no parallel as an art that requires skill, concentration and imagination to bring out the best in an offering.
So when one chooses a theme like flowers to decorate the fabric, one would also be surprised to know that there are innumerable ways to stitch ‘embroidery flowers’. Poets have talked about the beauty of nature especially remarking about how flowers cheer up the environs. And to carry it further nature has been brought onto fabrics through tasteful embroidery that not only brightens the fabric itself but cheers up the spirits of the wearer too.
Here are some popular ones from a vast multitude of ways to embroider flowers on fabrics.
- Spider web rose
This is a beautiful rose made by weaving thread over straight stitches made around a point. Let us see how it is done.
- For the foundation, an uneven number of spikes that start in one center and end on the edge of a circle shape bare created. The number of spikes should be uneven, generally 5-7 should do. This is important since in even number, it won't work.
- How much floss to take? Well it would be good to have spikes with 2 strands of floss in the needle. As for the rest of the flower, 4-6 strands of floss could be used for better volume.

The Method:
- Bring the needle up through the fabric next to the center of the flower and right by one of the spikes. Then, skip one spike and slide the needle underneath the next one.
- Once again, skip one spike and slide the needle underneath the other one.
- Continue working the rose. Basically, the thread goes over one spike and goes under the next one, then again over one and under the next one.
- Some could get adventurous by decorating the flower a little by adding French knotsto the center and maybe even switching colors.
- Lastly you could vary the appearance by changing the size of the circle and the thickness of thread.
- A word of caution! Using 1-3 strands of floss would not be recommended, for two reasons. It could get tedious and secondly the nice wavy look would get smoothed out. This is the usually called “spider wheel rose”, or “woven rose”. There are many variations of names for this stitch.
It has also been attempted by using ribbons. Ribbons have the advantage of volume so the work could tend to get done faster.
- The Ribbed spider web stitch is also often used to work pretty embroidered flowers, or it can function as a composing part of them like using it as a centre of smaller flowers for instance.
- You have the advantage that this stitch can also work in not only circle shapes, but half circles, flattened circles, ovals, and, actually, pretty much any shape out there since the ribbed spider web is fit to play a role of filler stitch. You have a scope for unleashing your talent.
- How is it done? At first, make a foundation of spikes. The advantage here is that you can use any number of spikes, even or uneven. Mind you, it won't affect the technique of working it. It will only decide how many ribs your web has.
- Work the spikes and bring the needle up near the center, next to one of the spikes. Bring the needle on the right side of the spike. If you're going to move clockwise, better to bring the needle. Some find it advantageous to work counter-clockwise. If you work clockwise, you could come up to the left side of the spike and mirror the next movements. Either way it doesn't change how the outcome will look.
- Now the spike has to be wrapped. Because the thread is already on the right, all you have to do is bring it back and slide under underneath the spike again. It creates a loop around the spike stitch. All spikes have to be wrapped similarly one after another.
- For variety one could add new colors bringing the needle next to one of the spikes again.
This technique many find offers immense possibilities to decorate and tweak. Like varying the size, the number of spikes, switching the colors, adding French knots to the center or bullion knots to the edges, one could explore to one’s heart’s content.
- Blanket stitch flowers
The purpose of the blanket stitch is to edge fabrics and create pretty patterns on sewing projects.
- As the name suggests, the blanket stitch is an ideal stitch to finish off blanket with, minimizing wearing and fraying along edges. One could use it on any other fabric too; it just requires altering your yarn, wool or thread accordingly.
- The large space between each stitch ensures quick progress, especially encouraging for a beginner. Used as a decorative embroidery stitch, bold, contrasting colours could be used to ensure one gets noticed.
- The point to be borne in mind is that you’re basically catching your thread with your next stitch all the time, to keep it up in a straight line, along the edge you want to stitch. A really simple stitch indeed!
- And mistakes can be rectified easily. One just unpicks the stitches made untangles oneself and starts all over again.
The Method:
- First bring the thread up just below the edge of the fabric and take a diagonal stitch to the right, about 3mm in from fabric edge.
- Bring the needle out directly below again, just below the edge of the fabric. Loop the thread around the needle where it emerges and pull the thread taut.
- To form the next stitch, re-insert the needle to make a diagonal stitch to the right, about 3mm in from the edge. Again loop the thread round the needle.
- Repeat to form a line of stitching. Keep the stitches nice and even and work with an even tension.
- You can easily work blanket stitch around a curve too. This versatile stitch can be used for edging appliqué shapes like the fabric patches. All one has to do t try to keep the length of each stitch the same, while altering where you put the needle in, to create the curve.
- Sun ray flowers
Sun Ray flowers are done with straight stitches made around a point. One could change this flower to a 3D effect easily, by cutting the edges after securing the thread with simple back stitches.
- Back stitches form the stem and straight stitches make the petals of the flowers. The whole 6 strands of the embroidery floss are used to make the petals thick.
- Embroidered flowers are beautiful. One realizes that. Hence something that would create similar effect - make the flowers to look real, stand out, not lie flat. That is why the 3 D embroidered flowers.
- Some of the best of the 3D looking embroidered flowers are:
- a) Tassel flowers
- b) Fringe flowers
- c) Loop flowers
- d) Pom Pom flowers
- e) Woven flowers
- f) Cast on stitch embroidery flowers
- g) Bullion stitch flowers
- h) French knot flowers

4. Lazy daisy stitches
Lazy daisy stitch is a beautiful variation of the chain stitch. Also known by the name detached chain stitch, this single chain stitch is secured by a straight stitch. Lazy daisy refers to the flower formed when many single chain stitches ( more than 4) are made around a point forming the petals.
This is often used to give petal designs and small floral patterns. It consists of a single loop of chain than the continuous pattern. Lazy daisy is one of the extremely easy stitches. This stitch need not be limited to just petals and leaves but can be used for more complicated designs too.
The method:
- Bring the thread out through A.
- Put in the needle near A and bring it out through point B, but don’t pull the needle out completely.
- Now, loop the thread around the needle, like we would in chain stitch.
- Pull out the needle out to tighten the loop.
- Put in the needle just outside the chain created and that will finish the lazy daisy stitch.
This stand-alone stitch can be used freely to be a part of any design.
The completed flower made of multiple lazy daisies.
5. Butterfly stitches Flower (Butterfly Chain Stitch)
This decorative stitch is a series of twisted chain stitch run over a bunch of straight stitches. The overall visual effect is that of a sheaf or a butterfly. Usually, 3 straight stitches are tied with a twisted chain stitch, giving it a sheaf bundle look.
 For better understanding of the above three different types of foundations are shown. The straight stitches are worked from left to right but the twisted chain stitch worked from bottom to top.
- To begin, one must make a foundation by making a row of straight stitches. For that, we draw the needle from A-B, C-D, E-F and so on.
-
Just for understanding three different kinds of straight stitch foundations have been made.
X: sets of three straight stitches spaces evenly between each other.
Y: a series of straight stitches with no spacing. They will be bundled up in sets of three.
Z: sets of closely stitched four straight stitches with different vertical heights. - Now we begin to bundle the straight stitches using twisted chain stitch. For that, bring the needle out from the bottom of the last straight stitch.
Take the needle under the first set of straight stitches as shown. - Now, loop the thread around the needle to form a twisted chain loop. This loop will hold the set of straight stitches in a bundle.
- Once the needle is pulled and thread is tightened, a bundle will look like in figure shown. This has a sheaf look.
- Continue with this procedure till all the straight stitches are bundled. To end the twisted chain, anchor up the last loop as shown.
Thus the butterfly stitch is as shown in the end.
6. Satin stitched Flower
Close Satin stitches are used to fill flower designs
- Though the Satin stitch is done fairly easily, what is difficult in the stitch is to maintain the neatness, especially on the sides of the pattern that is being filled. So, very often, a satin stitch is outlined using one of the straight stitches like the split stitch, the outline stitch, back stitch, chain stitch, or any other similar stitches. This helps in containing the satin stitch within the parameters of the pattern or motif easily.
- A thing to be borne in mind is not to keep this stitch too long. If your pattern happens to be big, you can divide it into smaller sections and each section can be filled with shorter satin stitches. Otherwise opt for another stitch from the satin stitch family to help fill larger areas or patterns. These include the brick stitch, encroaching satin stitch, and long and short stitch.
- Bring the needle out through A and put it in through B. So, that makes a stitch which covers a small area between the stitch lines.
- Now, bring the needle back through C, a point very close to A. Continue this action over the two stitch lines.
- Once finished, the area is filled as shown above. You will be spending as much thread on the reverse side as you do on the actual side of the fabric.
- Consider another way of doing it. After you outlined the shape with water-soluble marker (or using any other preferable way of transferring hand embroidery designs), bring the threaded needle up through the fabric at the point A on the edge of the shape. And insert the needle at the point B on the opposite side of the shape
- It is recommended to have your starting point somewhere in the middle of the shape and slant your stitches, as it always looks nicer than simple horizontal/vertical lines.
- If you're using more than one strand of floss when you embroider, then with every stitch make sure thatthe strands don't get twisted. Otherwise it would spoil the look of your satin stitch as its surface won't be that smooth.
- When you complete one half of the shape, you can start with the other half, placing and slanting your stitches parallel to the first one.
- This kind of satin stitch, also called “flat”, the stitches lie flat and the edge can often looks a little rugged. That's why some stitchers prefer to work satin stitch over an outlining.
- After the outline is ready, work the satin stitch in the same way as stated above. Start in the middle of the shape, and slant your stitches slightly as you work first one half of the shape, and then the other one.
 Tips
Tips
- Never be in a hurry doing the satin stitch since it requires all your attention.
- Satin stitch will be slow because you will need to check every single one of your stitches. Check that the strands don't get twisted, that the tension of stitches is equal throughout the shape, that they all are placed at the same angle.
- To make it easier to control the strands twisting, you can use laying tools.
- When the satin stitch is done stroke its surface gently. It seems like it smoothens the stitches a bit.
- Satin stitch grants a nice solid filling and smooth surface and fits a whole variety of shapes. And when you slant your stitches differently in various shapes, you might notice that all of them will have a unique sheen to them.
- Close buttonhole stitch
Traditionally, this stitch is used to secure the edges of buttonholes as it gives a much sturdier stitch due to the knots it makes. Over time, it also came to be confused with the blanket stitch as these two stitches are used for the same purpose, i.e. securing fabric edges. Visually appearing similar, the buttonhole stitch uses a different method of sewing and with a slightly thicker thread. It can be seen in the image how this stitch can be done in either direction.
 The method:
- Bring the needle out through A. Now, loop the thread around from left to right. Take the needle in through B and bring it out from C, as shown. Keep the thread below the needle always.
- Pull out the needle towards the top. This creates a small knot near the point B.
DO NOT pull the needle downwards as it will not give the desired results. - A finished portion of the buttonhole stitch would look like this. A thicker thread would have revealed the knots better.
In the closed buttonhole stitch the legs are placed in a diagonal, rather than straight line as with the 'normal' buttonhole stitch, creating a line of triangles along a straight line.
- Pistil stitch
This is a pretty looking stitch ideal for working the center of flowers and to make shapes like fans and even for borders. A common stitch used in Smocking (embroidery consisting of ornamental needlework on a garment that is made bygathering the cloth tightly in stitches).
This stitch is also used to make grass shapes or to fill up petals of flowers for a very different textured look.
 The Pistil stitch is a variation of French Knot and worked the same way as it. As the name suggests it looks like the pistil of a flower and hence also known as the Long Tailed French Knot. This stitch is also known as a Long tack knot stitch or Italian knot stitch. In fact it is the combination of a straight stitch and a French knot.
To make this stitch a needle with a small round eye is used.
The method:
- Bring the needle from the back of the fabric at point A. Go to the front a little to the length you want the stitch to be.
- Place the needle near the fabric and wrap the thread around the needle once or twice. Gently pull the thread so that the wrapped thread is tightening against the needle.
- Insert the needle near the point where you need the knot. Hold on to the thread wraps with your left hand and pull the needle to the back. A knot is left behind at the end of the stitch.
- French Knot Flowers
French knots are very versatile and can make many types of flowers. They are most commonly used to fill the center of flowers. Very much adored it is also feared for execution to achieve a successful outcome
 The method:
- You could need the use of both hands, so set your hoop in your lap or on work surface. With your non-needle hand pinch the floss a few inches from where it exits the fabric (where arrow is pointing). It is important that you hold it taut with your hand not holding the needle.
- Place your needle in front of this stretch of floss. Notice the needle is in front of the floss, not coming from behind it. This will make the next step easier, and will prevent the knot from going awry later on.
- Wind the floss around the needle once or twice, depending on if you want a bigger or smaller knot. Continue the tension of the floss with your left hand (non-needle hand) to prevent it from uncoiling.
- Very Important : Keep your hand holding the needle still while winding it with the floss in this step. Meaning, don't try to use your needle hand to do the wrapping by getting all twirled up with your wrist. This is the first way your knot can go wrong!
- After you've wound around the needle, the coil should have been pulled nice and taut. Next, it is important that you re-insert the tip of your needle just next to, but not into the same exit point on your fabric. Simply return at a point a little bit away from the exit point. And hold it right there! Keep your needle in this position. Don't push it all the way through just yet.
- The next step is an even more important one. Remember your non-needle hand pinching the length of floss? This is when it goes to work. Give the floss a little downward tug with that hand, so that the coil will tighten up, and slide down your needle to make a little bundle against the surface of your fabric.
- With your coil snugly held in position against the surface, now push your needle all the way through!
- You've just pulled your needle, and the floss trailing behind it, down through the center of the coil that was wrapped around the needle. If it didn't work simply go back to step one and go over it again. Be confident it will come out right.
Many do not get it right the first time. A few tries and then they are raring to go for it time and again to experiment with creative ideas.
- Bullion roses
For those who love floral embroideries, it is a beautiful flower, quite simple and having a strong visual impact worked with an advanced stitch.
A bullion rose is created with a basic center, and bullion knots!
Since a bullion rose is made from bullion knots it becomes imperative to know about knowing how to make bullion knots and that too of various sizes. Of special mention is the curved bullion knot which involves wrapping more than the distance of the stitch. You can embroider a bullion rose with standard embroidery floss, crewel yarn, silk ribbon or more.
 The method:
- To work a bullion knot, bring the needle up at what will be the top of the knot (point 1).
- Without pulling the needle all the way through the fabric, go down at the bottom of the knot (point 2) and back up at the top (point 1). Leave the needlepoint poking out through the fabric.
- Wrap the embroidery floss around the point of the needle. Wrap the needle as many times as it takes to cover approximately the same amount of space on the needle as there is space between points 1 and 2. Make the wrapping solid, but not too tight.
- Hold the wrapping with your non-dominant hand and slowly pull the needle through the wrapping and fabric. This part can be tricky if the wrap is too tight, but you can twist it slightly to loosen it if necessary.
- Pull the thread through the wrapped knot until the bullion knot starts to lay down on the fabric. Take the needle back down at the bottom of the knot (point 2).
- Make sure that the wrapping is smooth and tight, and adjust the way the knot lays if needed.
- To form a bullion knot with a slight curve, wrap the needle a few more times than usual. The wrapping should be longer than the space between points 1 and 2.
Starting the Bullion Rose
- To start the rose, embroider the center of the flower. You can stitch a small cluster of French knots, or work several small straight stitches close together similar to the satin stitch.
- Bring the needle up near the center grouping and form a bullion knot that wraps part way around the center.
- If you're working with perle cotton or similar threads, it's important to pay attention to the twist of the thread when wrapping your bullion knots. If you find that the thread feels like it is untwisting, try wrapping the knots the other way.
- Continue the rose, adding more "petals" of bullion knots. Rather than having the end of each stitch meet up with the end of the previous stitch, overlap the ends slightly.
- As the flower grows, your stitches should also grow. Wrap the needle longer, but try giving the stitches more curve as well.
- You can adjust the look by altering the size and shape of each bullion knot.
- Because this stitch uses a large amount of thread, if you are working with variegated thread, it's a good idea to pay attention to the placement of the color for each petal.
- For example, if you see that the next bullion knot will be the same color as a previous petal, don't stitch them right next to each other or start a new length of thread.
- A bullion rose can be as large as you want it to be. Just keep adding bullion knots around the shape.
- As you increase the length of the stitches, you may need to change to a longer needle, such as a milliner's needle.
- If you find that the stitches are lifting from the fabric more than you want, you can tack them down as you would with couching.
- Combine bullion roses with other florals, such as a woven wheel or even lazy daisies, for a stunning embroidery display. The simplicity of a single rose with a leaf or two is also beautiful. You're now ready to impress!
- Blanket stitch flowers
The blanket stitch is a stitch used to reinforce the edge of thick materials. Essentially a decorative stitch used to finish an un-hemmed blanket. The stitch that can be seen on both sides of the fabric piece is used to join pieces together to make a blanket or other larger item.
![]() The blanket stitch is commonly used as a decorative stitch on an array of garments. Besides blankets, it is used on sweaters, outerwear, swimsuits, home furnishings, pillows, and much more. There are many styles of production blanket stitching, including rolled, narrow, with elastic, and traditional.
The blanket stitch is commonly used as a decorative stitch on an array of garments. Besides blankets, it is used on sweaters, outerwear, swimsuits, home furnishings, pillows, and much more. There are many styles of production blanket stitching, including rolled, narrow, with elastic, and traditional.
Looped Blanket flower
This flower is basically built out of loops.
- Bring the needle up through the fabric at any point on the edge of a circle shape. Then insert the needle back into the fabric at a distance of a stitch length (it will decide the width of your loop), bringing it back up in the middle between the two points. Keep in mind, it is better to use all 4-6 strands of floss in the needle (or thick thread) so that the flower turns out dimensional enough.
![]()
Unless your flower is very small.
- From there take one more step to the side and insert the needle at a distance of stitch length again, bringing it up at the same point where the previous loop ended.
- Keep repeating the previous steps, creating loops along the edge of the circle.
- Make extra rows of the looped blanket stitch inside the shape.
- You can fill the whole shape by the rows of looped blanket stitch, or you can leave some free space for the center of the flower. When the stitches are complete, fluff them up a little with your fingers.
Note: - The Turkey stitch is like the blanket stitch with a difference. Usually used when you want to have a “rag” effect for some elements in your embroidery. While working it, you also form loops. But they are secured by extra stitches in place, so if you cut the loops the thread won't come out of fabric – it will stay. Unlike with looped blanket stitch where the loops aren't really anchored.
- Long and short stitch flowers
For those familiar with ‘needle painting’ they would know the breathtaking effect it has on those who view it. Needle painting is a very intricate technique which requires a ton of practice, but you can master it even if you don't have good drawing and painting skills. The one thing, though, that you need for sure is a good understanding of how long and short stitch works. Many practitioners are scared of long and short stitches because it seems difficult and tough. Difficult is true, but definitely not as tough as one thinks.
 The method:
- Take the first step by taking your hoop, fabric, needle and 3-4 favorite shades of thread. Then follow how it is done.
- Next outline the shape with a line stitch. You could use split stitch or stem stitch as well. This will make the shape a bit raised and easier to achieve a crisp edge.
- This step is optional, and recommended for beginners. You can make the guidelines from the actual stitches. And then start filling in the gaps between them with long and short stitches. Your stitches don't have to always end in the same place though.
- After the upper layer is finished it's time to start with the next one. Make a lot of long stitches of approximately the same length. Then fill in the gaps between them varying the length of the stitches. This could be done upto the third layer. And then the last layer, finishing the edges on the sides. Then the gaps could be filled.
One thing that has to be said for this stitching is that you need to practice with a little excess devotion to master it.
- Lazy daisy Tulips
This is among the few detached stitches in the chain stitch family. The name of the stitch is derived from its resemblance to the tulip flower. So, this stitch can be used to make tulip flower patterns or it can become a small part of a bigger flower depending on how imaginative you could be. It can also be used as a filling stitch to fill up patterns.

The method:
- Start by doing a lazy daisy stitch.
- Consider that A is the base of the lazy daisy and B is the tail.
- After putting in the needle thru B, bring it out thru C. C lies at about a 90 degrees angle from B and is about 2/3rd the distance from A. Note that this is just an approximate measurement for understanding. Nothing hard and fast about it!
- Now, take the needle beneath the ‘tail’ of lazy daisy without plucking the fabric. Now put it in through D which lies symmetrical to C.
- A finished tulip stitch would look like this.
- Herringbone stitch flowers ( Straight or reverse)
This stitch is great to work floral designs and border patterns. You can use this as a very attractive and adequate filling stitch.
Herringbone stitch is worked between two parallel lines (imaginary or drawn). A series of crisscrossed diagonal stitches are made between the lines. On the reverse side of the fabric, these stitches will show up as parallel rows of running stitch. Use a very thin and long needle of sizes 7 or 9 for making this stitch.
When you are filling a design with herringbone stitch make sure that you are placing the stitches very close to each other. If you are working this stitch with space between stitches, it gives a different effect. In shadow work and Chikankari work herringbone stitch is used on the back of the fabric to fill the design so that parallel rows of back stitches/running stitches are created on the front of the fabric.

The method:
- The needle is brought to the top of the cloth from beneath (A). Take the needle to the opposite line and take a small stitch upwards B-C.
- Now take the needle to the previous line and take a small stitch behind the first point. Go on working in this manner going from left to right and right to left, till the whole design is filled.
There are types within the herringbone stitch.
Tied herringbone stitch - To make this stitch, work the regular herringbone stitch between parallel lines. Thread the needle with a different thread (or different) and make a straight stitch over all of the crossed stitches in the herringbone pattern. A bead might look good between those crosses.
Double Herringbone stitch
To make a double herringbone stitch each row is worked with one colour herringbone stitch. Then a different coloured thread is used to make the herringbone stitches between the gaps. This is a great stitch for borders.
Ladder Herringbone stitch
This stitch is a woven herringbone stitch with a two step process. First, two parallel back stitch lines are made some 1/4 inch or so apart in a stepped manner. Then, another thread is woven through the running stitches.
- Chain stitch filled flowers
The chain stitch is not as simple and easy to do as other surface embroidery stitches, say a stem stitch, especially when you are doing continuous lines but the versatility of this stitch makes it a favorite hand embroidery stitch – both as an outline stitch and as a filling stitch.
The beauty of the chain stitch is that as a single line it gives a lot of texture to the outline. As a filling stitch, the width of the chain stitch can fill the design pretty easily. The single chain stitch looks like a small petal and this appearance is a beauty when it is filling a design.
The Chain stitch is used for both outlines and to fill in areas of an embroidery design. The sun in the photo shows both.
One of the basic embroidery stitches it has many variations.

The method:
- Secure your thread to the back of your work with a waste knot that leads away, and bring the needle through to the right side on the line you want to follow.
- Go back down as close as possible to your starting point and bring the needle back up a short distance along the line of the pattern. Before you pull the needle right through the fabric, make sure that the working thread is underneath the needle.
- Then pull the needle through forming a loop or chain on the surface.
- Re-insert the needle, next to where it comes through the fabric, inside the loop of the first chain and again, bring it up further along the line.
- Tuck the thread under the needle and pull it through to make the second chain stitch.
- Continue in this manner until the line of chain stitch embroidery is complete.
- You also have several types of Chain stitches.
- You can use wool thread for a nice texture or the ordinary embroidery floss or silk thread depending on the effect you are looking for. You can also use 2 strands of perle cotton thread which is a thicker thread. If using embroidery thread you may need to thread the whole 6 strands for filling stitches, though for delicate chain stitch embroidery you can use lesser strands.
- The thread colors used for chain stitch embroidery are mostly vivid tropical colors but not restricted to them.
- In chain stitch embroidery work the chain stitch is used as both the outline as well as the filling stitch. The outline is done first and then the filling stitch is made in rows starting from the outside.
- Different colored threads are used for the outline and filling, resulting in a work of beautiful dimension. Sometimes contrasting colors are used , sometimes shades of the same colour are used.
- Make sure that you do not pull the thread too tight or too loose. The correct tension is very important in making even chain stitches.
- Try to avoid tangles by cutting only about 18-20 inches of thread length. More than this and you will have tangles when you work the stitches. With silk thread take only about 12-inch length of thread.
- Cross stitch flowers
Nothing new to the fabric world, Cross stitch embroidery still is a passion with some people. It essentially is the idea of transferring a design and turning it into an abstract art on fabric with colourful thread.
The normal way to do cross stitch embroidery is to transfer the pattern on the fabric, then count the number of stitches on the pattern and work it on the fabric. This is why it is called the counted cross stitch. This seems like tedious work and a bit complicated. However the truth is it is not so.
 Stamped cross stitch – This is how you can do cross stitch in a simpler way – i.e. if you have a design which is printed on the fabric. You do not have to count the stitches in this case. Just do the work where the coloured design is printed - cross-stitching where the X’s are stamped on the fabric
- Granitos Stitch for flowers and Rosebuds
Granitos stitch is a perfect little stitch best suited to make little petals for your embroidered flowers. It is very simple to do, and the basis of this stitch is the straight stitch, the simplest of all embroidery stitches. The Spanish name (un granito de arroz meaning a grain of rice) refers to grains.
Granitos stitch is made by taking small stitches in and out of the same two holes in the fabric alternating the placement of thread
 The method:
- Thread your needle with 6 strands of thread (the full embroidery thread).
- Bring the needle and thread to the front of the fabric at point A. Insert the needle back into the fabric at point B a short distance away from A . Pull the thread through to complete the first stitch.
- Bring the needle and thread to the front of the fabric again at point A, through the same hole as in the previous stitch.
- Insert the needle back into the fabric at point B, taking care to go through the same hole as in the previous stitch. Arrange the thread so that it is not piling on top of the previous stitch. You can arrange it so that it lies left to the first stitch.
- Bring the needle and thread to the front of the fabric at point A for the third time. Ensure that the needle emerges through the same hole as in the previously worked stitches.
- Insert the needle back into the fabric at point B and loop the thread to the right. Pull the thread through, making certain that the third stitch lies to the right of the first stitch.
- Continue doing this same actions adding thread to each side of the first stitch ( A-B) till you have the shape you want. 3-4 times will give you a nice shape of a petal.
- When you are finished, take needle to the back , tie off.
- You can experiment with this stitch by adding more number of thread or using special kinds of thread etc.
- This is made by making the granitos stitch slightly loose.
- You can place a upholstery needle under each stitch every time you make a straight stitch to make it look evenly puffy.
- You can make little rosebuds using this stitch which look absolutely gorgeous.
- To make the rosebud you have to make 4 granitos stitches, the first one bud, then sepals are slanted granitos stitches, then the part connecting it to the stem.
- Bead embroidery flowers
You can make beautiful flowers with bead and sequins.
- Ribbon embroidered flowers


