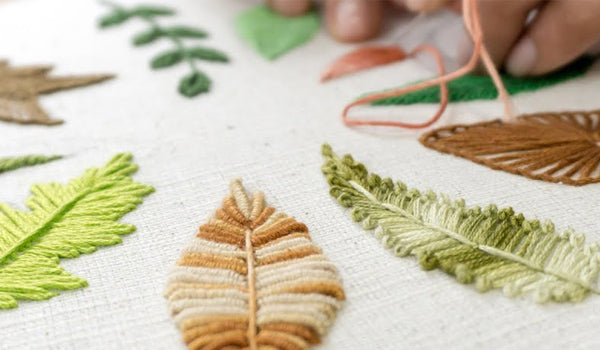
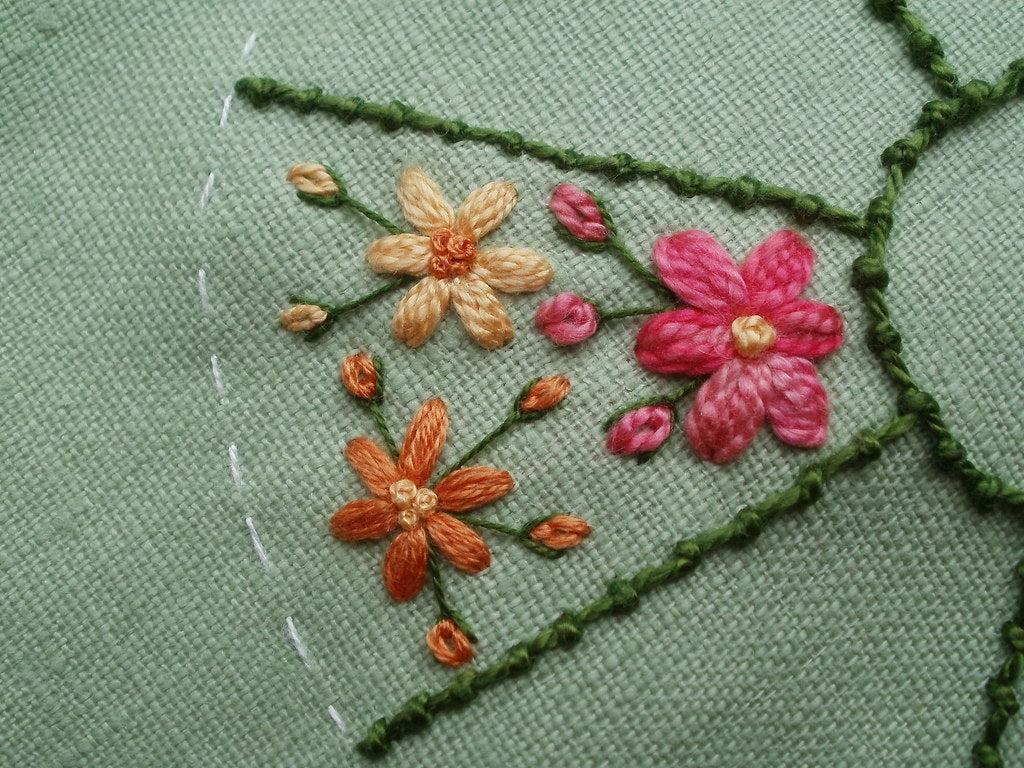
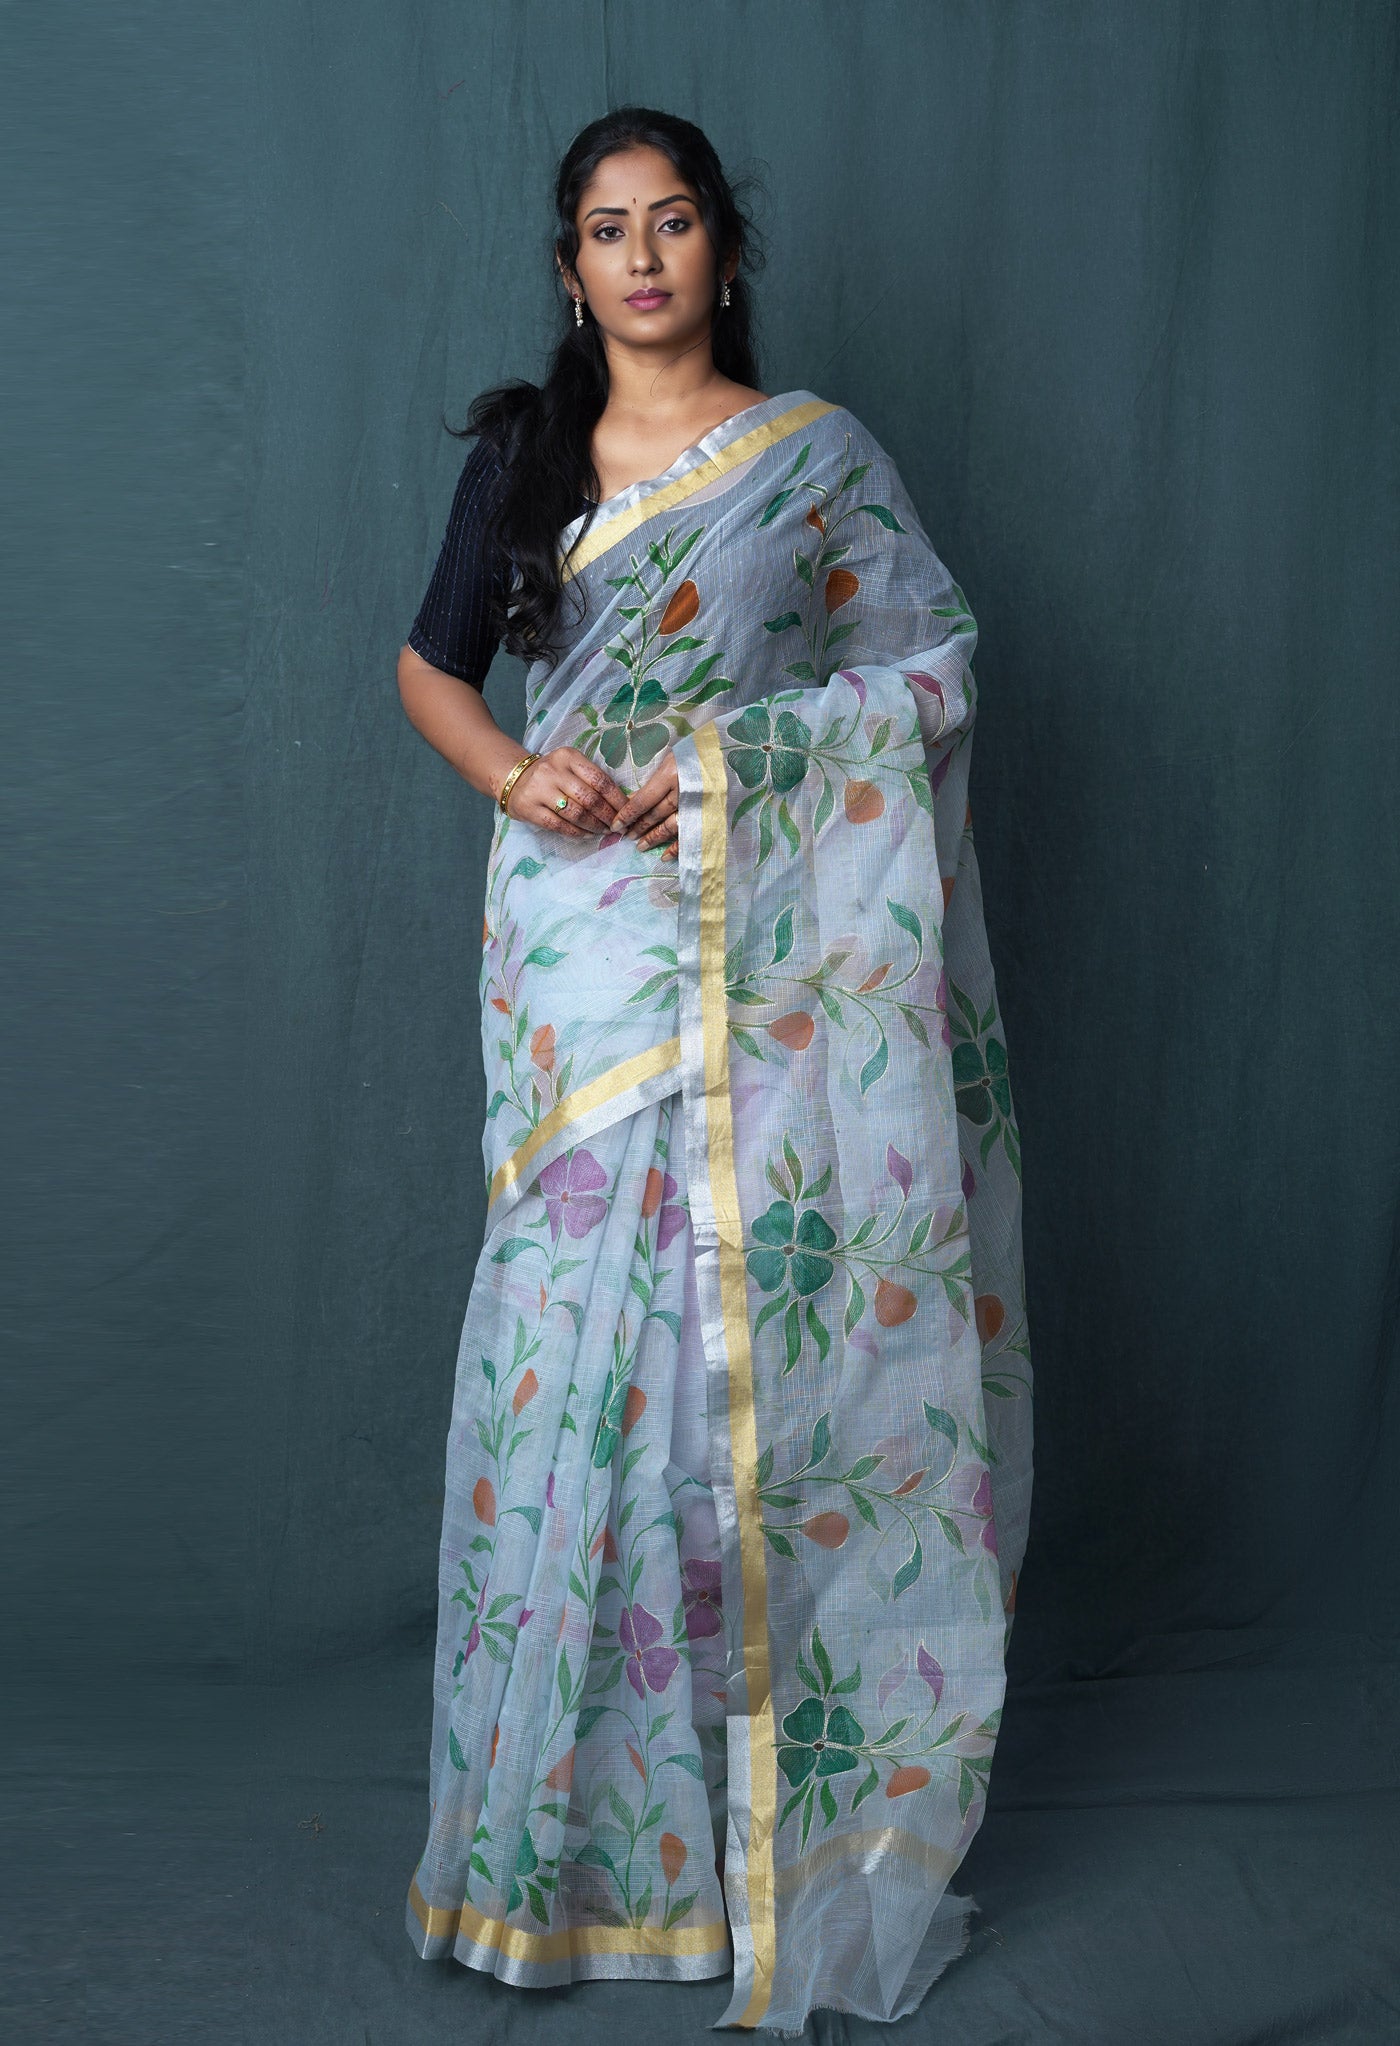
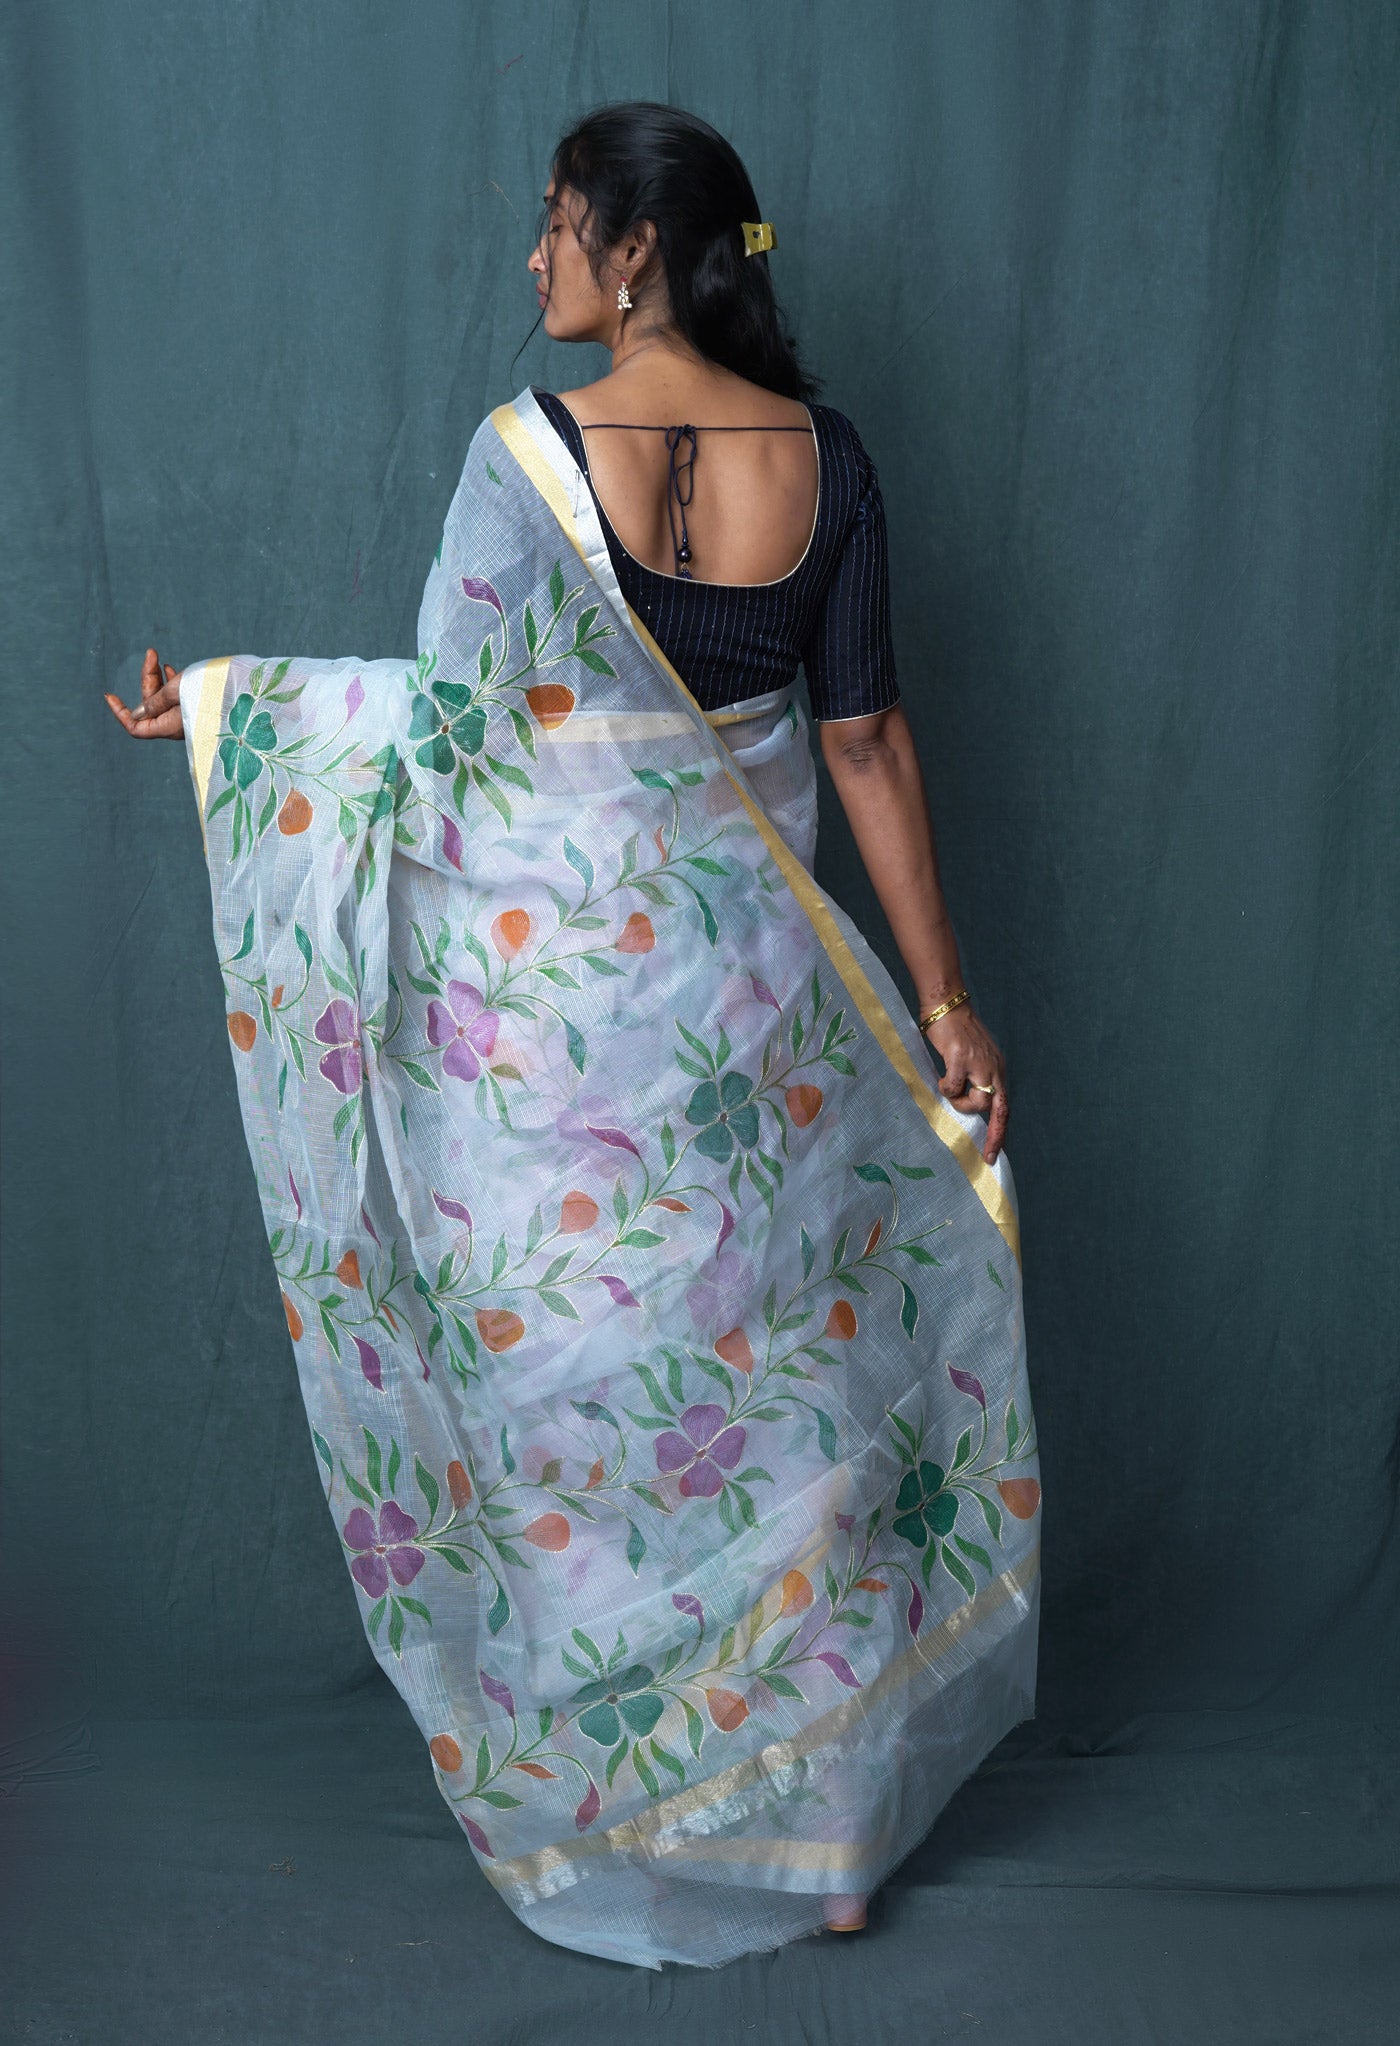
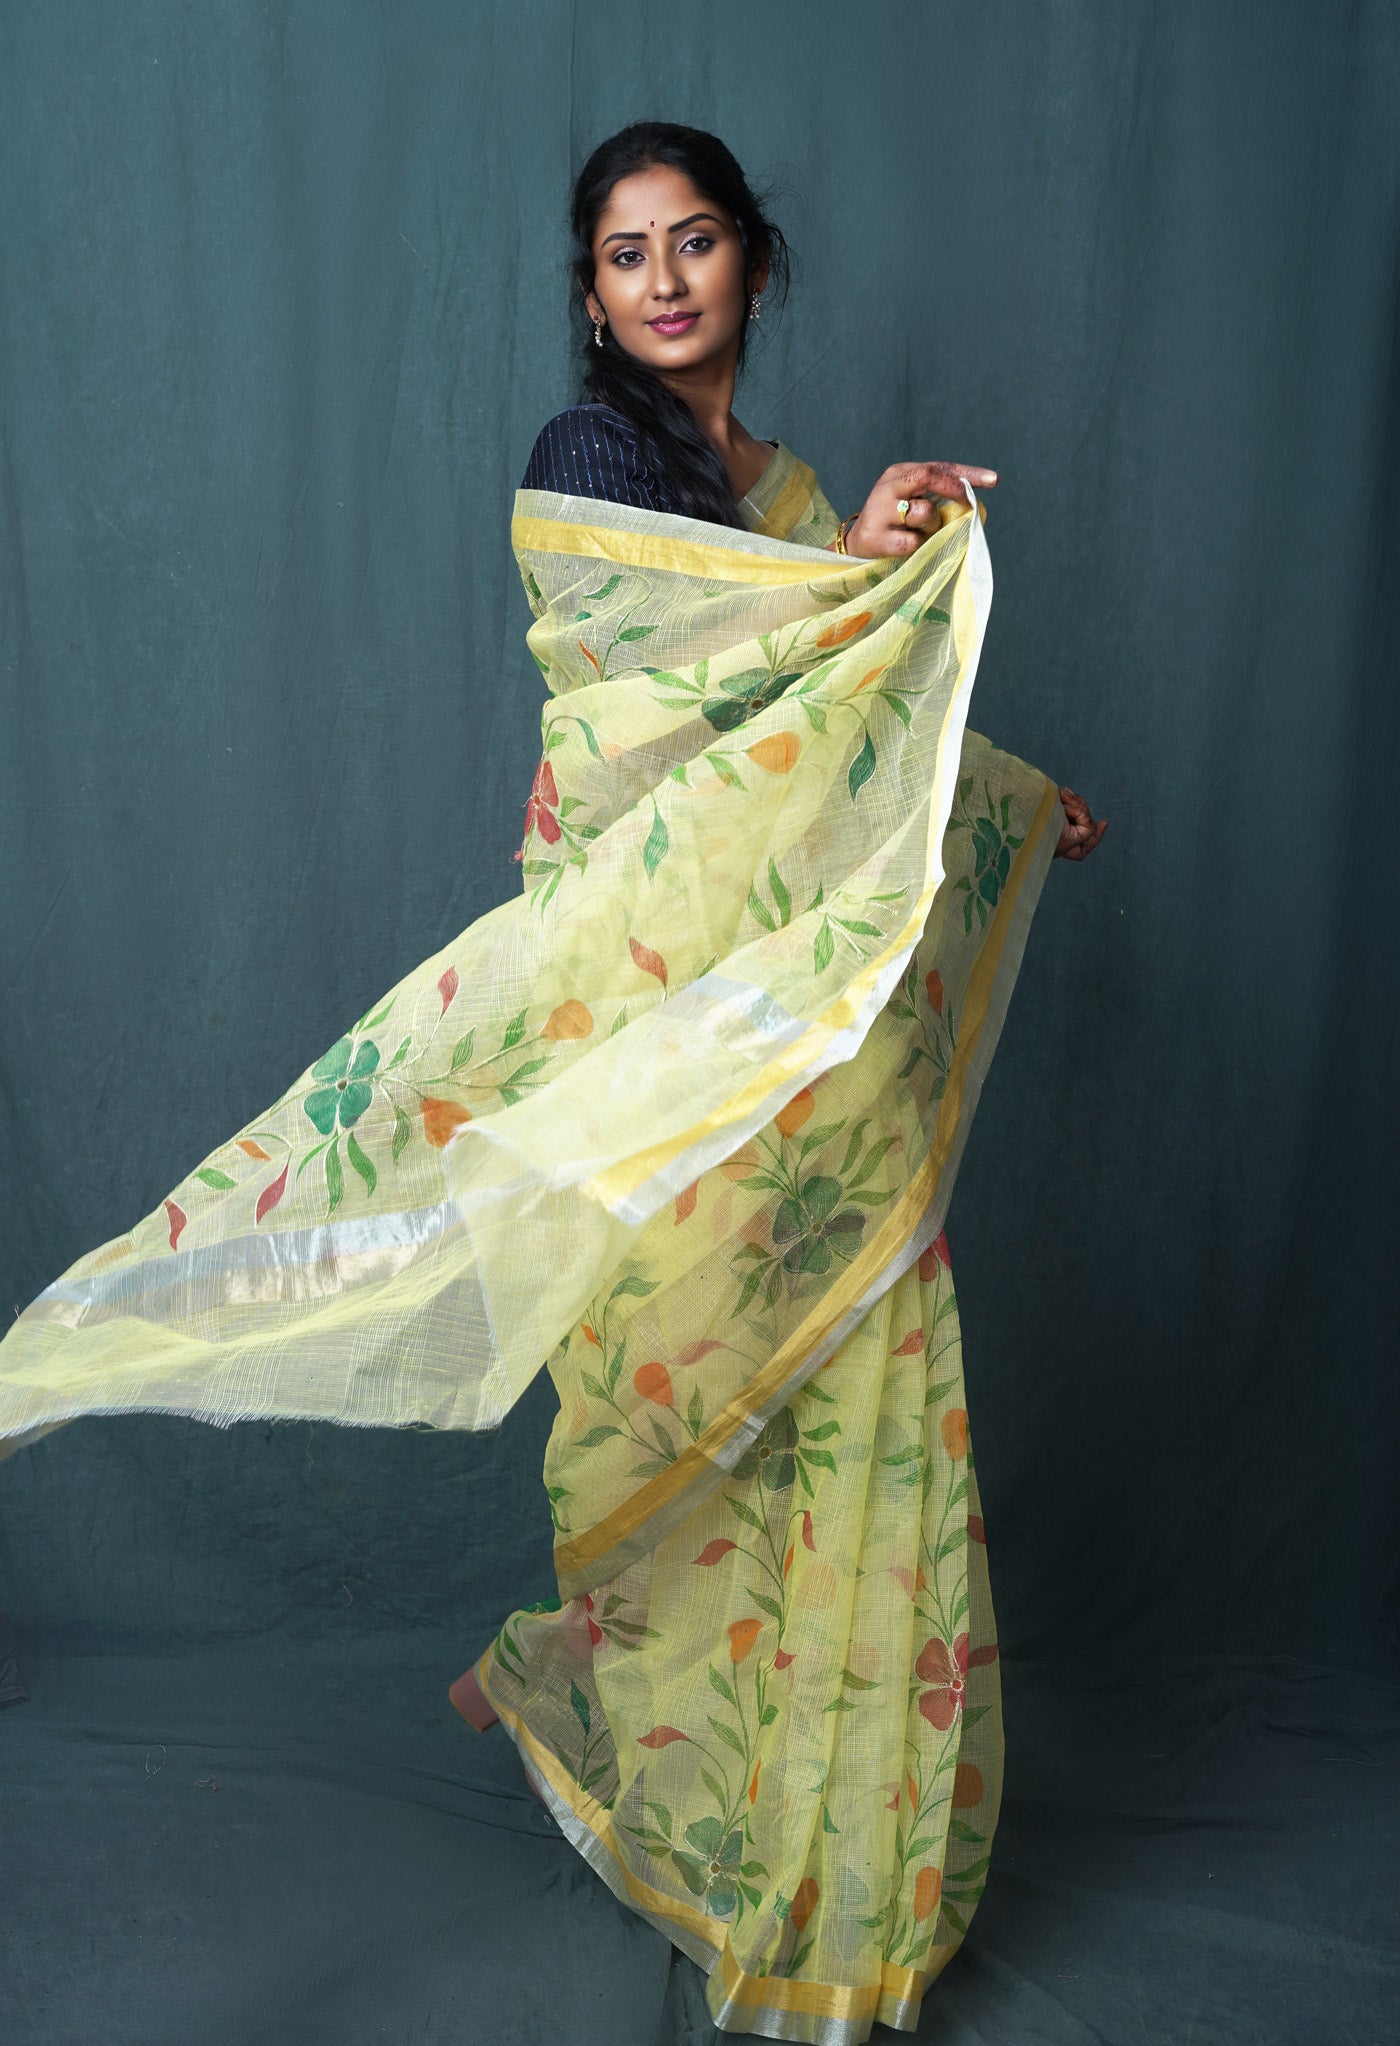
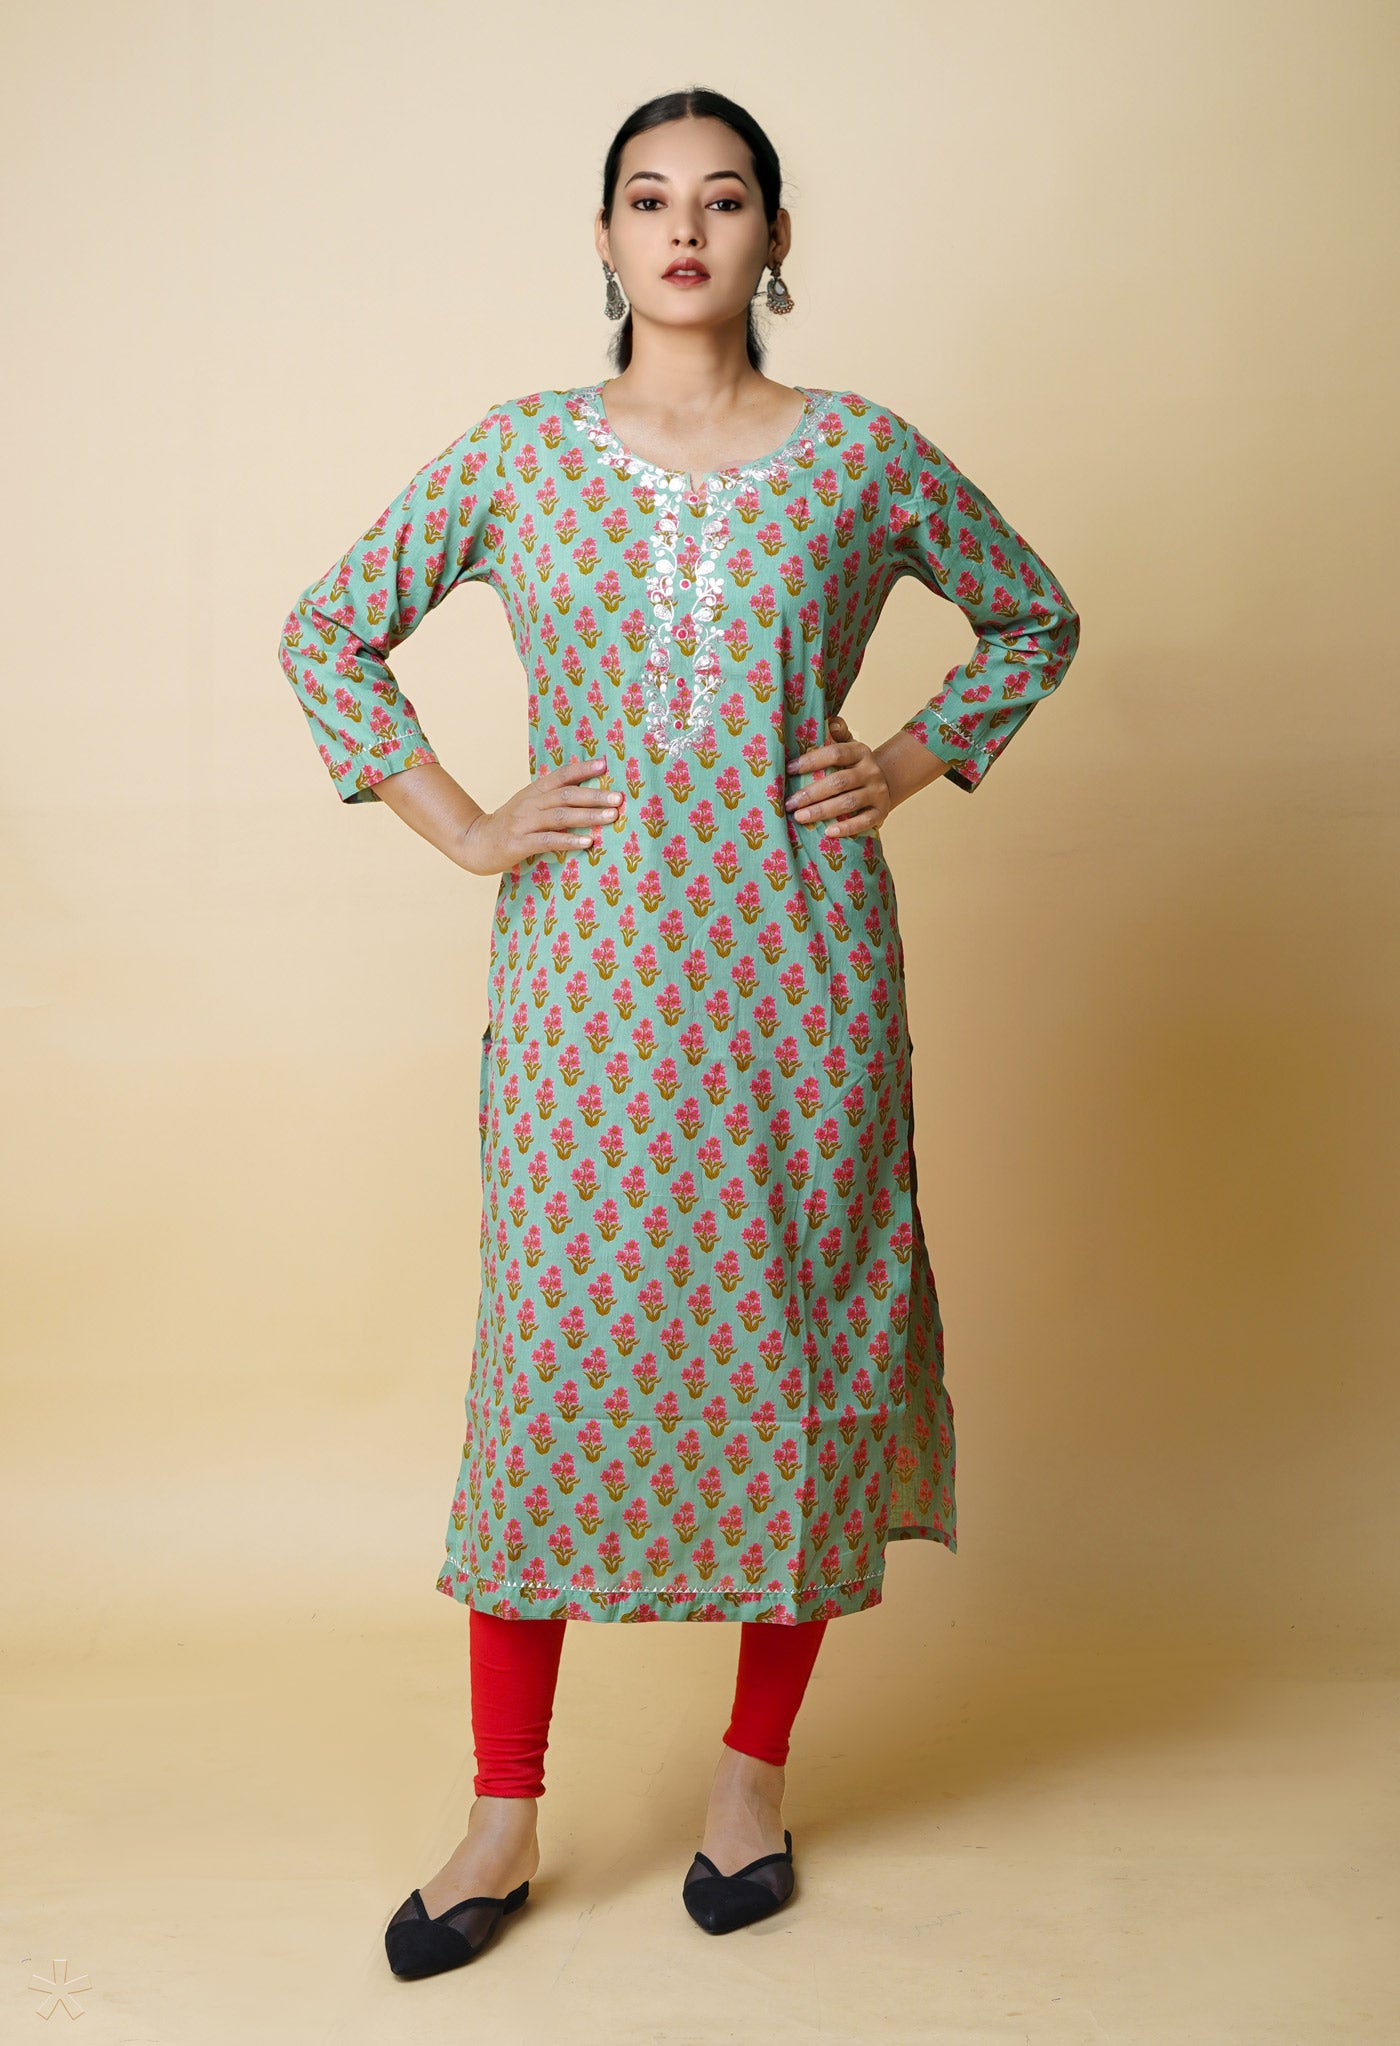
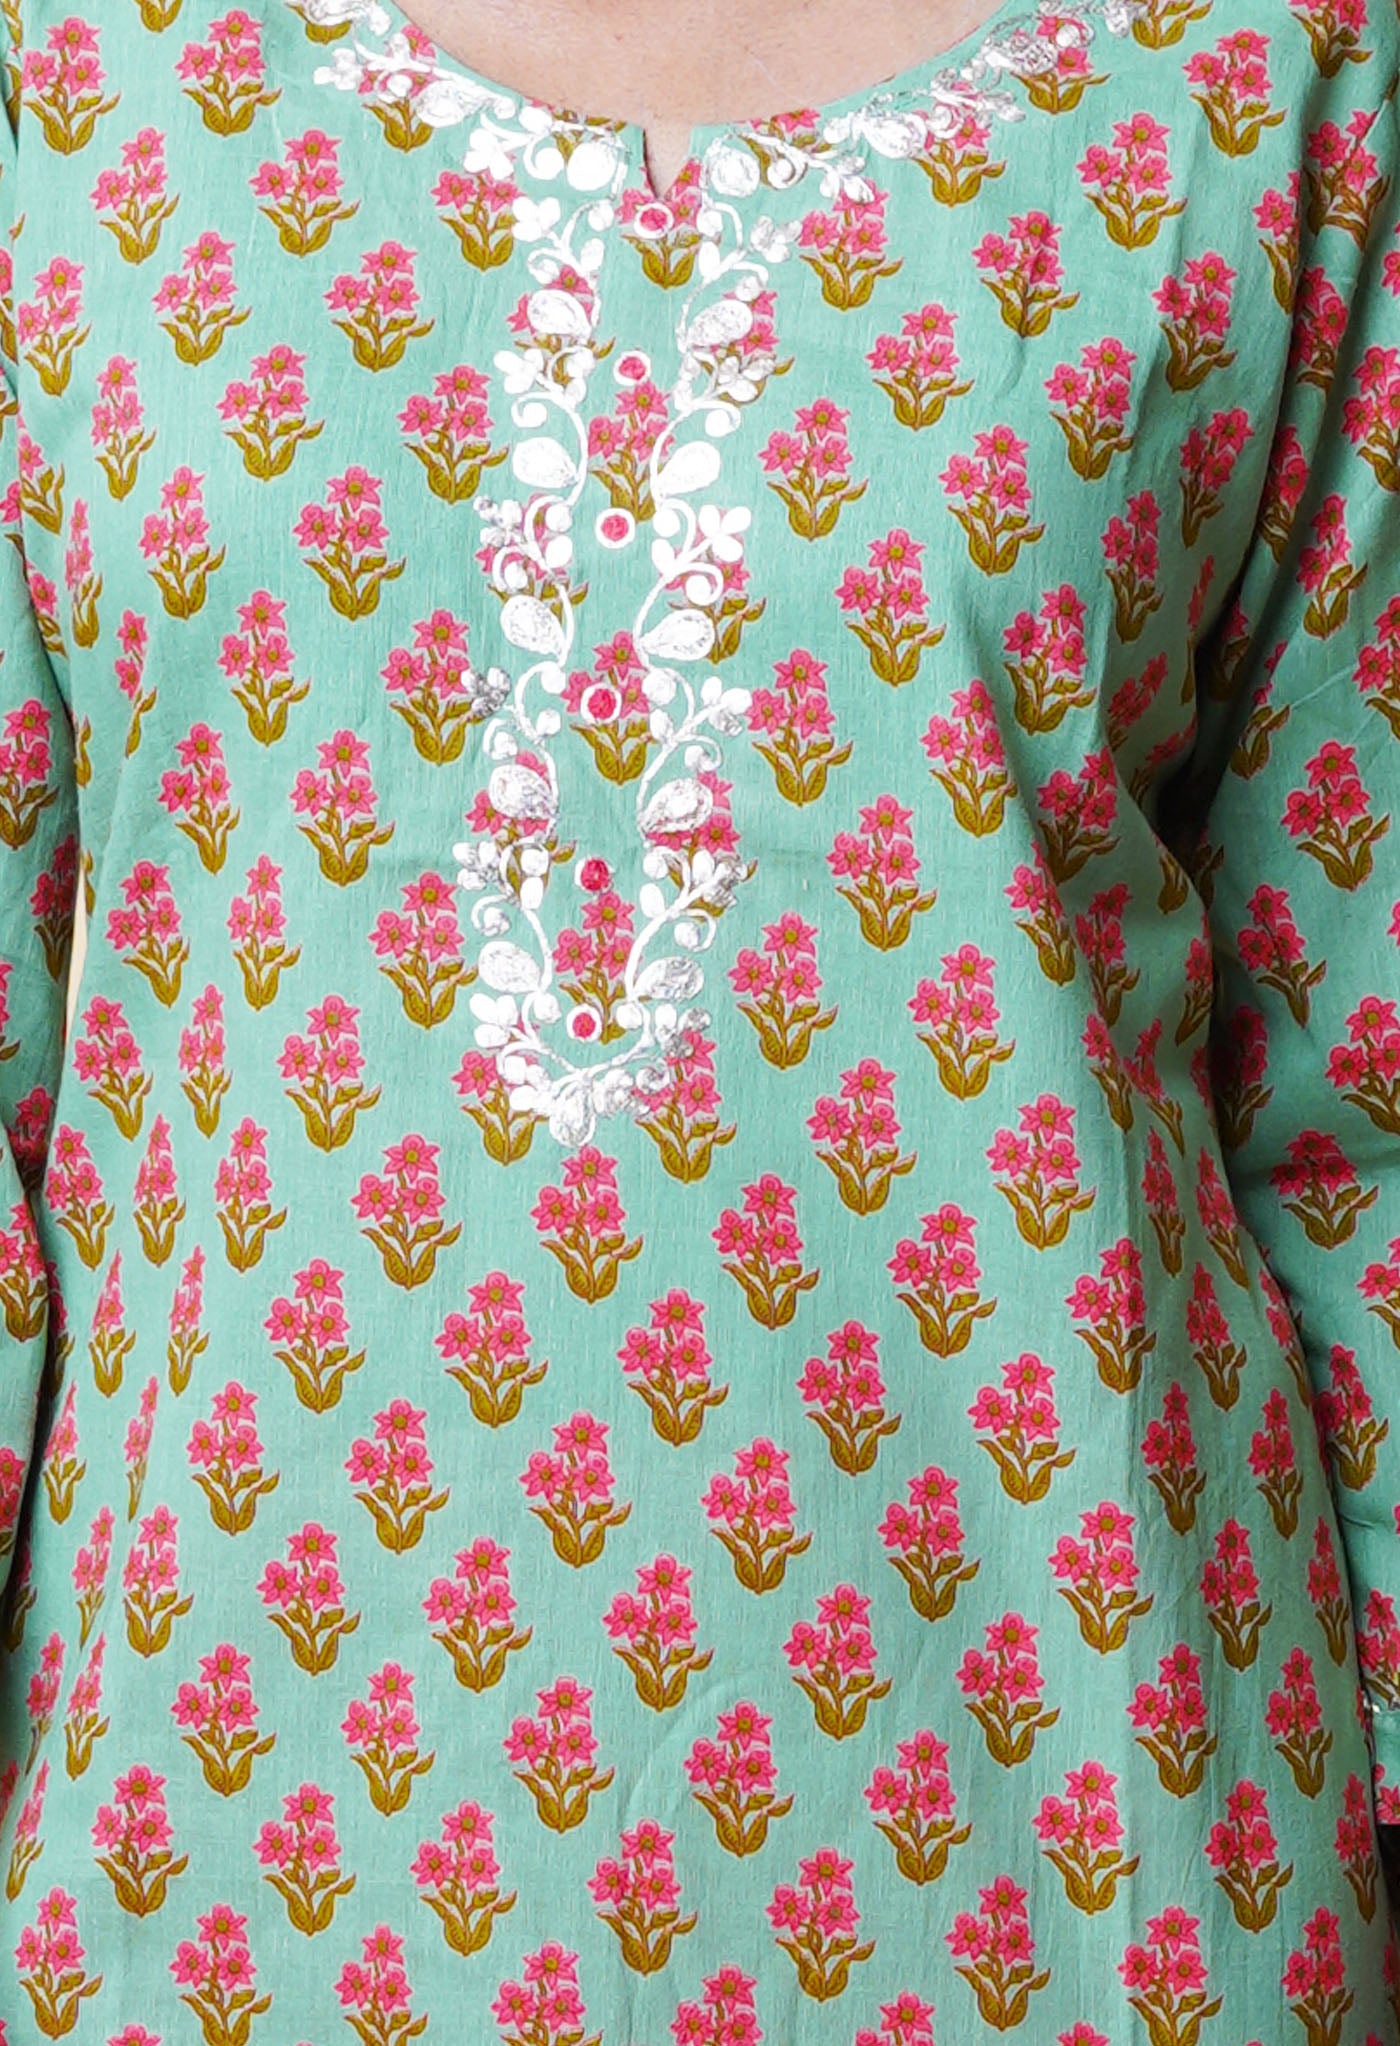
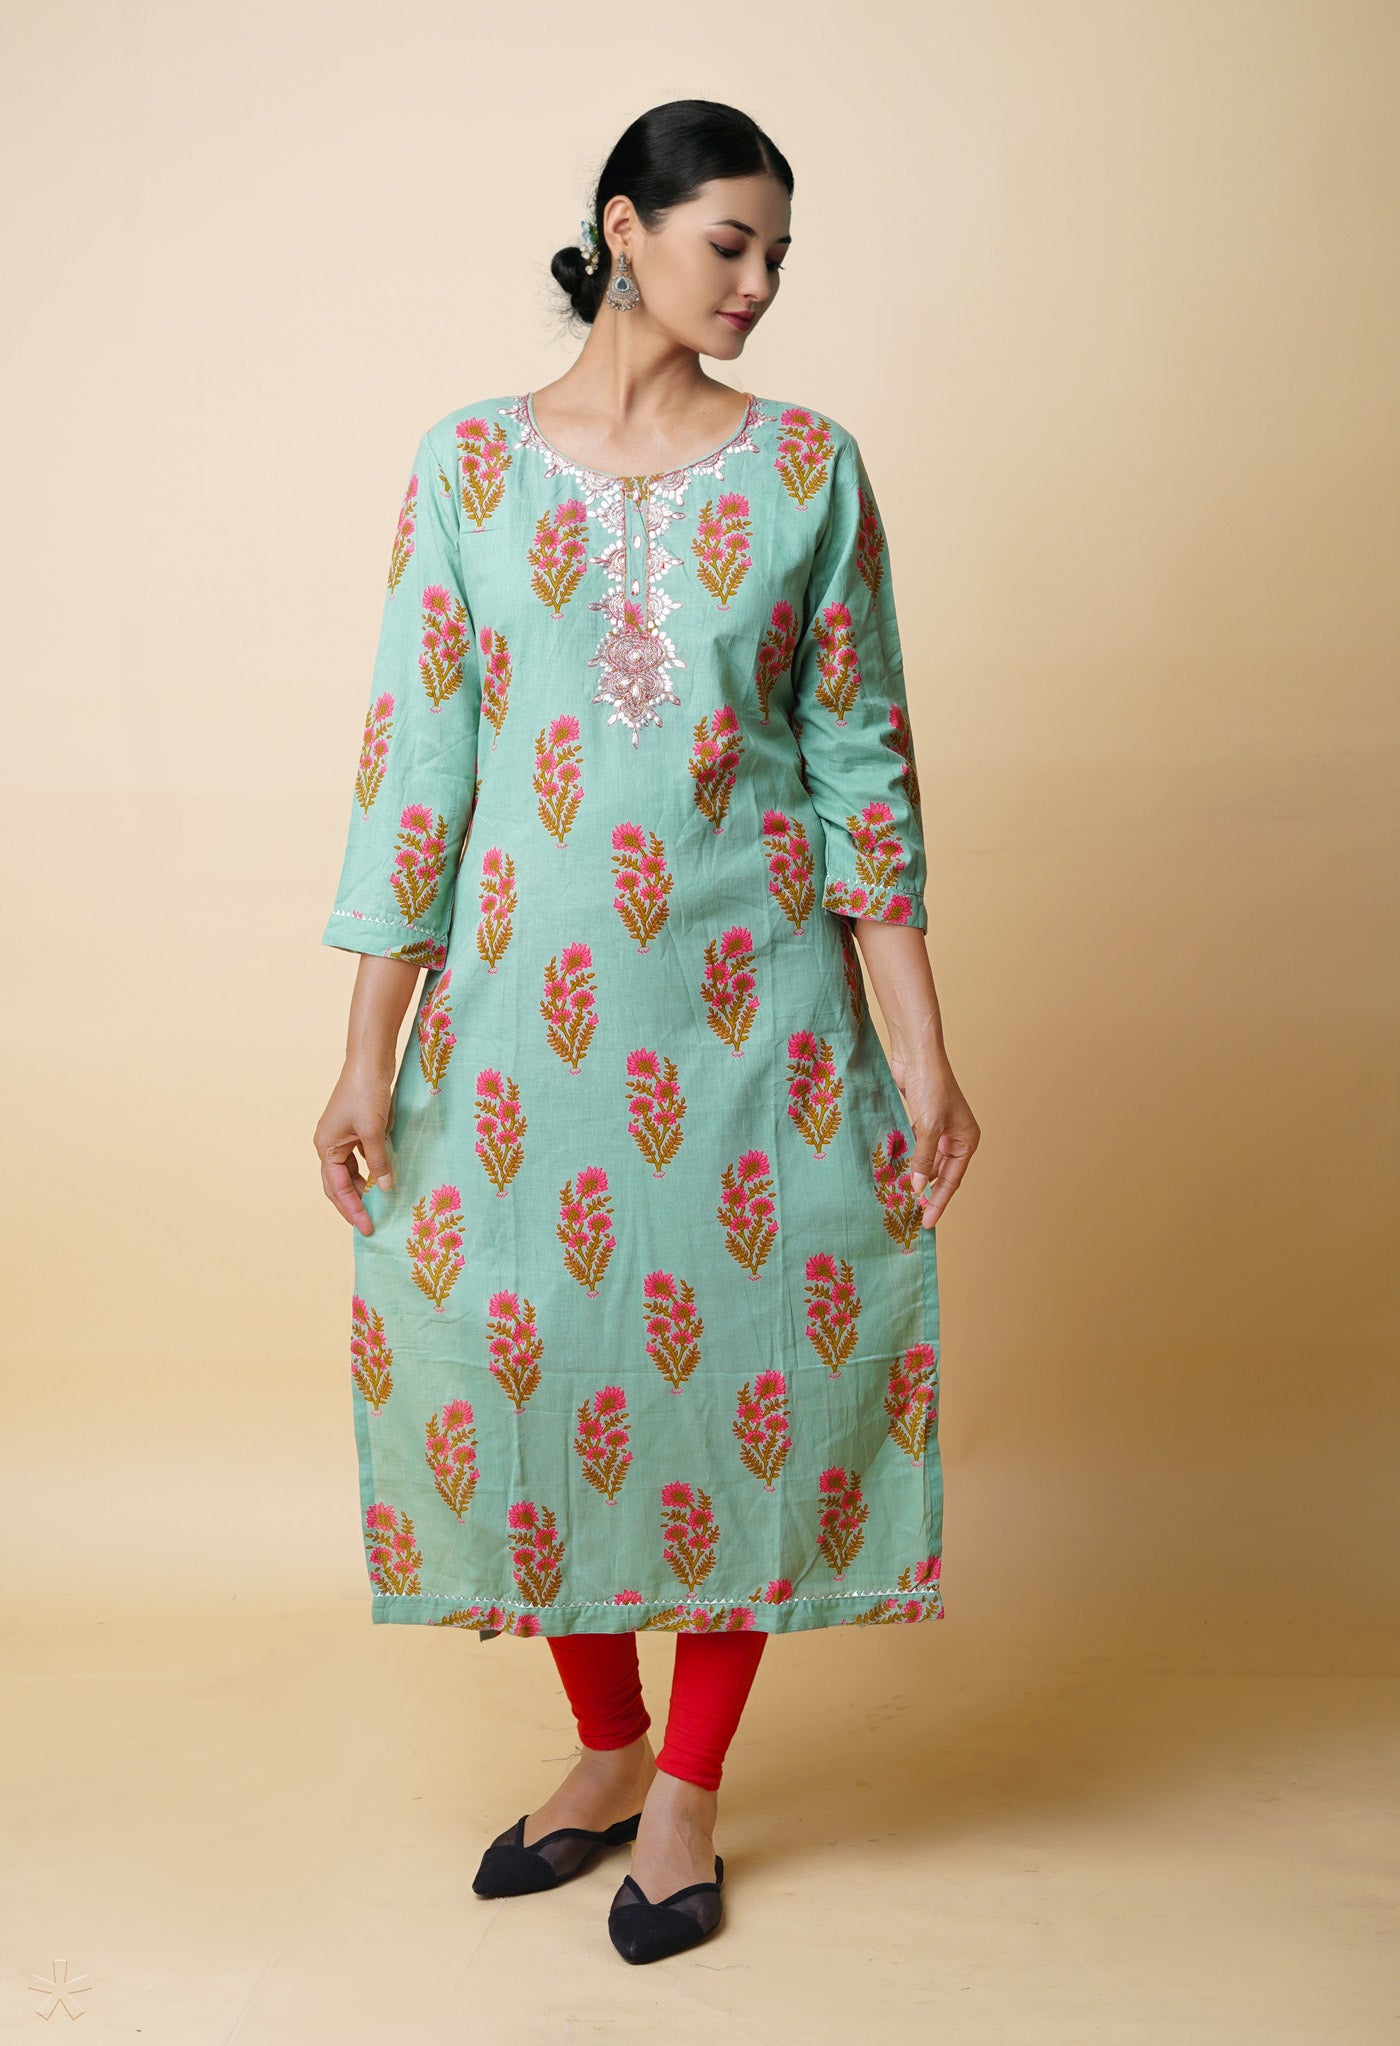
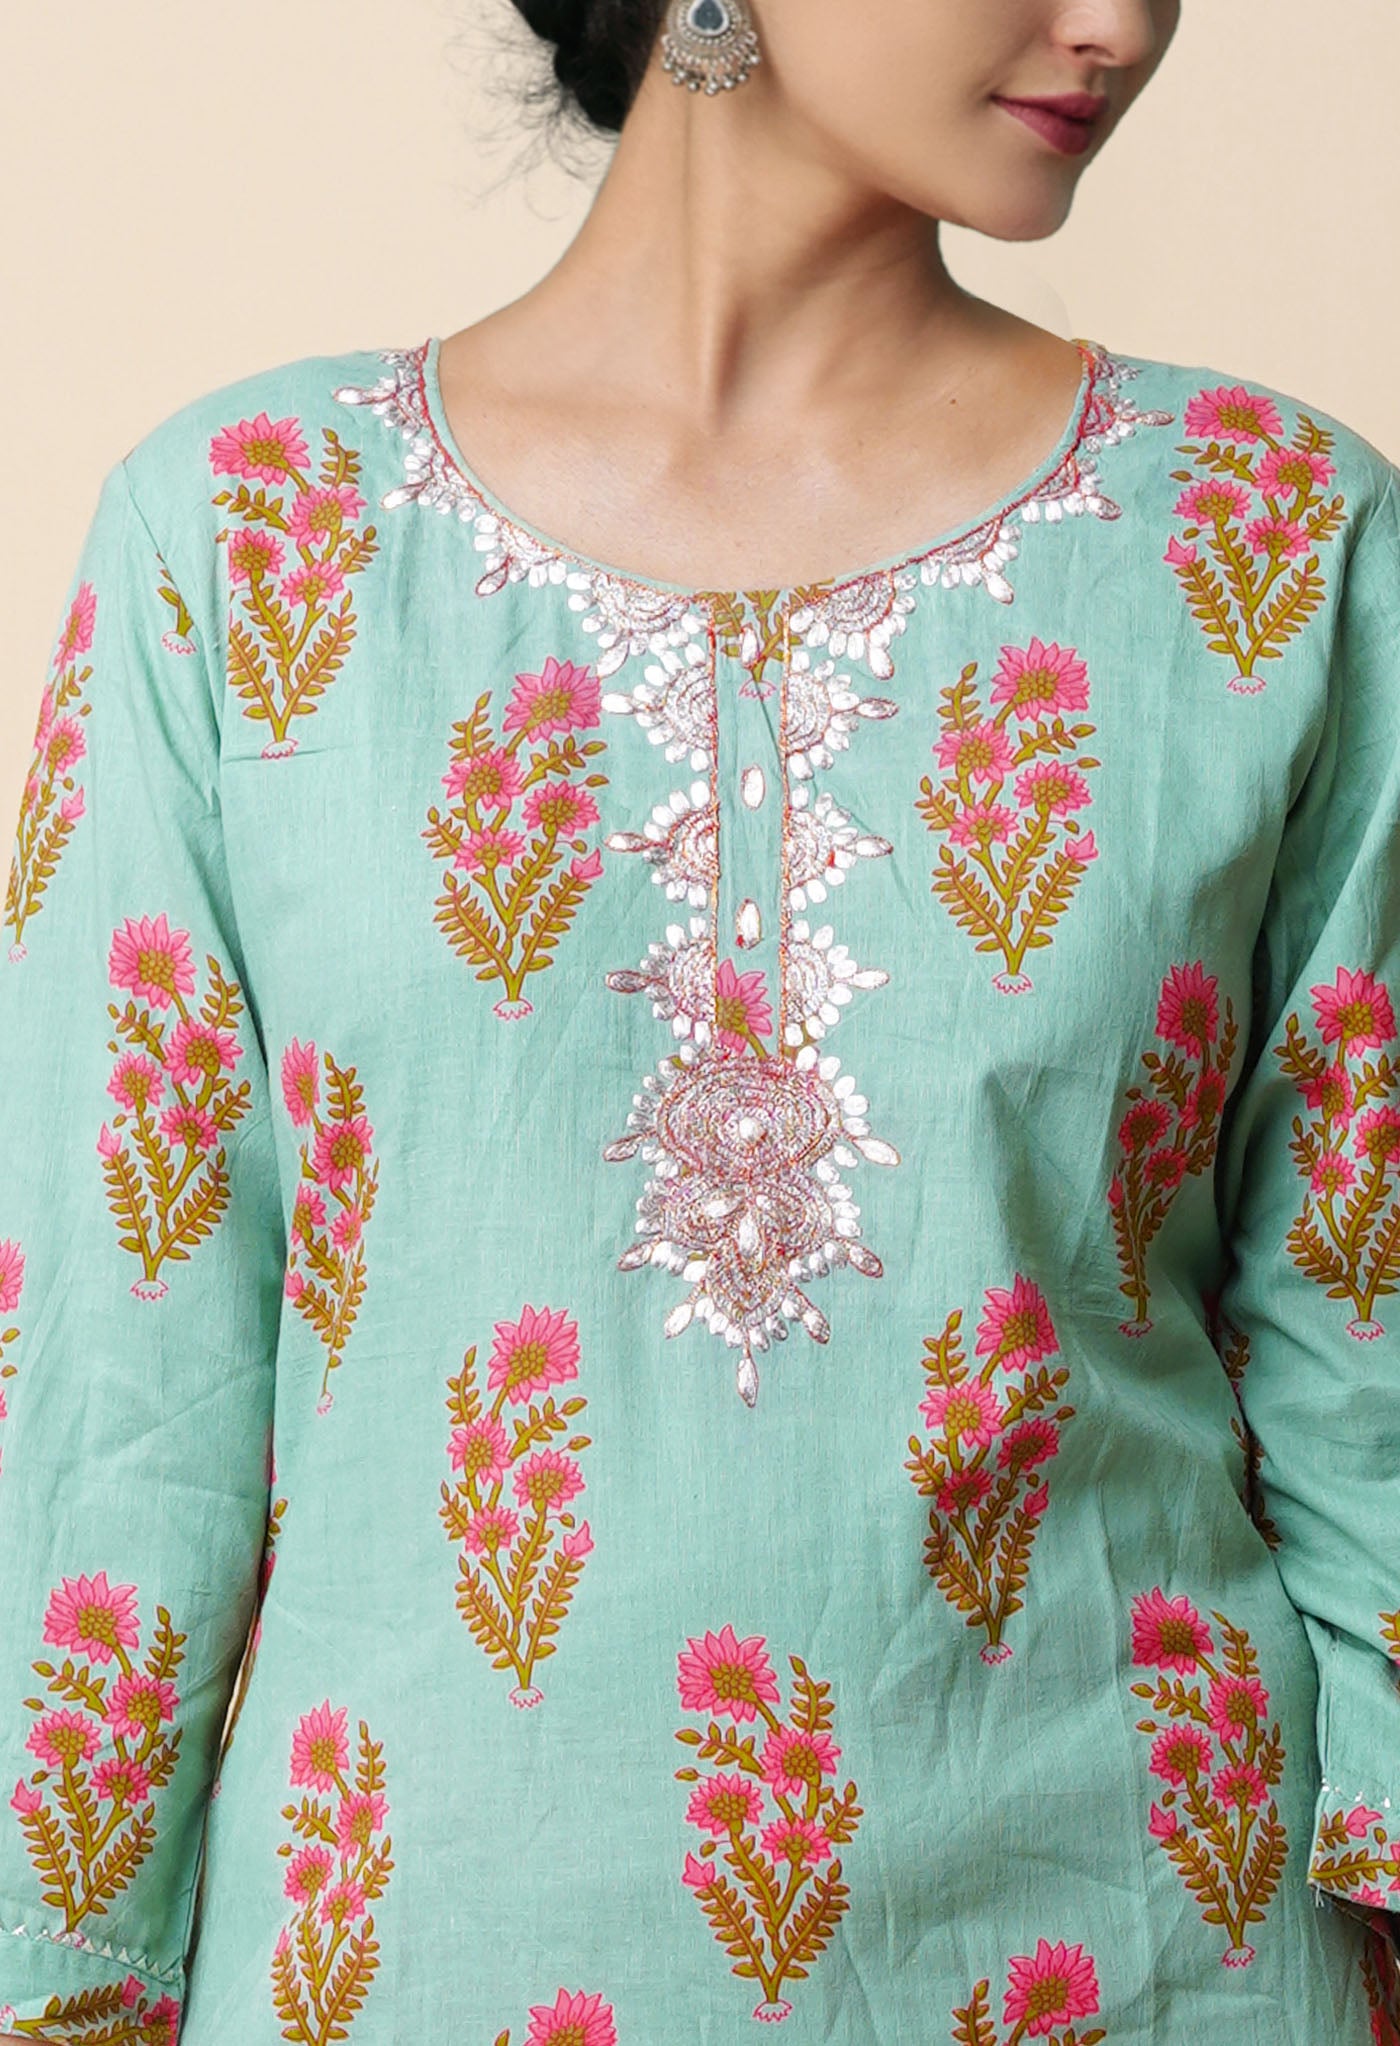
Leaf Embroidery – an adornment sought after popularly
From the time embroidery has been one of the forms of adornment, it has gradually come to be the inevitable inclusion for all forms of Indian fabrics. Be it plain white or colored thread or the golden zari, it brings a new decorative look to the fabric it adorns. Practised across the country, in certain pockets it assumes new dimensions by the way it is practiced, the manner in which the threadwork is done, and the exquisiteness that is achieved from complex calculations and painstaking execution.
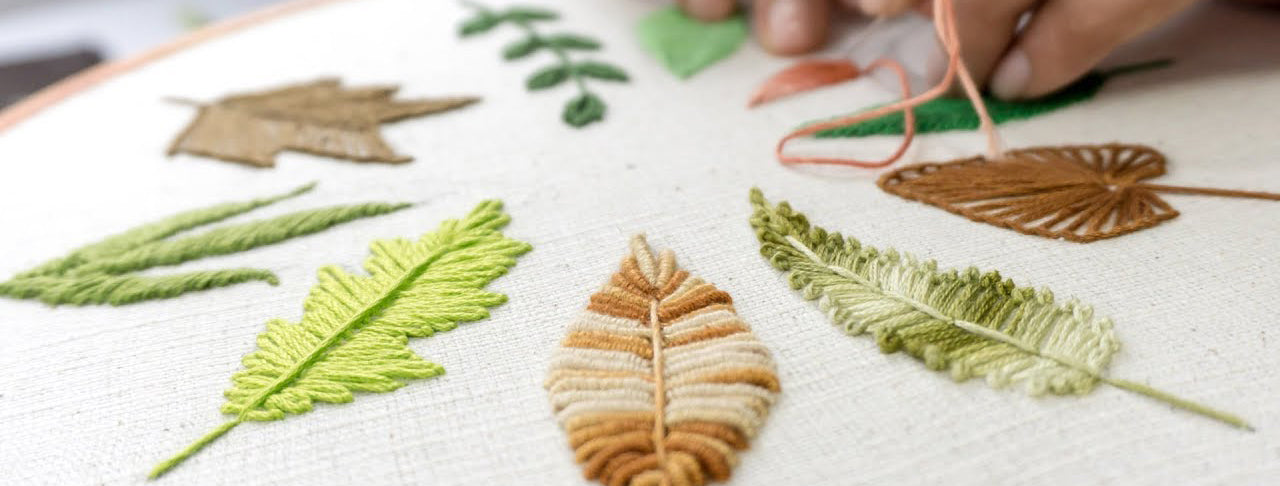
Indeed one of the most practiced forms of art on fabrics, one of its favourite themes is flowers and floral scapes – flowers localized in motifs or a spread of leaves of different sizes, stems, shoots and vines across the vast canvas of fabric.
The manner in which leaves constitute bootis or motifs and the way they assume different sizes in lengthy spreads has itself become a subject of arty craft. Leaf embroidery is so popular for its attractiveness that it has reached a new level in excellence.
Let us know some of the popular forms of leaf embroidery that are practiced universally.
- Satin Stitch Leaf
One of the most preferred ways of filling leaf designs in embroidery. It gives a smooth silky surface but it should not be used if the design is bigger than 1/2 inch.
In sewing and embroidery, a satin stitch or damask stitch is a series of flat stitches that are used to completely cover a section of the background fabric. Narrow rows of satin stitch can be executed on a standard sewing machine using a zigzag stitch or a special satin stitch foot.
In order to maintain a smooth edge, shapes can be outlined with back, split or chain stitch before the entire shape including the outline is covered with satin stitch.
Machine-made satin stitch is often used to outline and attach applique´ to the ground fabric. Satin stitch is frequently made with embroidery thread, which has less twist than standard sewing thread. This gives a more uniform effect, with the individual threads' filaments merging. While good sewing threads produce acceptable satin stitch, low quality threads usually do not sit straight, and produce an uneven result. The colour of each thread usually does not matter.

Variants of the satin stitch include:
Bourdon stitch
Brick stitch
Encroaching satin stitch
Long-and-short stitch
Padded satin stitch
- Satin stitch Variation – leaf embroidery
Even if the design is wider than 1/2 inch you can still use satin stitch to fill the leaf embroidery design – by dividing the design. The first leaf is divided into different segments and filled with Satin stitch while the second leaf is divided into half and filled, preferably in different shades of green.

- Long & short stitch leaf embroidery
This is the preferred method when you have to give shading to the leaf. You can incorporate different shades of green in the same leaf with this stitch.
The long and short stitch is a form of free style embroidery, often used for shading flower petals and bird feathers. The characteristic feature of this stitch is that the stitches of the first row are worked in such a way that they are alternately long and short. The stitches in the ensuing rows are all of the same length and fit into the first row.
Also sometimes known as: Algerian filling stitch; brick stitch; embroidery stitch; feather stitch; Kensington stitch; plumage stitch; shading stitch.
- Outline stitch leaf
It is an embroidery stitch used to outline a design. More specifically it is a stitch made by overlapping back stitches to form a pattern like the twist of a rope.
(Any of the outline stitches like stem stitch or split stitch or chain stitch can be used to outline the leaf design.)
With the outline stitch, the thread is taken forward on the surface of the cloth, then taken to the back and moved backwards and up again next to the thread on the surface. The thread and needle are then again moved forward, so creating a series of overlapping stitches.
Outline stitch is very similar to stem stitch, but the difference is that the working thread lies above the needle, while in stem stitch it is always below. The resulting line of stitching twists in a direction (S-direction) opposite to the stem stitch (Z-direction).
A Stem stitch is an embroidery stitch, derived from back stitch, in which each stitch overlaps the previous stitch to one side, forming a twisted line of stitching, with the thread passing below the needle.
A Chain stitch is a sewing and embroidery technique in which a series of looped stitches form a chain-like pattern.

- Outline stitch-filled leaf
Instead of using the outline stitch to give the outline it is used to fill the leaf design. Use less strands for more delicate look.
- Leaf with bullion veins
Bullion stitch has wonderful texture and dimension and it can be used to represent the veins of the leaf.
Bullion stitch is a decorative technique that is worked by twisting a thread around a sewing needle several times before inserting the needle into the cloth. Short bullion stitches are sometimes called bullion knots.
Also known as bullion knot, coil stitch, grub knot, Porto Rico rose, post stitch or worm stitch.
- Blanket stitch outlined leaf embroidery
You can use blanket stitch as an outline stitch. Because of the textural effect of the stitch it is not suitable for all leaves.
The blanket stitch is a stitch used to reinforce the edge of thick materials. Depending on circumstances, it may also be called a "cable stitch" or a "crochet stitch". It is "a decorative stitch used to finish an un-hemmed blanket. The stitch can be seen on both sides of the blanket."
This stitch has long been both an application by hand and as a machine sewn stitch. When done by hand, it is sometimes considered a crochet stitch, used to join pieces together to make a blanket or other larger item.
The blanket stitch is commonly used as a decorative stitch on an array of garments. Besides blankets, it is used on sweaters, outerwear, swimsuits, home furnishings, pillows, and much more. There are many styles of production blanket stitching, including rolled, narrow, with elastic, and traditional.
- Blanket stitch reverse leaf embroidery
Here the blanket stitch is made to face the outside of the design. It creates a thorn like look to the leaf and is suitable for some leaves.
- Herringbone stitch leaf embroidery design
Herringbone stitch is very good filling stitch for leaves. It can be used for even large leaves or used on the back of the fabric for a shadow embroidery effect. As an embroidery technique it is worked from left to right along an imaginary double line. The thread is brought out at the bottom left hand corner and inserted a little to the right on the upper line and then brought out to the left. The needle returns to the lower line again and is brought out to the left. The stitch is then repeated.
Used in embroidery, knitting and crochet, it is so named as it resembles the bones extending from the spine of a herring fish. In knitting, it is a stitch that creates a fabric pattern closely resembling a herringbone pattern, or herringbone cloth.

- Granitos stitch leaf embroidery
With the Granitos stitch, you can make simple small leaves. Granitos are done with small straight stitches laid side by side and using the same holes in the fabric. It makes a slightly raised elongated dot.
Here's how you do it.
- Bring your thread to the front, then to the back a short distance away.
- Come up again in exactly the same hole where you began. Pull your thread through.
- Loop the thread to the left and take the needle to the back in the same hole (the second one) as before. It helps to hold the loop with your thumb.
- Gently pull the thread through, making sure that it lies to the left and directly next to the first stitch. Your thumb helps here, too.
- Repeat, but this time loop your thread to the right. Pull your thread through, making sure it lays along the right side.
- Continue adding thread and alternating sides until you've completed your shape.
- You could be ultimately landing with six strands of floss for this and four stitches on each side of the first one.
Perfect for flower buds and petals!
- Stick leaves
Simple straight stitches or even the fly stitch can be used to make these kind of leaves.
A fly stitch is a stitch which looks like the alphabets U or V secured with a small straight stitch. It is similar to a detached feather stitch and is very versatile. You can use it in a number of ways in your embroidery project; as grass stalks on a ground or as flying birds, as a cradle for small flowers, as border designs. This stitch does enhance your work in many ways.
Fly stitch is made by forming a horizontal loop and then pulling the loop and holding it down with the help of a small straight stitch. The thread is looped under the needle.
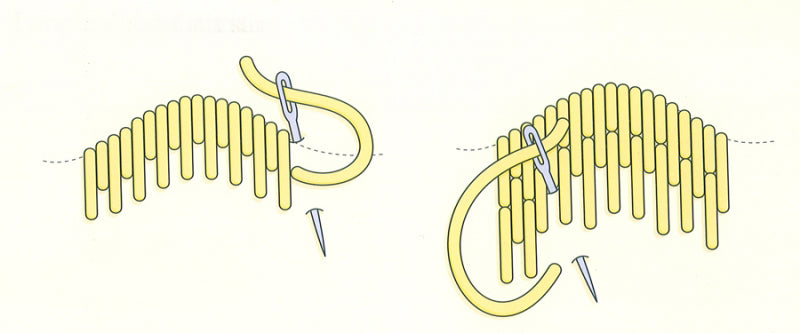
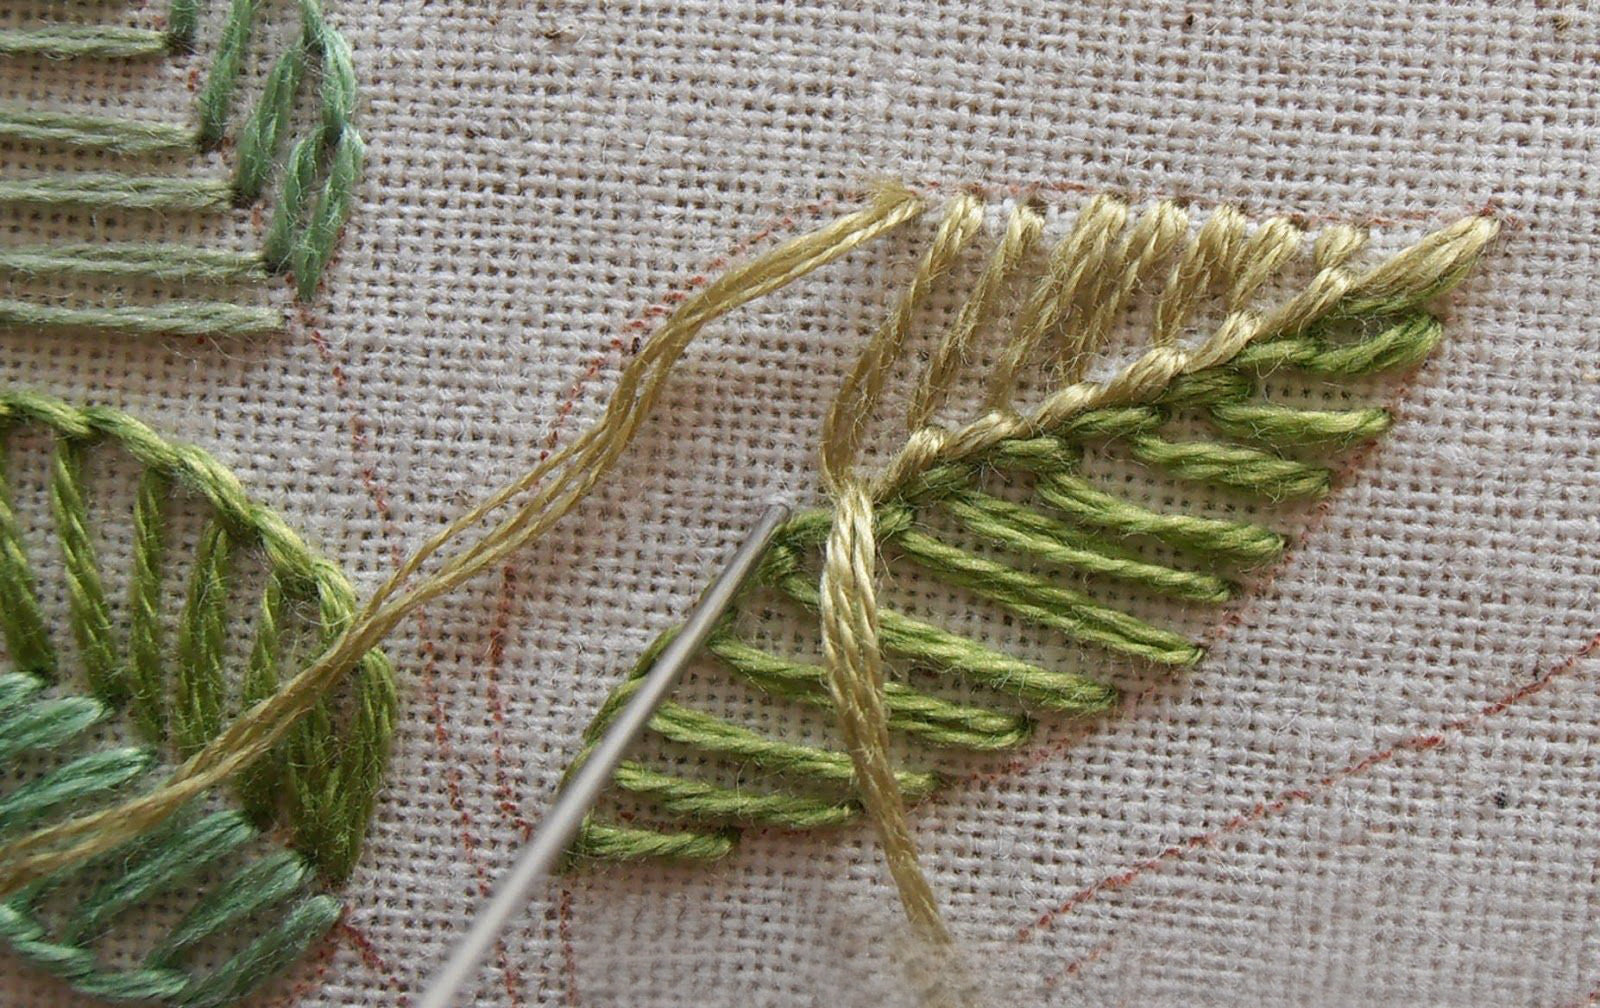
- Fishbone stitch leaf embroidery
One of the most preferred of all stitches for embroidering leaves it not only fills up the leaf design but also makes it look as authentic as the real leaf.
Fishbone stitch is a favorite for leaves but it is a fairly versatile stitch that can be used for filling other shapes as well.
In general, we move back and forth from the starting stitch (center line) starting at the top of the leaf and work down the sides of the outline. The stitches come up at the top and cross each other mid-leaf before going back down through the fabric. OR, as in the diagram, come up at A and then cross over the center line to B along the edge of the leaf outline. Come back up at C and cross over to D. The diagram then shows the "sewing" method of crossing over horizontally to come up at E.
A “raised fish bone stitch” is an improved variation over this one.

- Open Fish bone stitch – leaf embroidery
For a different look try the fish bone stitch with some space in between.
The open fish bone stitch is often used to fill a leaf or shape. It is very similar to the fishbone stitch, but there is a gap between the individual elements of the stitch.
In order to work the motif, a double line of tiny dots is drawn down its middle, rather than a single line as with the fishbone stitch. Then to work the stitch, the thread is brought up at (1) and taken to (2). It then enters the cloth and comes out again at (3). The thread is taken to (4) where it re-enters the cloth. The thread is brought out again at (5) and the whole process is started once more.
- French Knot leaves embroidery
You can use cute little french knots to make small button leaves. The French knot is one of the easiest of all knots. Interestingly, however, it is often hailed as one of the most difficult-to-handle or difficult-to-do stitches. This, so much so, that learners often end up hating to do this stitch. This stitch can be used to do little flowers, or as a filling stitch to fill in small circles and center of flowers. Many closely done french knots can give a ‘woolly’ appearance and can be used creatively. You use both hands to do this stitch.
 Lazy Daisy stitch - Leaf embroidery
Another stitch you can use to easily make simple leaves is the ever useful lazy daisy stitch (which is just a stand-alone chain stitch). This is often used to give petal designs and small floral patterns. It consists of a single loop of chain than the continuous pattern. Lazy daisy is one of the extremely easy stitches. This stitch need not be limited to just petals and leaves but can be used for more complicated designs too. This stand alone stitch can be used freely to be a part of any design.
These are the principal methods of leaf embroidery that are universally followed, but there are many others with their individual merits that also find favour at times.

Leaf embroidery is an effort that is worth its weight in gold. It not only serves to please aesthetically but also brightens the environment based upon the colors chosen. As an essential part of Nature the leaf also reminds us of life and our moral duty towards it.
We at Unnati Silks appreciate and acknowledge the diligence and painstaking devotion of the craftsmen who put their hearts in their work to create such life-like imagery.
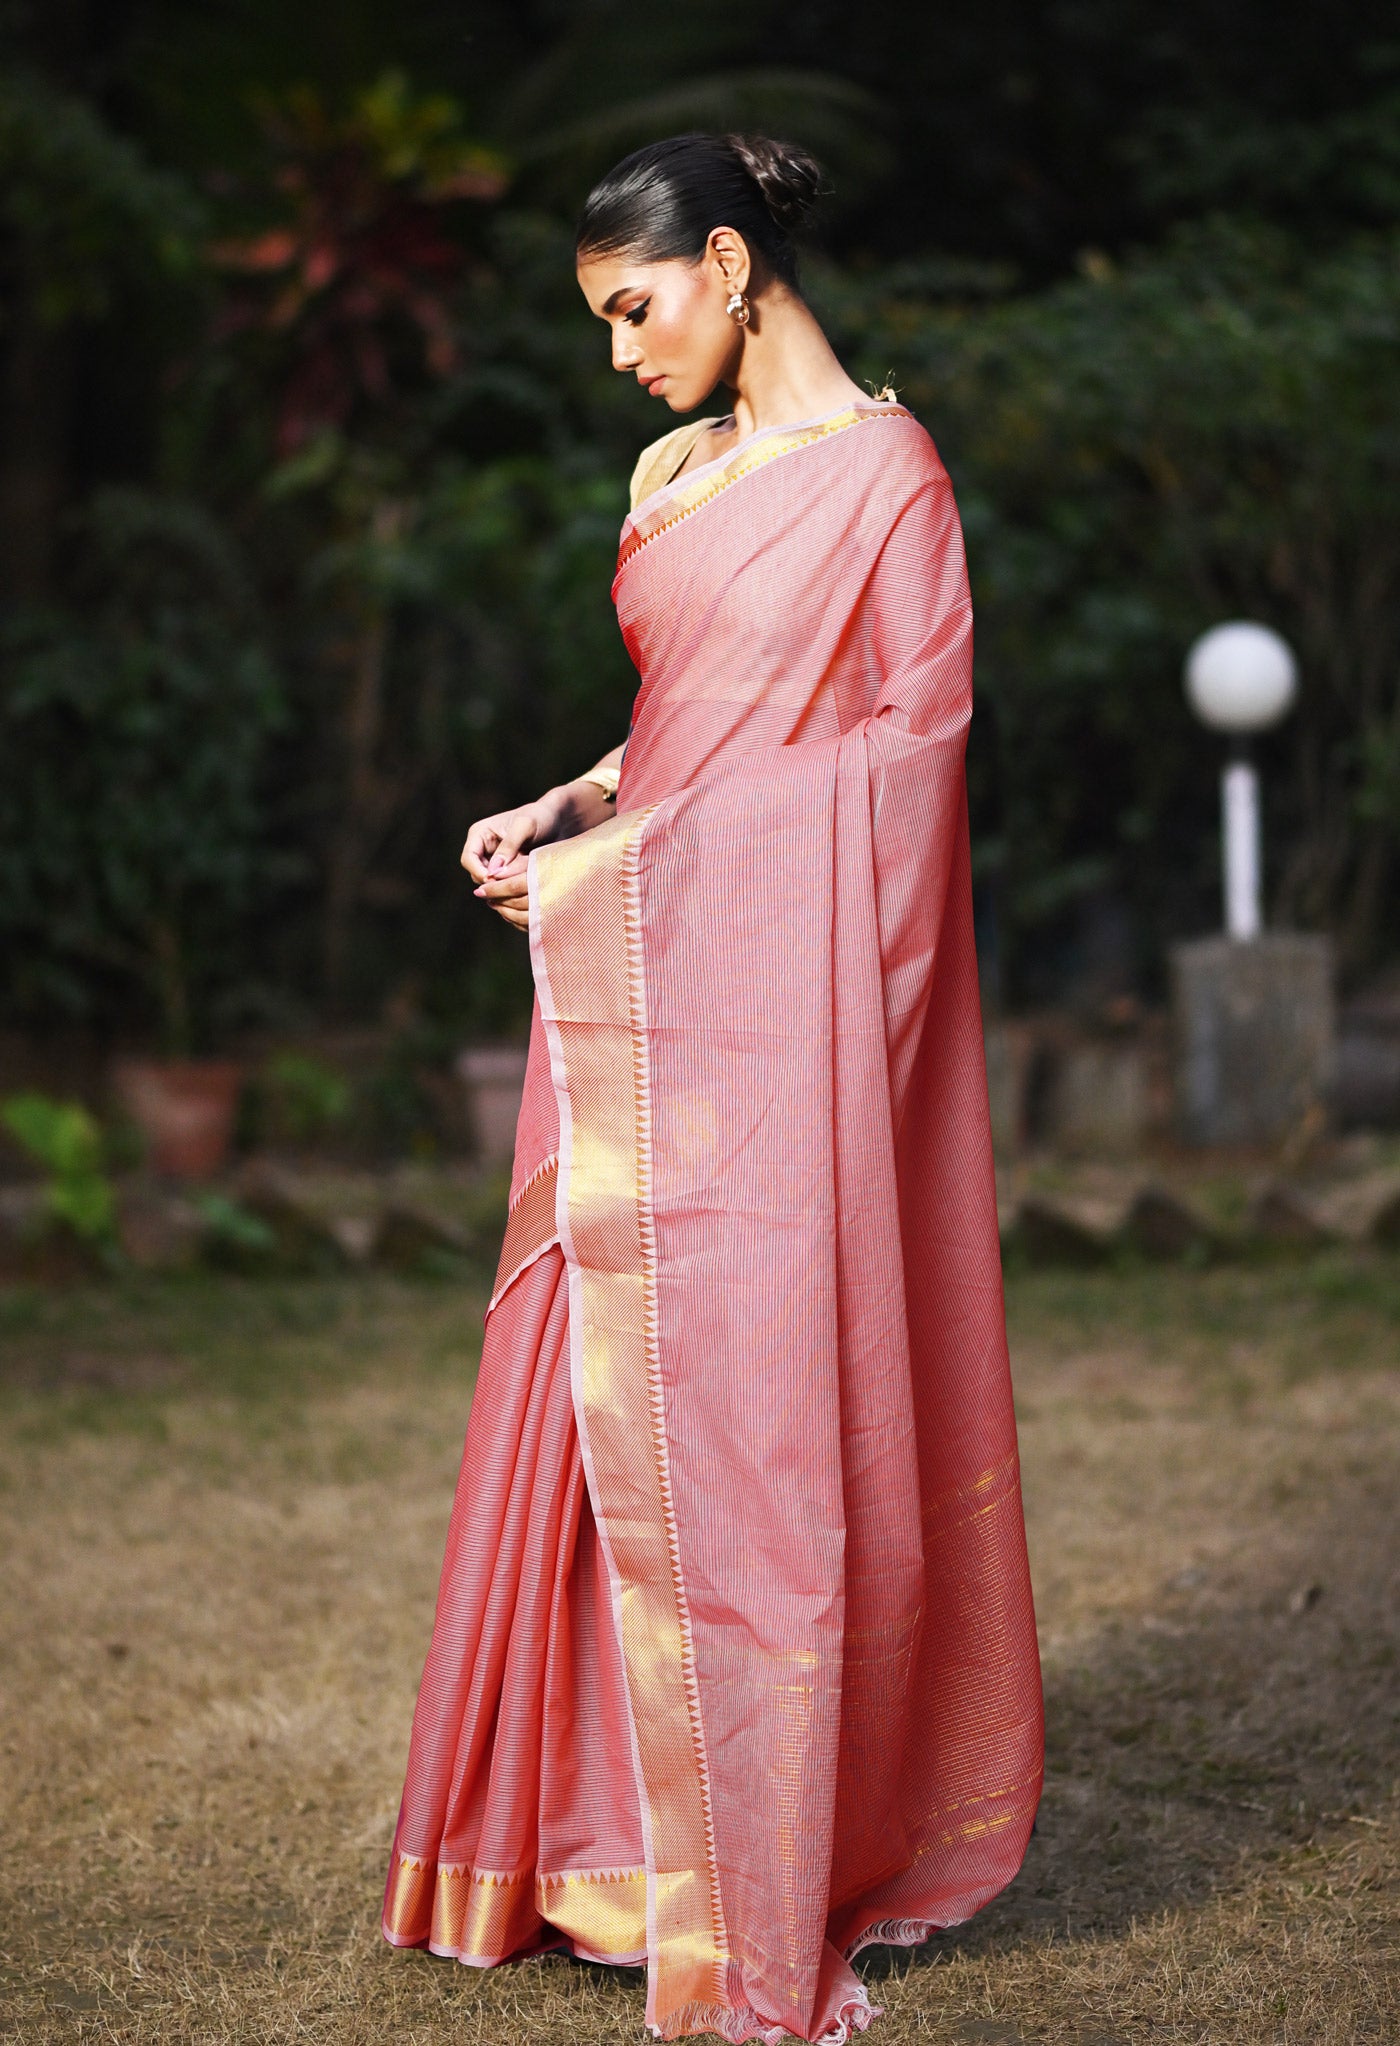
[/vc_column_text][vc_btn title="Buy Online Beautiful Embroidery Sarees" color="warning" align="center" link="url:https%3A%2F%2Fwww.unnatisilks.com%2Fsarees-online%2Fby-work-sarees%2Fembroidery-work-design-sarees.html||target:%20_blank"][/vc_column][/vc_row]


